Warehouses, stock, and shipping
This guide provides instructions on how to set up warehouses, shipping zones and rates, and assign stock (inventory) to product variants using the GraphQL API.
In Nautical, warehouses, shipping zones, and shipping rates need to be created before buyers can order products. This can be done by the marketplace operator or sellers who have necessary permissions. The marketplace operator can see all warehouses, while sellers can only see and assign inventory to their own warehouses and the marketplace operator's warehouses.
-
Warehouses: A warehouse represents the physical location where inventory for one or more product variants is stored.
-
Shipping zones: A shipping zone is assigned to a warehouse and determines the countries to which product variants from that warehouse can be shipped. A warehouse can have multiple shipping zones.
-
Shipping rates: Shipping rates, also known as shipping methods, are associated with shipping zones and determine the cost of shipping based on the weight or price of the seller order.
To enable functionalities such as creating stock for product variants, assigning stock to specific warehouses, and providing available shipping rates to buyers based on their address, it is important to establish the correct connections between warehouses, shipping zones, and shipping rates.
Create a warehouse
In order to create a warehouse, you would use the createWarehouse mutation, as so:
mutation {
  createwarehouse(
    input: {
      addShippingZones: []
      address: {
        city: "New York"
        country: US
        countryArea: "NY"
        phone: "+12125439876"
        postalCode: "10000"
        streetAddress1: "123 Main St"
        streetAddress2: "Suite 1A"
      }
      name: "warehouse New York City"
      seller: "U2VsbGVyOjE="
    }
  ) {
    warehouse {
      id
      name
    }
    warehouseErrors {
      field
      message
      code
    }
  }
}
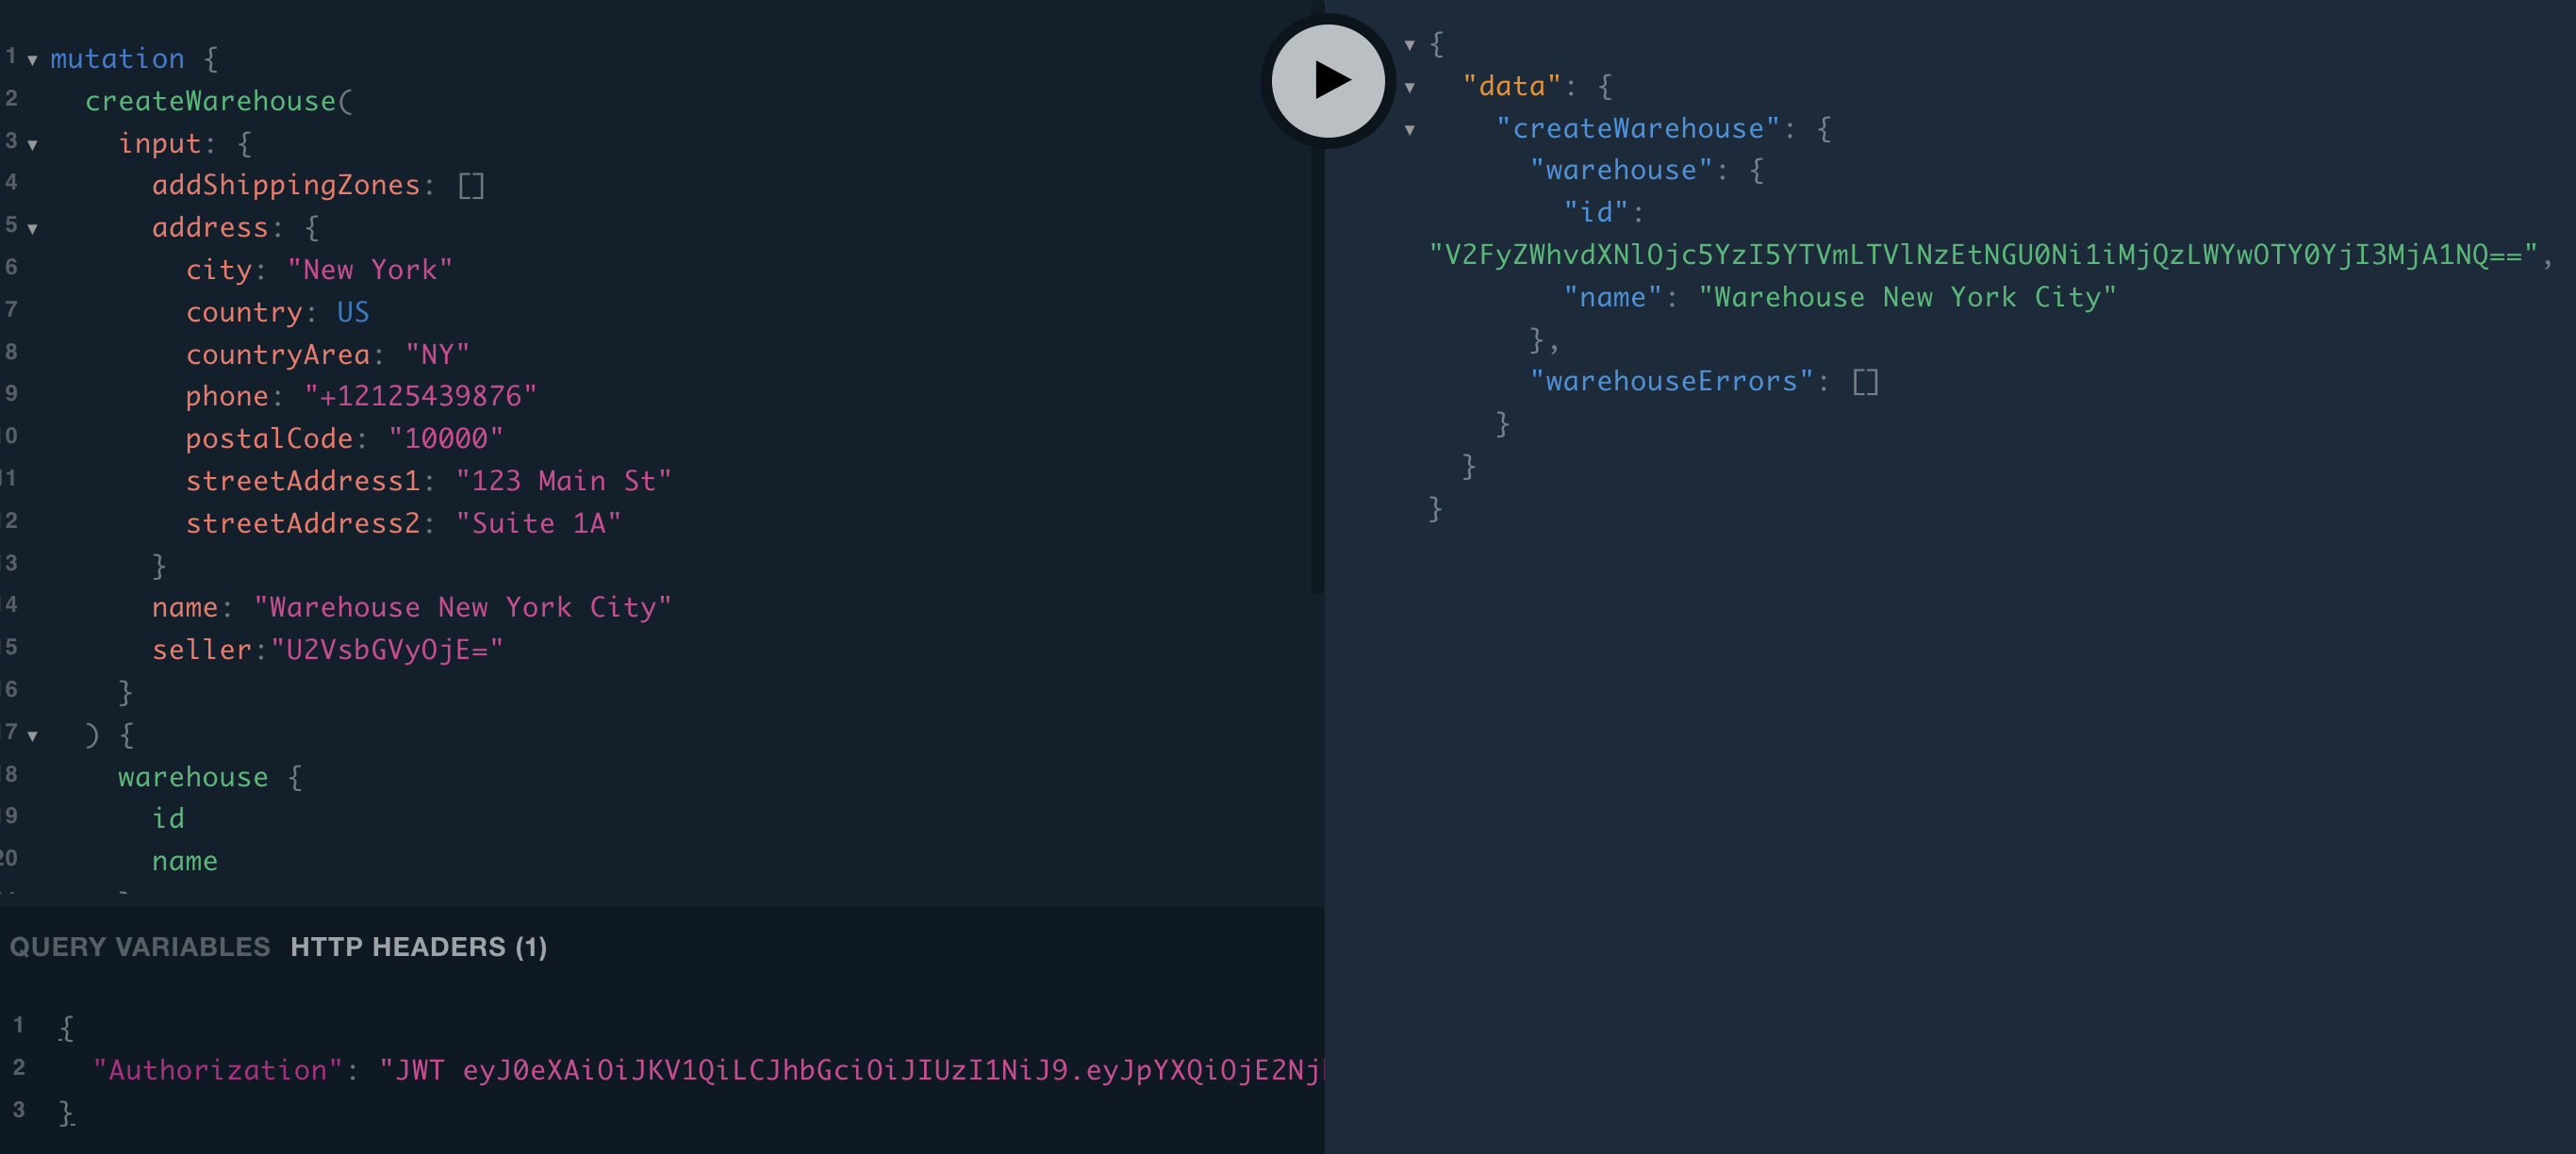
One of the items returned in the response to the above is the warehouse ID. You'll need this ID for warehouse updates in the Attaching shipping zone to warehouse section. You could always query warehouses if you accidentally lose sight of this ID.
For the input.seller field, if you're the Marketplace Operator, you can enter the seller ID of any Seller into that field. If you created it under yourself as the Marketplace Operator (the special case where seller ID is 1), any and all sellers will be able to see and create inventory against that warehouse. If you create it for another Seller, only you and that Seller will be able to see that warehouse. Sellers can only see the Marketplace Operator's and their own warehouses.
Sellers query
To view all seller info as a Marketplace Operator in order to grab the seller ID of interest for use in the mutation above, you can use the sellers query, as so:
{
  sellers(first: 100) {
    edges {
      node {
        id
        companyName
      }
    }
  }
}
Me query
Otherwise, if you're a Seller and need to grab your own seller ID for use in the mutation above (or if you're the Marketplace Operator and only care to grab your own seller ID), you can use the me query, as so:
{
  me {
    seller {
      id
      companyName
    }
  }
}
Creating a shipping zone
In order to create a shipping zone, you would use the shippingZoneCreate mutation, as so:
  shippingZoneCreate(
    input: {
      addwarehouses: []
      countries: ["CA", "US"]
      default: false
      name: "Shipping zone US & Canada"
      seller: "U2VsbGVyOjE="
    }
  ) {
    shippingZone {
      id
      name
    }
    shippingErrors {
      field
      message
      code
    }
  }
}
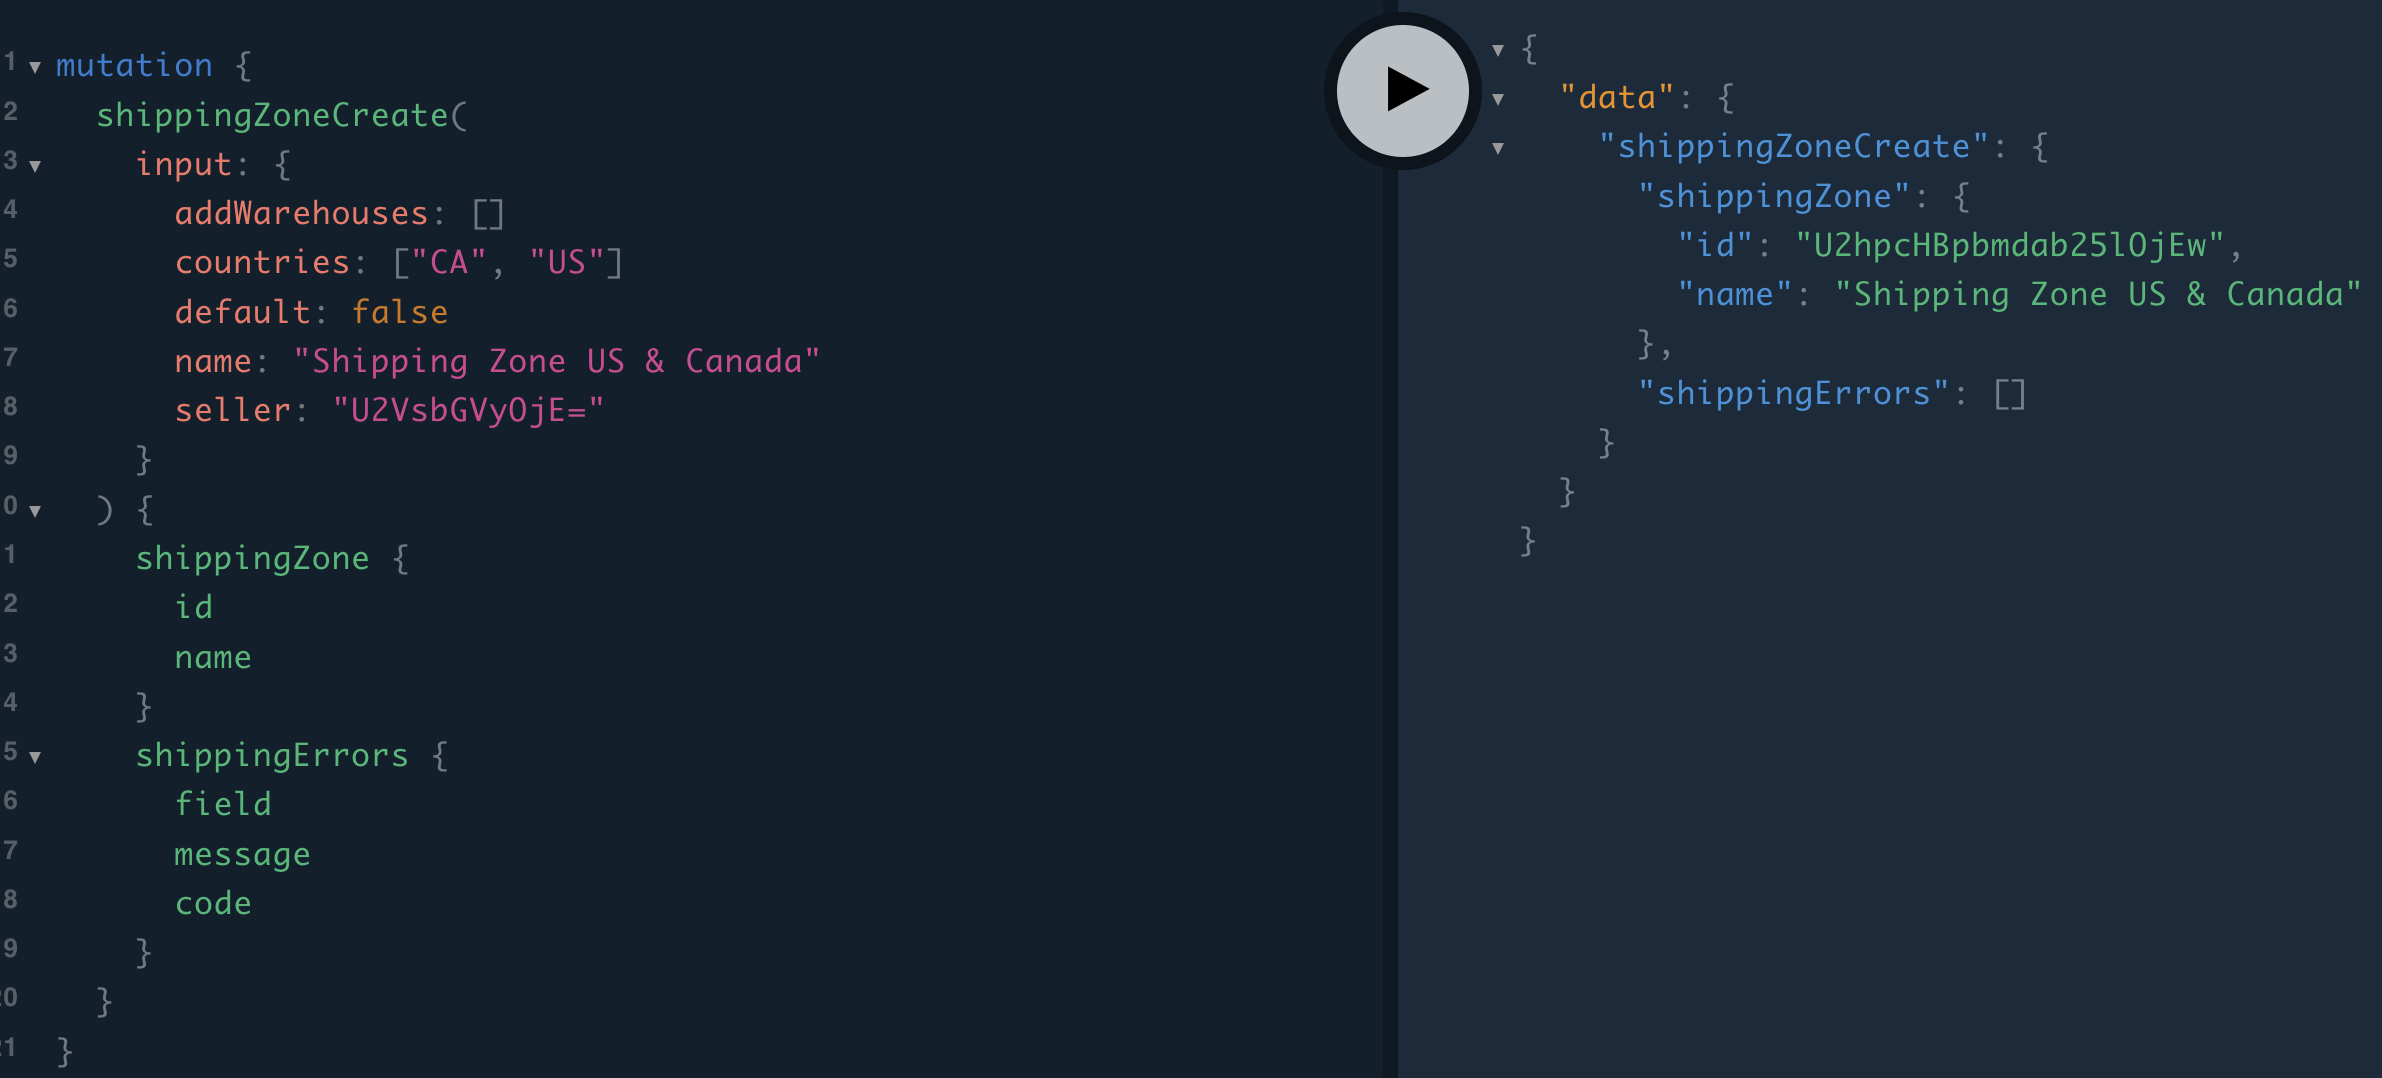
One of the items returned in the response to the above is the shipping zone ID. You'll need this ID for shipping zone updates in the Attaching shipping zone to warehouse section. You could always query shippingZones if you accidentally lose sight of this ID.
For the input.seller field, if you're the Marketplace Operator, you can enter the seller ID of any Seller into that field. If you created it under yourself as the Marketplace Operator (the special case where seller ID is 1), any and all sellers will be able to see and use that shipping zone. If you create it for another Seller, only you and that Seller will be able to see that shipping zone. Sellers can only see the Marketplace Operator's and their own shipping zones.
Sellers query
To view all seller info as a Marketplace Operator in order to grab the seller ID of interest for use in the mutation above, you can use the sellers query, as so:
{
  sellers(first: 100) {
    edges {
      node {
        id
        companyName
      }
    }
  }
}
Me query
Otherwise, if you're a seller and need to grab your own seller ID for use in the mutation above (or if you're the Marketplace Operator and only care to grab your own seller ID), you can use the me query, as so:
{
  me {
    seller {
      id
      companyName
    }
  }
}
Associate shipping zone with warehouse
You can attach a shipping zone to a warehouse via either the updatewarehouse mutation or the shippingZoneupdate mutation. We'll look at updatewarehouse first.
Attach warehouse to a shipping zone
You can attach a shipping zone to a warehouse via the updatewarehouse mutation. You'll need the ID of the warehouse you wish to attach the shipping zone to, which you can get from your prior executed createWarehouse mutation, or by finding it via the warehouses query. You'll also need the shipping zone ID for the shipping zone you wish to connect to the warehouse. You can get this from your prior executed shippingZoneCreate mutation, or by finding it via the shippingZones query.
Getting these IDs, we can run the updatewarehouse mutation, as so:
mutation {
  updatewarehouse(
    id: "V2FyZWhvdXNlOjc5YzI5YTVmLTVlNzEtNGU0Ni1iMjQzLWYwOTY0YjI3MjA1NQ=="
    input: { addShippingZones: ["U2hpcHBpbmdab25lOjEw"] }
  ) {
    warehouse {
      id
      name
      shippingZones(first: 10) {
        edges {
          node {
            id
            name
          }
        }
      }
    }
  }
}
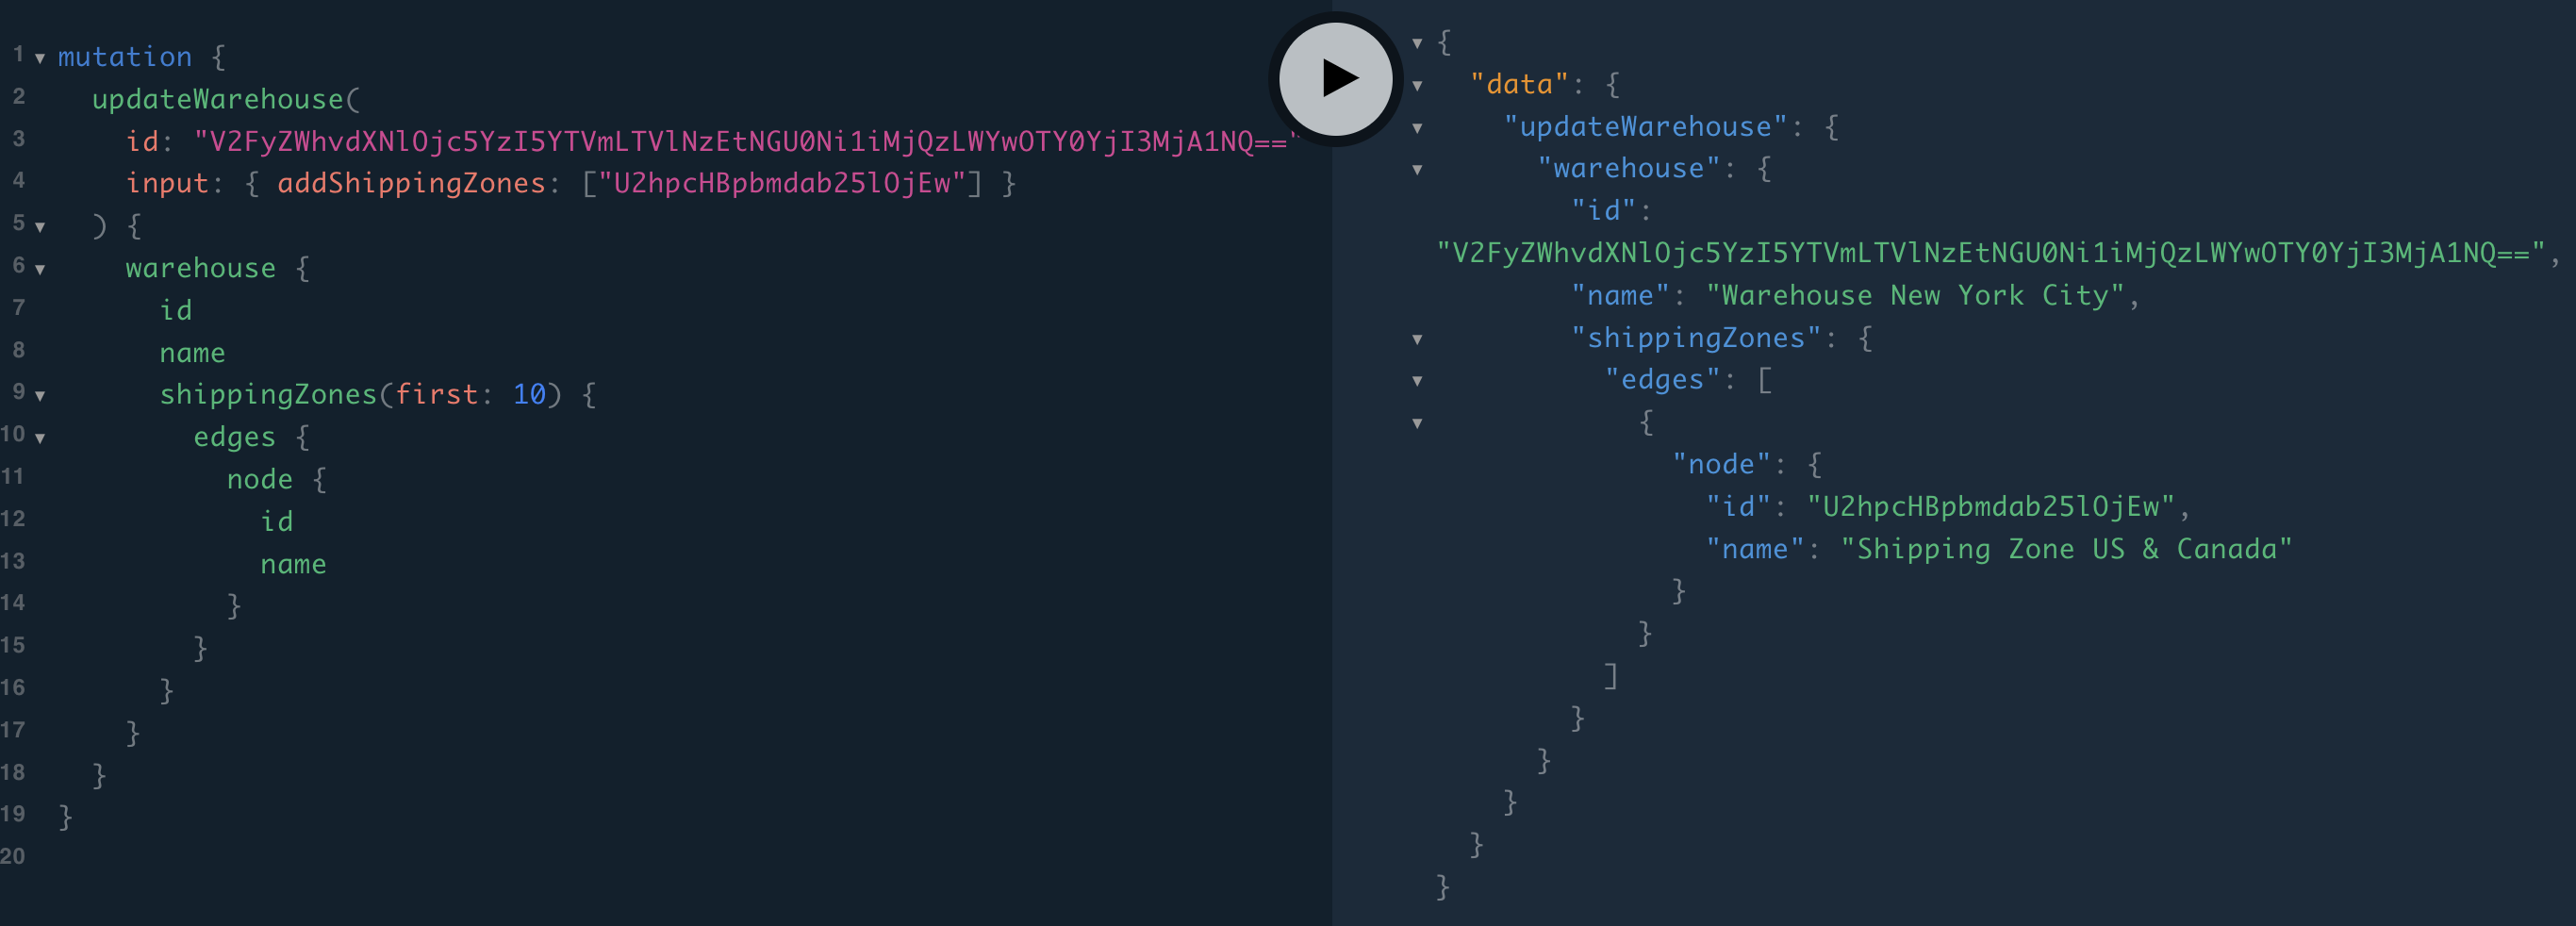
This connects the shipping zone to the warehouse. You can attach many shipping zones to many warehouses.
Attach shipping zone to warehouse
Alternatively, you can attach a shipping zone to a warehouse via the shippingZoneupdate mutation. You'll need the ID of the shipping zone you wish to attach to the warehouse, which you can get from your prior executed shippingZoneCreate mutation, or by finding it via the shippingZones query. You'll also need the warehouse ID for the warehouse you wish to connect the shipping zone to. You can get this from your prior executed createWarehouse mutation, or by finding it via the warehouses query.
Getting these IDs, we can run the shippingZoneupdate mutation, as so:
mutation {
  shippingZoneupdate(
    id: "U2hpcHBpbmdab25lOjEw"
    input: {
      addwarehouses: [
        "V2FyZWhvdXNlOjc5YzI5YTVmLTVlNzEtNGU0Ni1iMjQzLWYwOTY0YjI3MjA1NQ=="
      ]
    }
  ) {
    shippingZone {
      id
      warehouses {
        id
        name
      }
    }
    shippingErrors {
      field
      message
      code
    }
  }
}
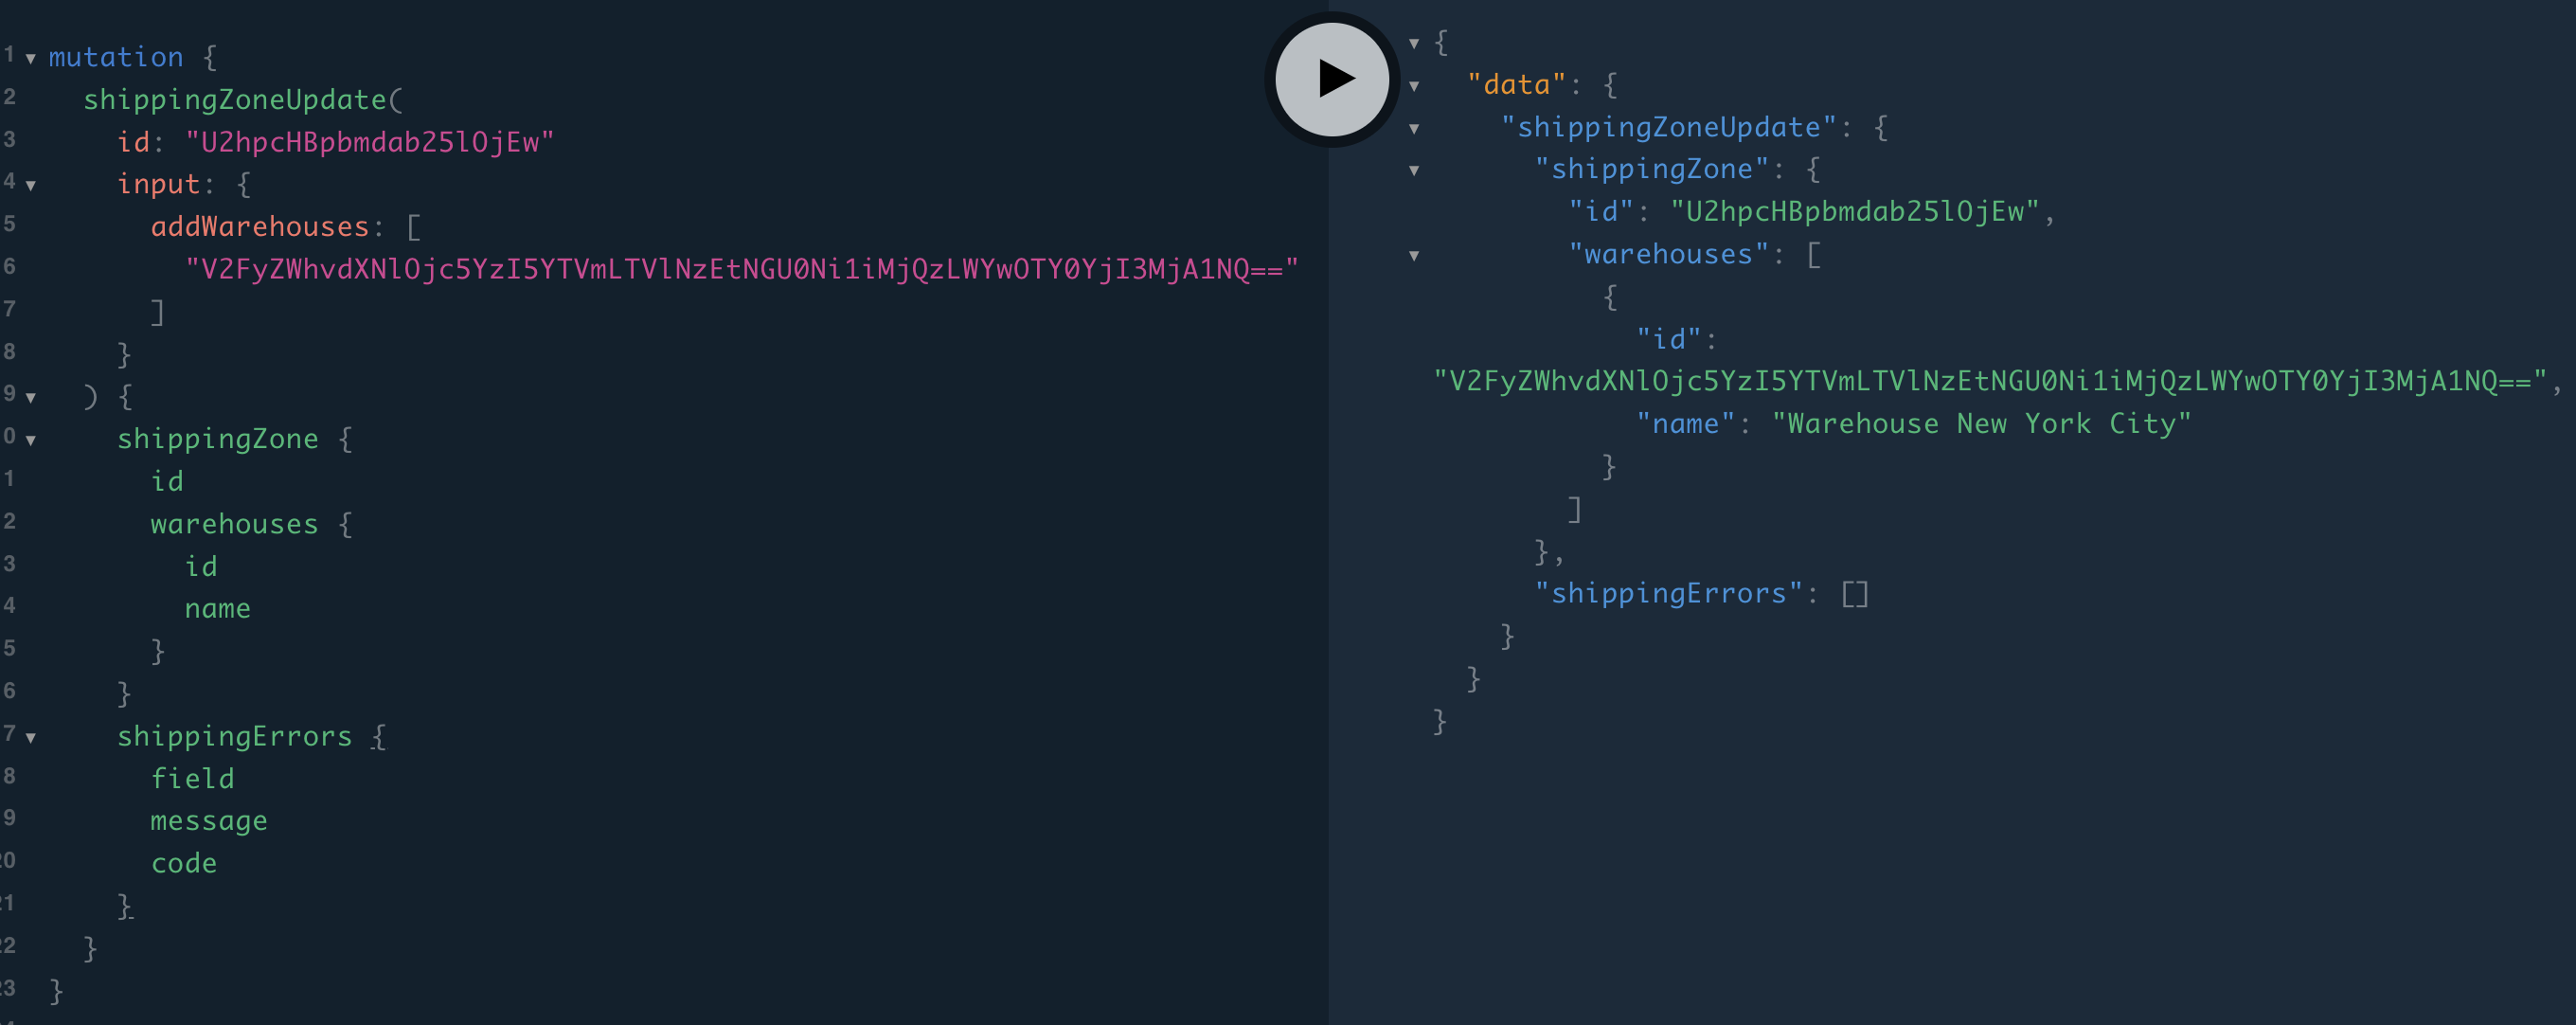
This connects the shipping zone to the warehouse. You can attach many shipping zones to many warehouses.
Creating shipping rates/methods
We now have a warehouse and a shipping zone attached to it. This allows us to assign product variant inventory to the warehouse and lets us know what countries this warehouse is able to ship these items to.
Now the question is, what is the shipping method name and associated cost if, say, 3 of these product variants are being shipped to a country in the shipping zone? What if instead 25 of these product variants are being shipped?
We'd expect the cost to be greater (or different, at least) for shipments of MORE stuff compared to LESS stuff. To accommodate this reality, we allow the creation of shipping rates/methods by seller order total weight and/or by seller order total price.
Creating Price-Based shipping rates/methods
For a shipping zone, we can create shipping rates/methods for seller orders of various total price. For example, for a given shipping zone, for shipments totaling $0 - 25, we may want to charge $5 in shipping and call that Shipping Rate/Method “Standard” or “upS” or whatever. And we can set a different rate for seller orders above $25. And so on.
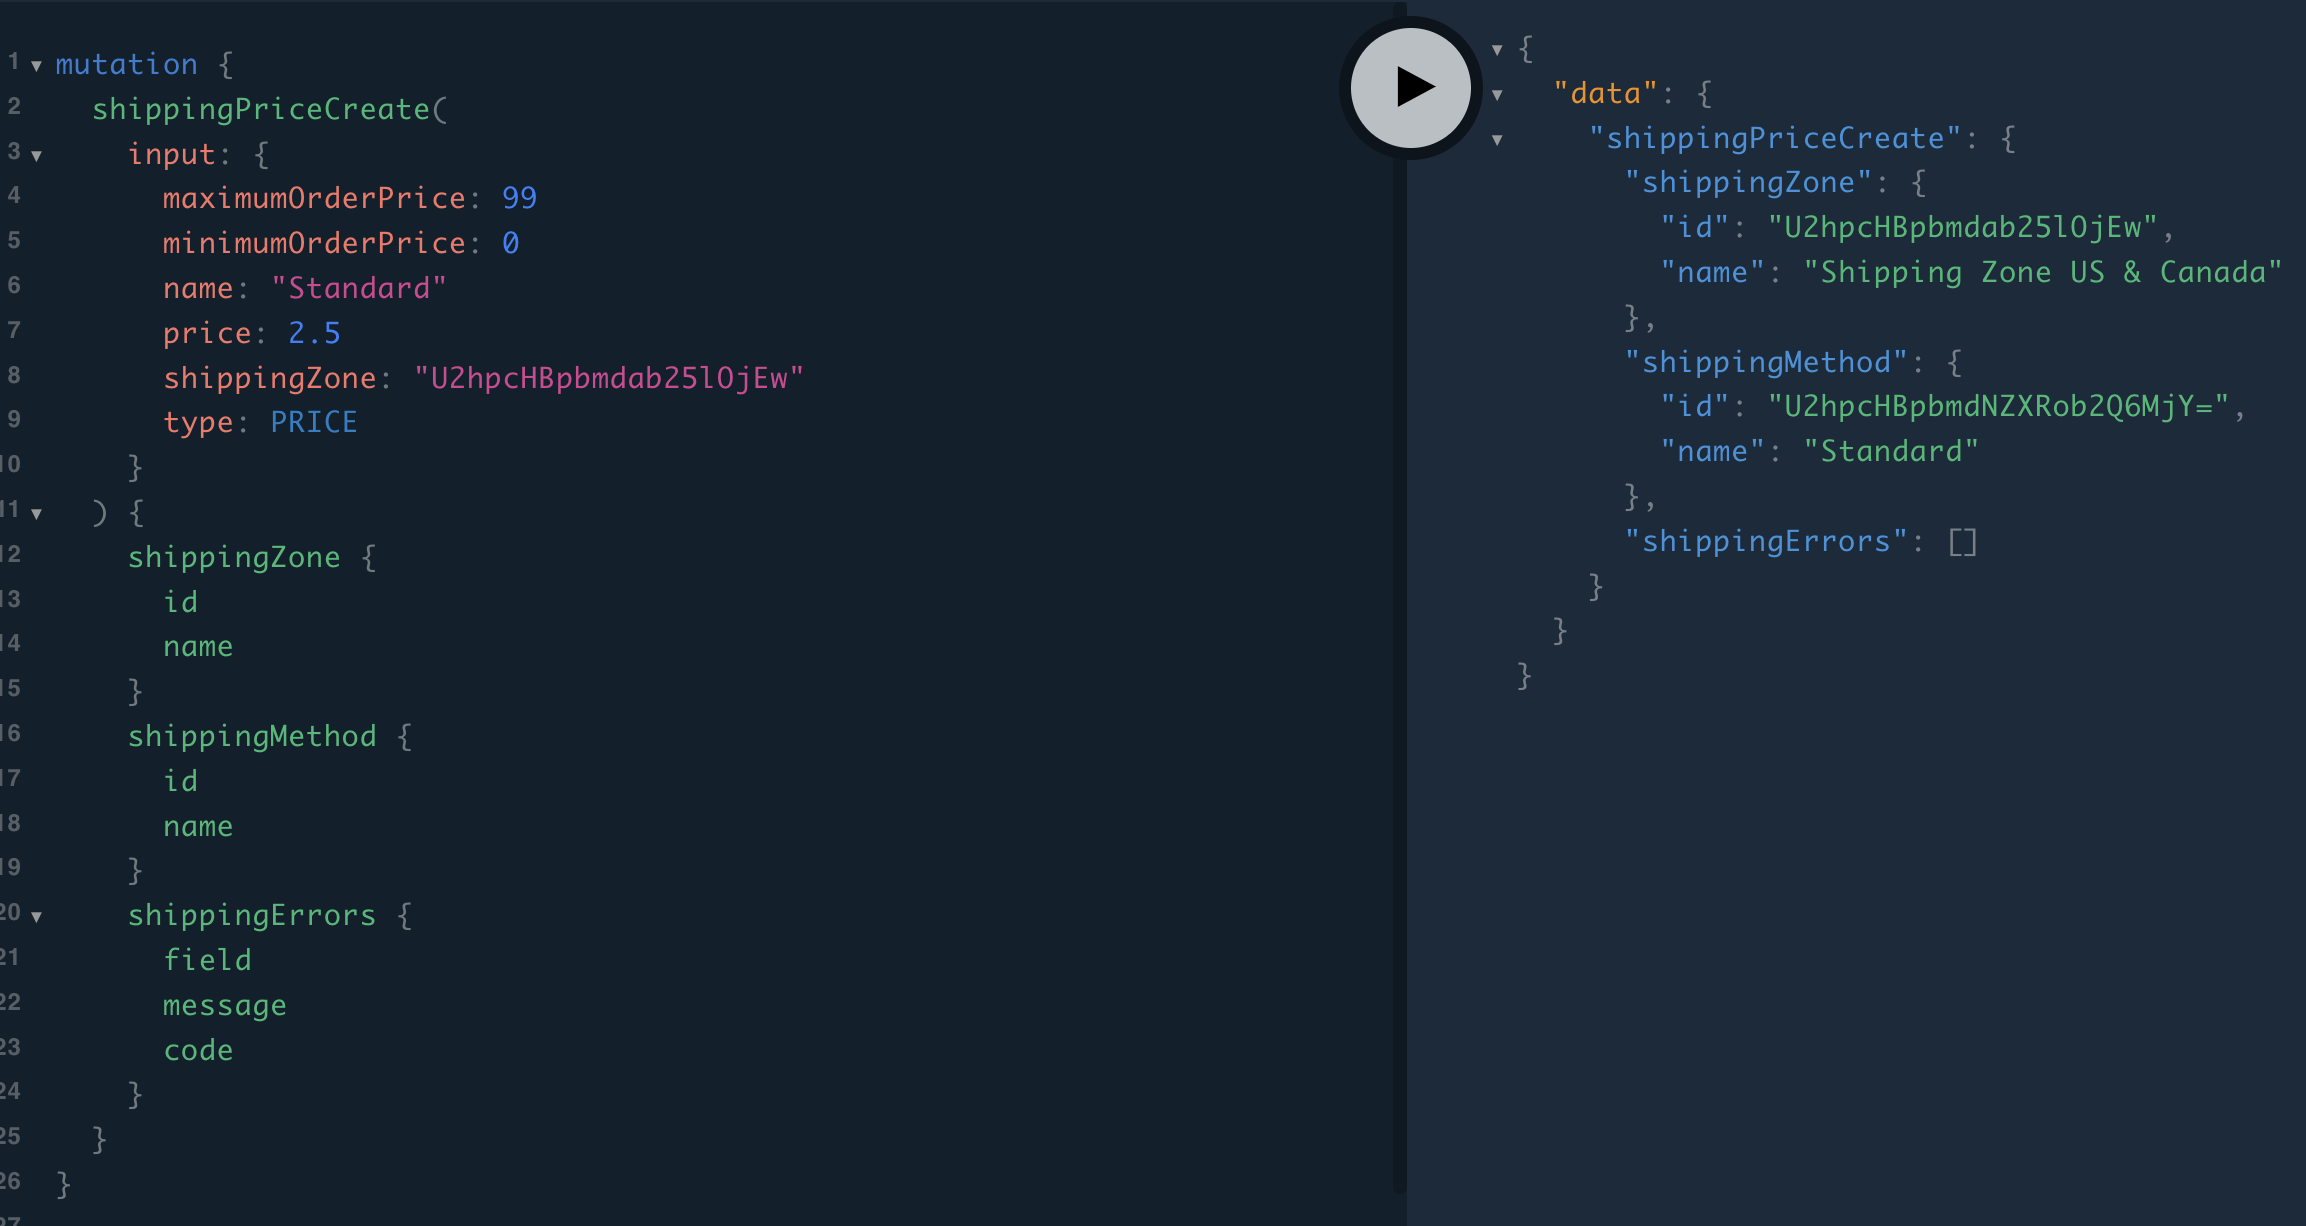
That being said, with the ID of the shipping zone you wish to create a Shipping Rate/Method for in hand, we can create a price-based Shipping Rate/Method using the shippingPriceCreate mutation, as so:
mutation {
  shippingPriceCreate(
    input: {
      maximumOrderPrice: 99
      minimumOrderPrice: 0
      name: "Standard"
      price: 2.5
      shippingZone: "U2hpcHBpbmdab25lOjEw"
      type: PRICE
    }
  ) {
    shippingZone {
      id
      name
    }
    shippingMethod {
      id
      name
    }
    shippingErrors {
      field
      message
      code
    }
  }
}
Creating Weight-Based shipping rates/methods
For a shipping zone, we can create shipping rates/methods for seller orders of various total weight. For example, for a given shipping zone, for shipments totaling 0 - 5kg, we may want to charge $5 in shipping and call that Shipping Rate/Method “Standard” or “UPS” or whatever. And we can set a different rate for seller orders above 5kg. And so on.
That being said, with the ID of the shipping zone you wish to create a Shipping Rate/Method for in hand, we can create a weight-based Shipping Rate/Method using the shippingPriceCreate mutation, as so:
mutation {
  shippingPriceCreate(
    input: {
      maximumOrderWeight: 5
      minimumOrderWeight: 0
      name: "5-Day"
      price: 7.25
      shippingZone: "U2hpcHBpbmdab25lOjEw"
      type: WEIGHT
    }
  ) {
    shippingZone {
      id
      name
    }
    shippingMethod {
      id
      name
    }
    shippingErrors {
      field
      message
      code
    }
  }
}
You can create many such weight-based shipping rates/methods for the given shipping zone.
Assigning product variant inventory to a warehouse
We've gone ahead and set up everything we need to now be able to assign product variant inventory to a warehouse.
To assign product variant inventory/stock to a warehouse, we can use the productVariantStocksCreate mutation, as so:
mutation {
  productVariantStocksCreate(
    stocks: [
      {
        quantity: 100
        warehouse: "V2FyZWhvdXNlOjc5YzI5YTVmLTVlNzEtNGU0Ni1iMjQzLWYwOTY0YjI3MjA1NQ=="
      }
    ]
    variantId: "UHJvZHVjdFZhcmlhbnQ6MTk1"
  ) {
    productVariant {
      id
      name
      product {
        id
        name
      }
      stocks {
        quantity
        quantityAllocated
      }
    }
    bulkStockErrors {
      field
      message
      code
    }
  }
}
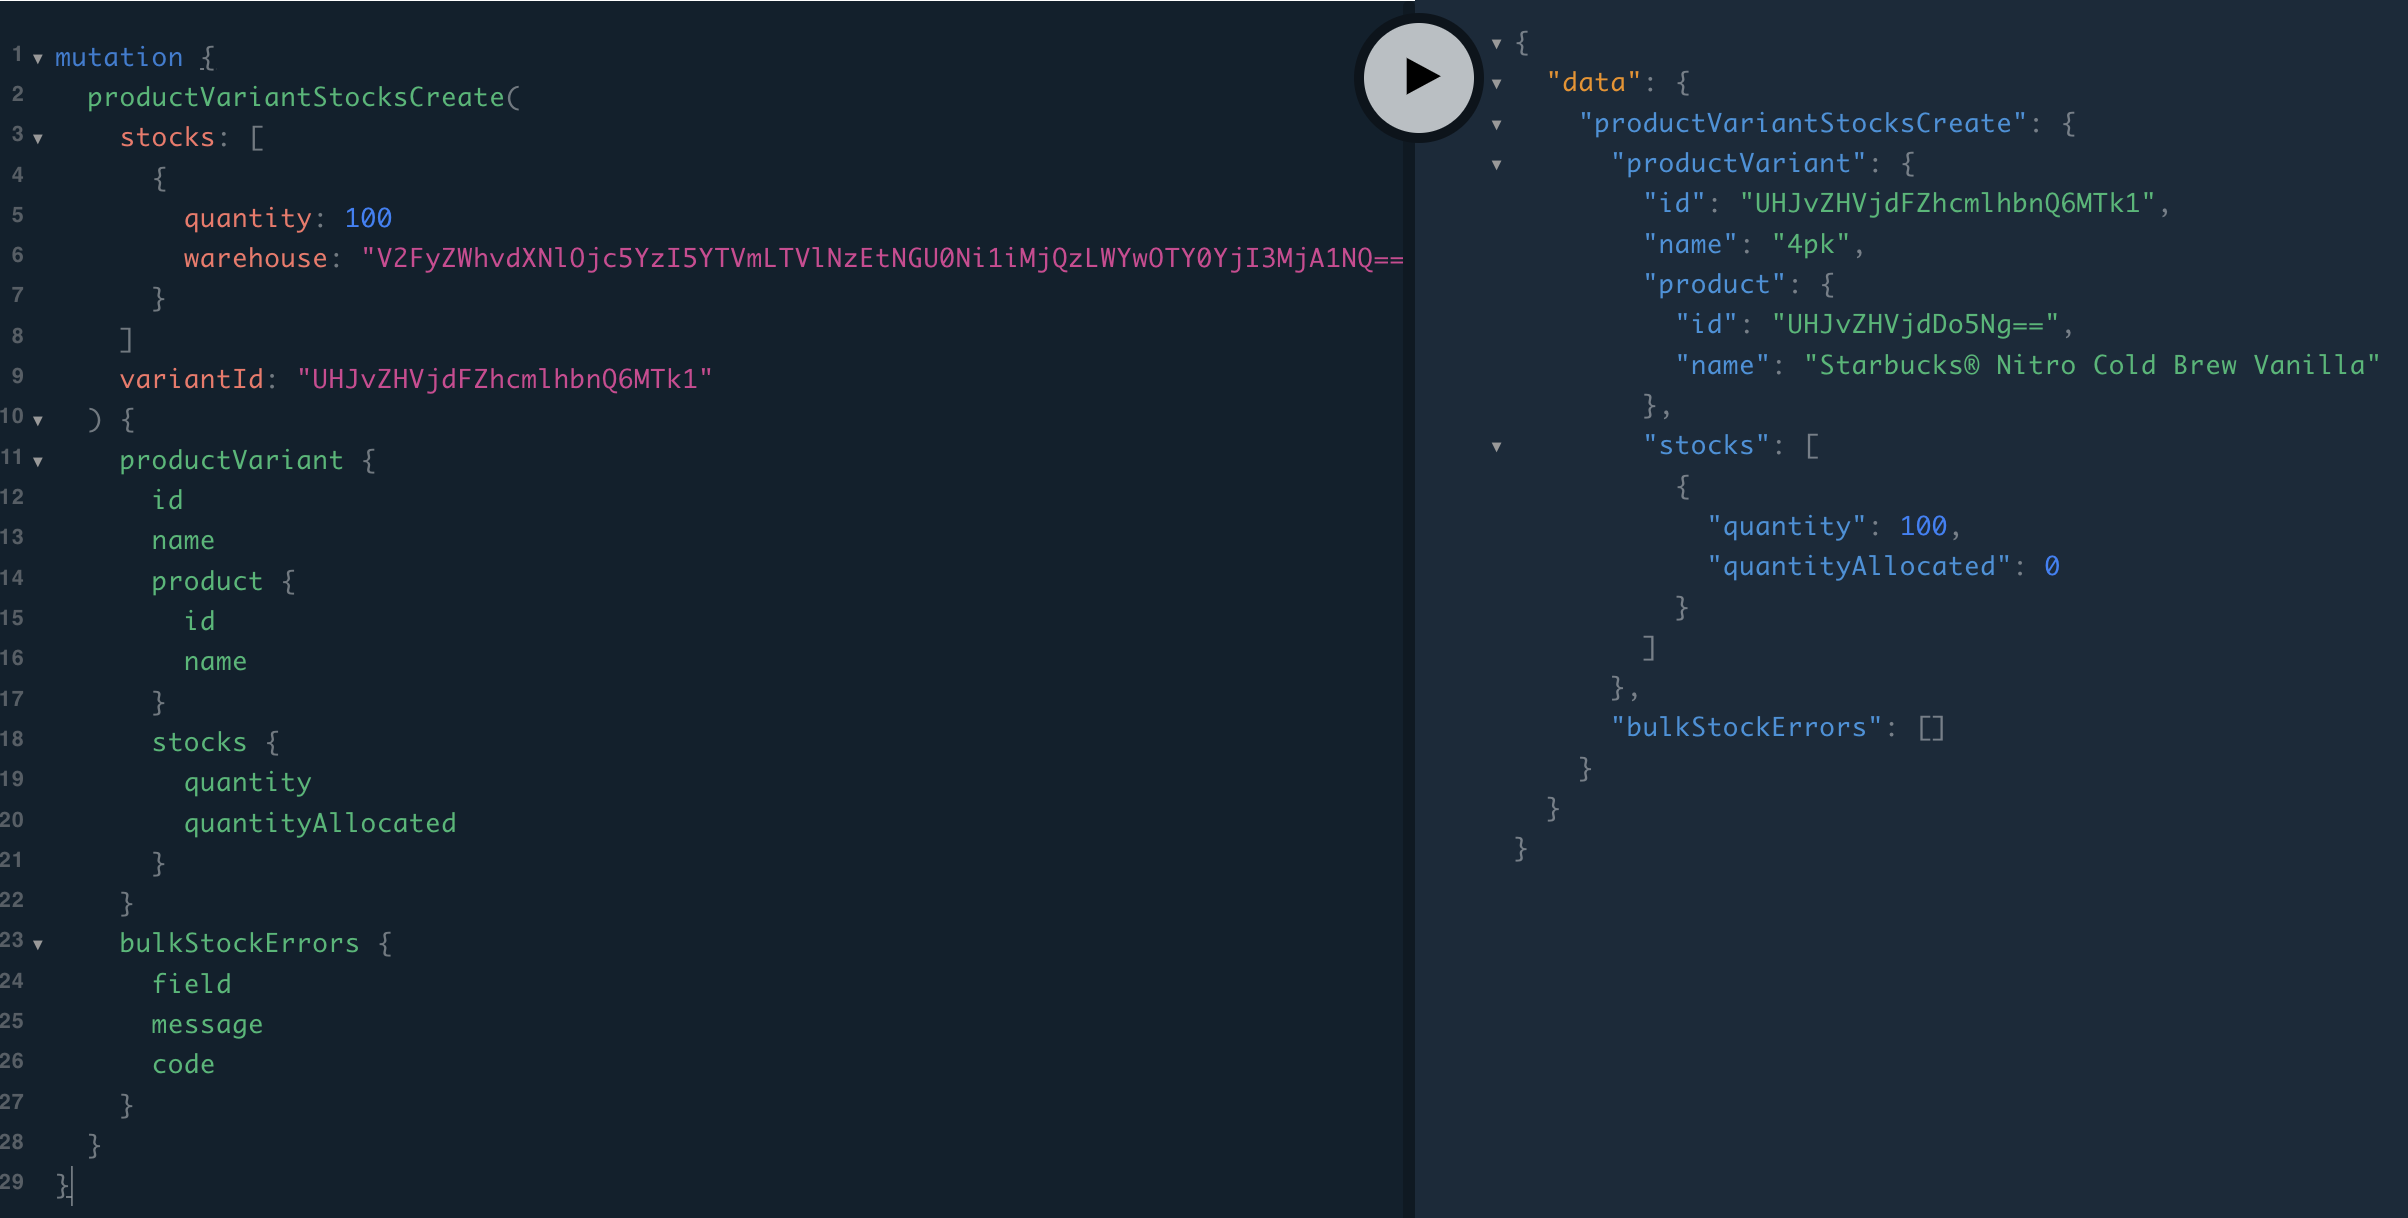
As implied in the above, you'll need the ID(s) of the warehouse(s) you plan to assign product variant inventory/stock to, and you'll need the product variant ID. These can be grabbed from the warehouses and productVariants queries.
That's it. That's how to set up warehouses, shipping zones, and shipping rates/methods and assign stock/inventory to product variants.