Create and monitor webhooks
Webhooks are automated messages sent from one application to another when a specific event occurs. They play a crucial role in keeping different systems in sync and automating processes.
This article provides information about how to manage webhooks with Nautical, including monitoring webhook logs, setting up outgoing webhooks, handling webhook events, and managing incoming webhook jobs.
Monitor webhook logs
You can monitor all incoming and outgoing webhooks, along with their payloads, from the dashboard under Settings -> Webhook Event Logs page:
This page allows you to track both incoming (received) and outgoing (emitted) webhooks, view payloads, and troubleshoot any issues.
The Webhook event logs table displays the following details for each event:
| Field | Description | Direction Displayed for |
|---|---|---|
| ID | Unique identifier of the webhook event log. | Both |
| Date | Date of the webhook event. | Both |
| Target URL | Destination URL where the webhook payload is being sent. | Outgoing (Emitted) |
| Webhook ID | Unique identifier of the webhook. | Outgoing (Emitted) |
| Transaction ID | Unique identifier of the webhook transaction. | Incoming (Received) |
| App ID | Unique identifier of the app associated with the webhook. | Outgoing (Emitted) |
| Plugin ID | Unique identifier of the plugin associated with the webhook. | Incoming (Received) |
| Payload | Link to view the sent or received webhook payload. | Both |
| Event Type | The webhook event type for outgoing webhooks or the webhook job type for incoming webhooks. | Both |
| Error | Displays error logs if an error occurred. | Both |
| Direction | Indicates the origin of the webhook. Incoming webhooks are Received and outgoing webhooks are Emitted. | Both |
Configure an outgoing webhook
To enable a webhook from the dashboard, you will need to go through a few steps. First, create a custom app with the necessary permissions and ensure it is active.
Once the app is set up, you can add one or more webhooks, including what events trigger the webhook and the target URL.
- Create a custom app.
- Under Webhooks, select Create Webhook.
- In the Webhook Name field, enter a name to identify the webhook.
- Under Events, select one or more events to trigger this webhook
- Under Connection Information, specify the following:
- Target URL: The URL endpoint that will receive the payload.
- Secret Key: (Optional) This key is used to create a hash signature for each webhook payload. Nautical generates an HMAC SHA256 header using the provided secret key.
- Select Save.
- Scroll down to Webhook Status, and select Webhook is active.
You must activate the webhook before it will start sending events. - Select Save.
Outgoing webhook events
The following table outlines the events that can trigger webhooks from Nautical. For sample payloads in each of these events, see Webhooks Events and Sample Payloads.
| Functional Area | Webhook events |
|---|---|
| Seller |
|
| Microsite |
|
| Product |
|
| Product Variant |
|
| Inventory |
|
| Invoice |
|
| Checkout |
|
| Payment |
|
| Customer |
|
| Marketplace Order |
|
| Seller Order |
|
| Fulfillment |
|
| Payout |
|
Incoming webhook job types
The following table outlines the incoming webhook job types triggered from external systems:
| Functional Area | Job type |
|---|---|
| Seller |
|
| Product |
|
| Warehouse |
|
| Inventory |
|
| Fulfillment |
|
| Customer |
|
| Vehicle |
|
Manage incoming webhook jobs
A webhook job is a term that refers to a specific task or process triggered by a webhook.
You can view and manage incoming webhook jobs from the dashboard under Settings -> Webhooks, on the Webhook Jobs page:
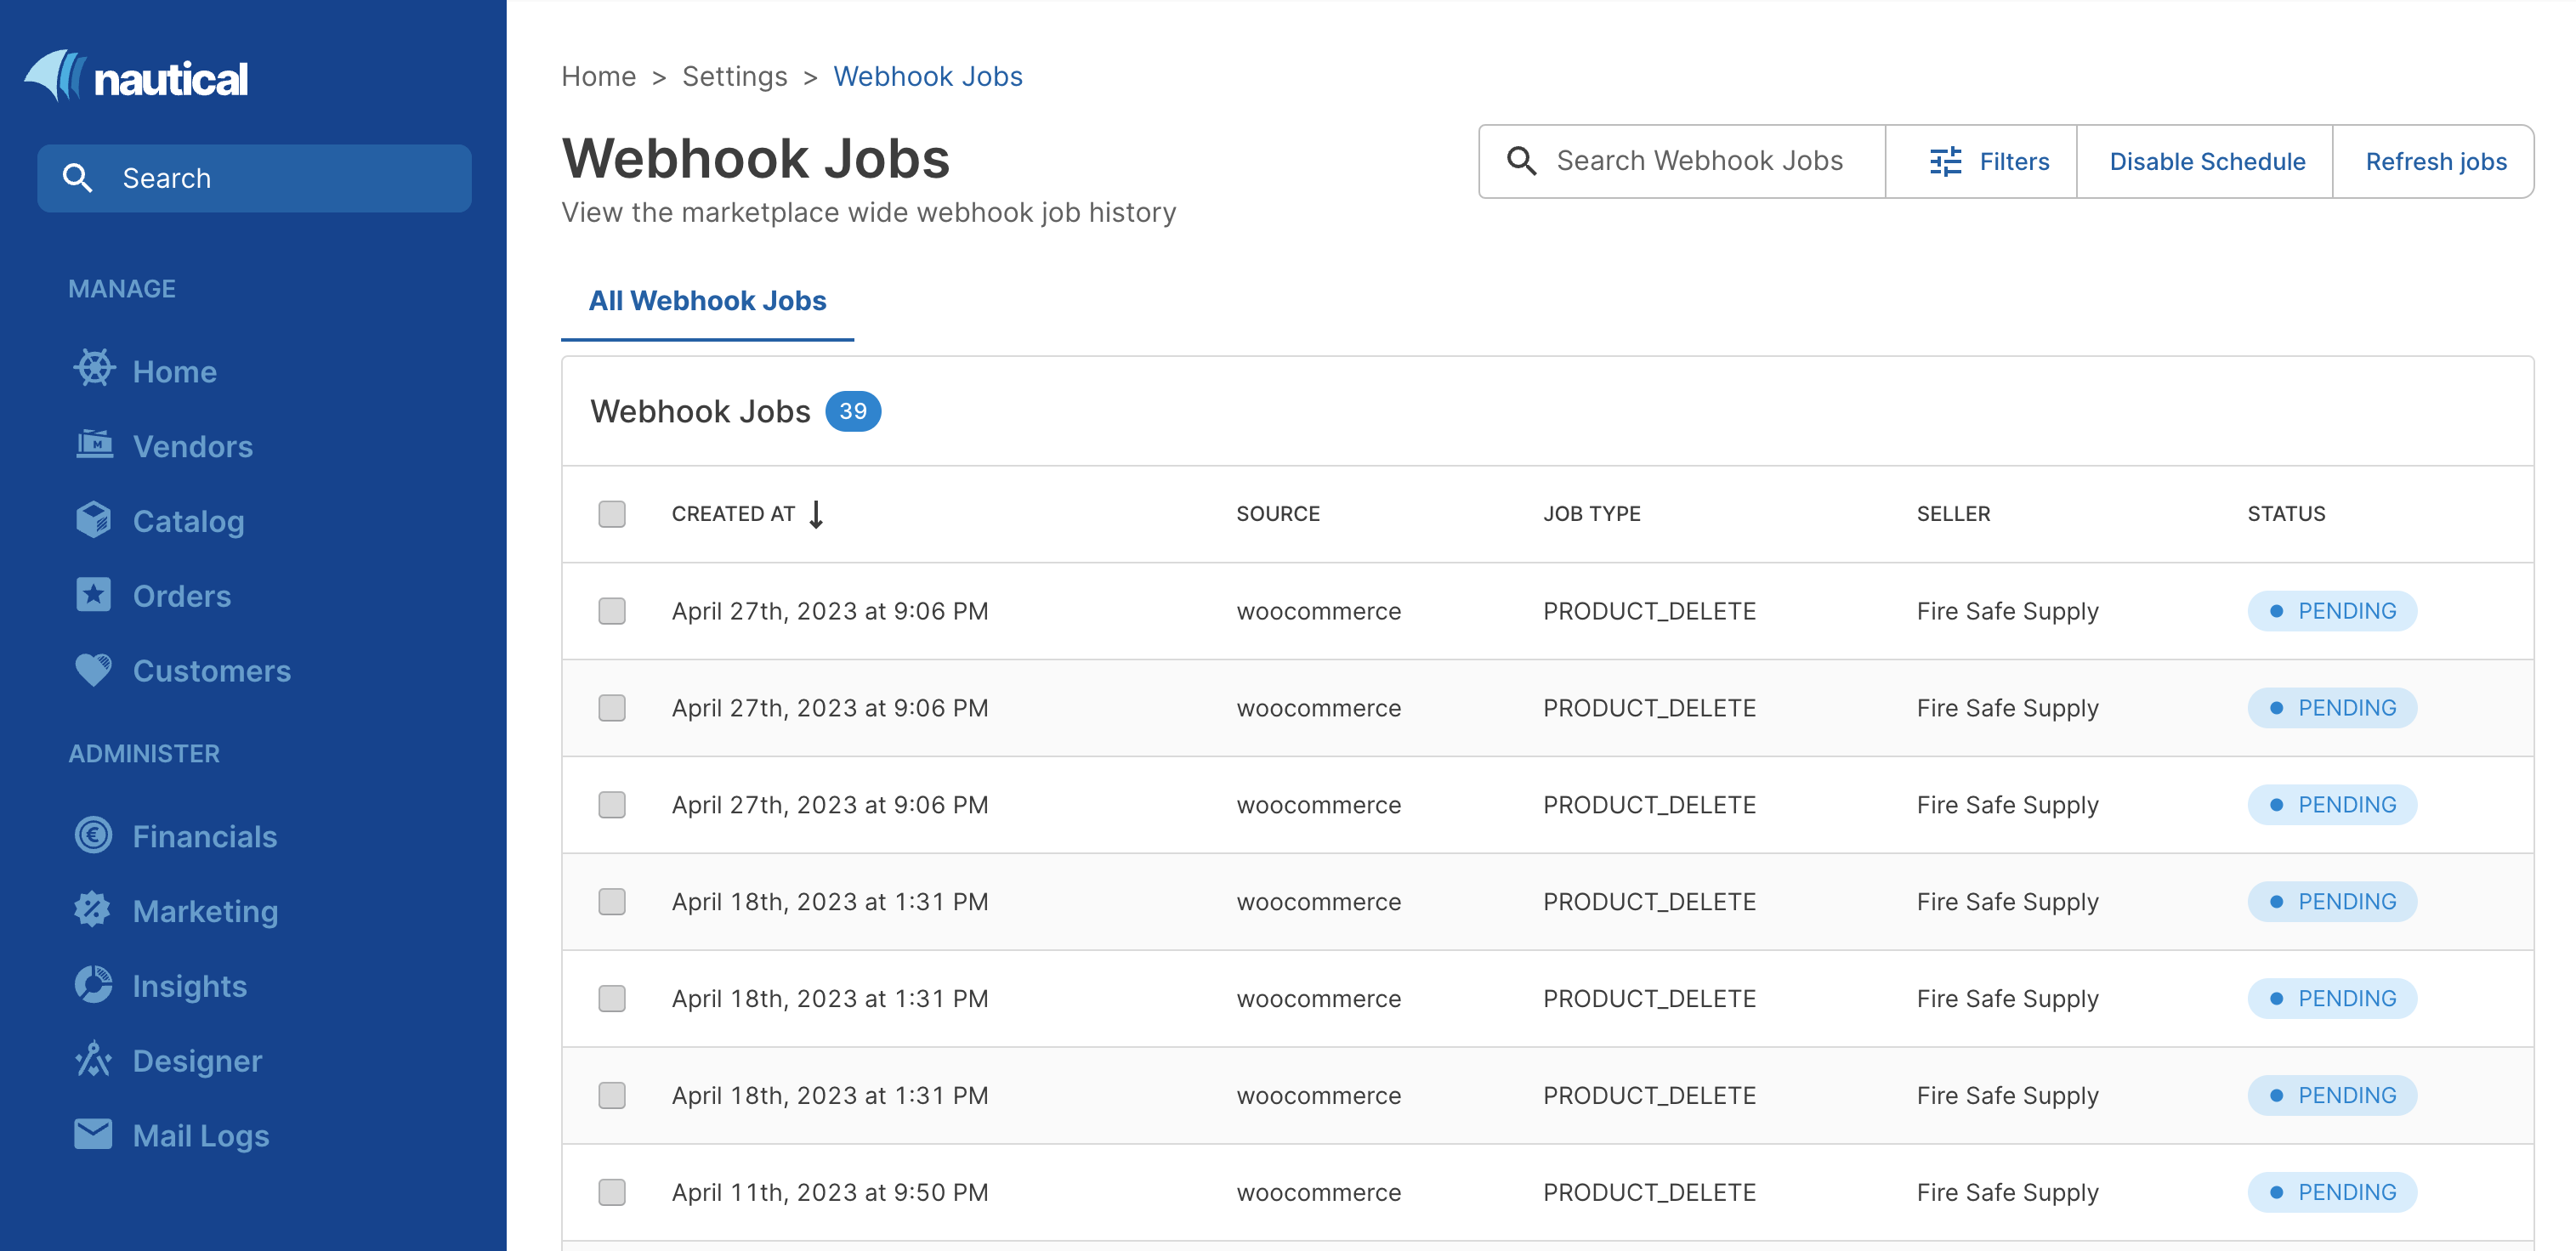
Use this page to view incoming webhooks, toggle scheduling, and refresh jobs.
The Webhook Jobs table displays the following fields for each webhook job:
- Created At: The date and time the webhook job was created.
- Source: The name of the origin from which the payload was sent.
- Job Type: The type of payload that was received.
- Seller: The seller account for which the webhooks are enabled.
- Status: The webhook job status.
Refresh jobs
To refresh the webhook jobs, on the Webhook Jobs page, select Refresh Jobs. This action will refresh the table.