Nautical Checkout
Nautical provides a secure checkout process integrated with the storefront. The checkout allows customers to add products to their cart and place orders directly from your storefront.
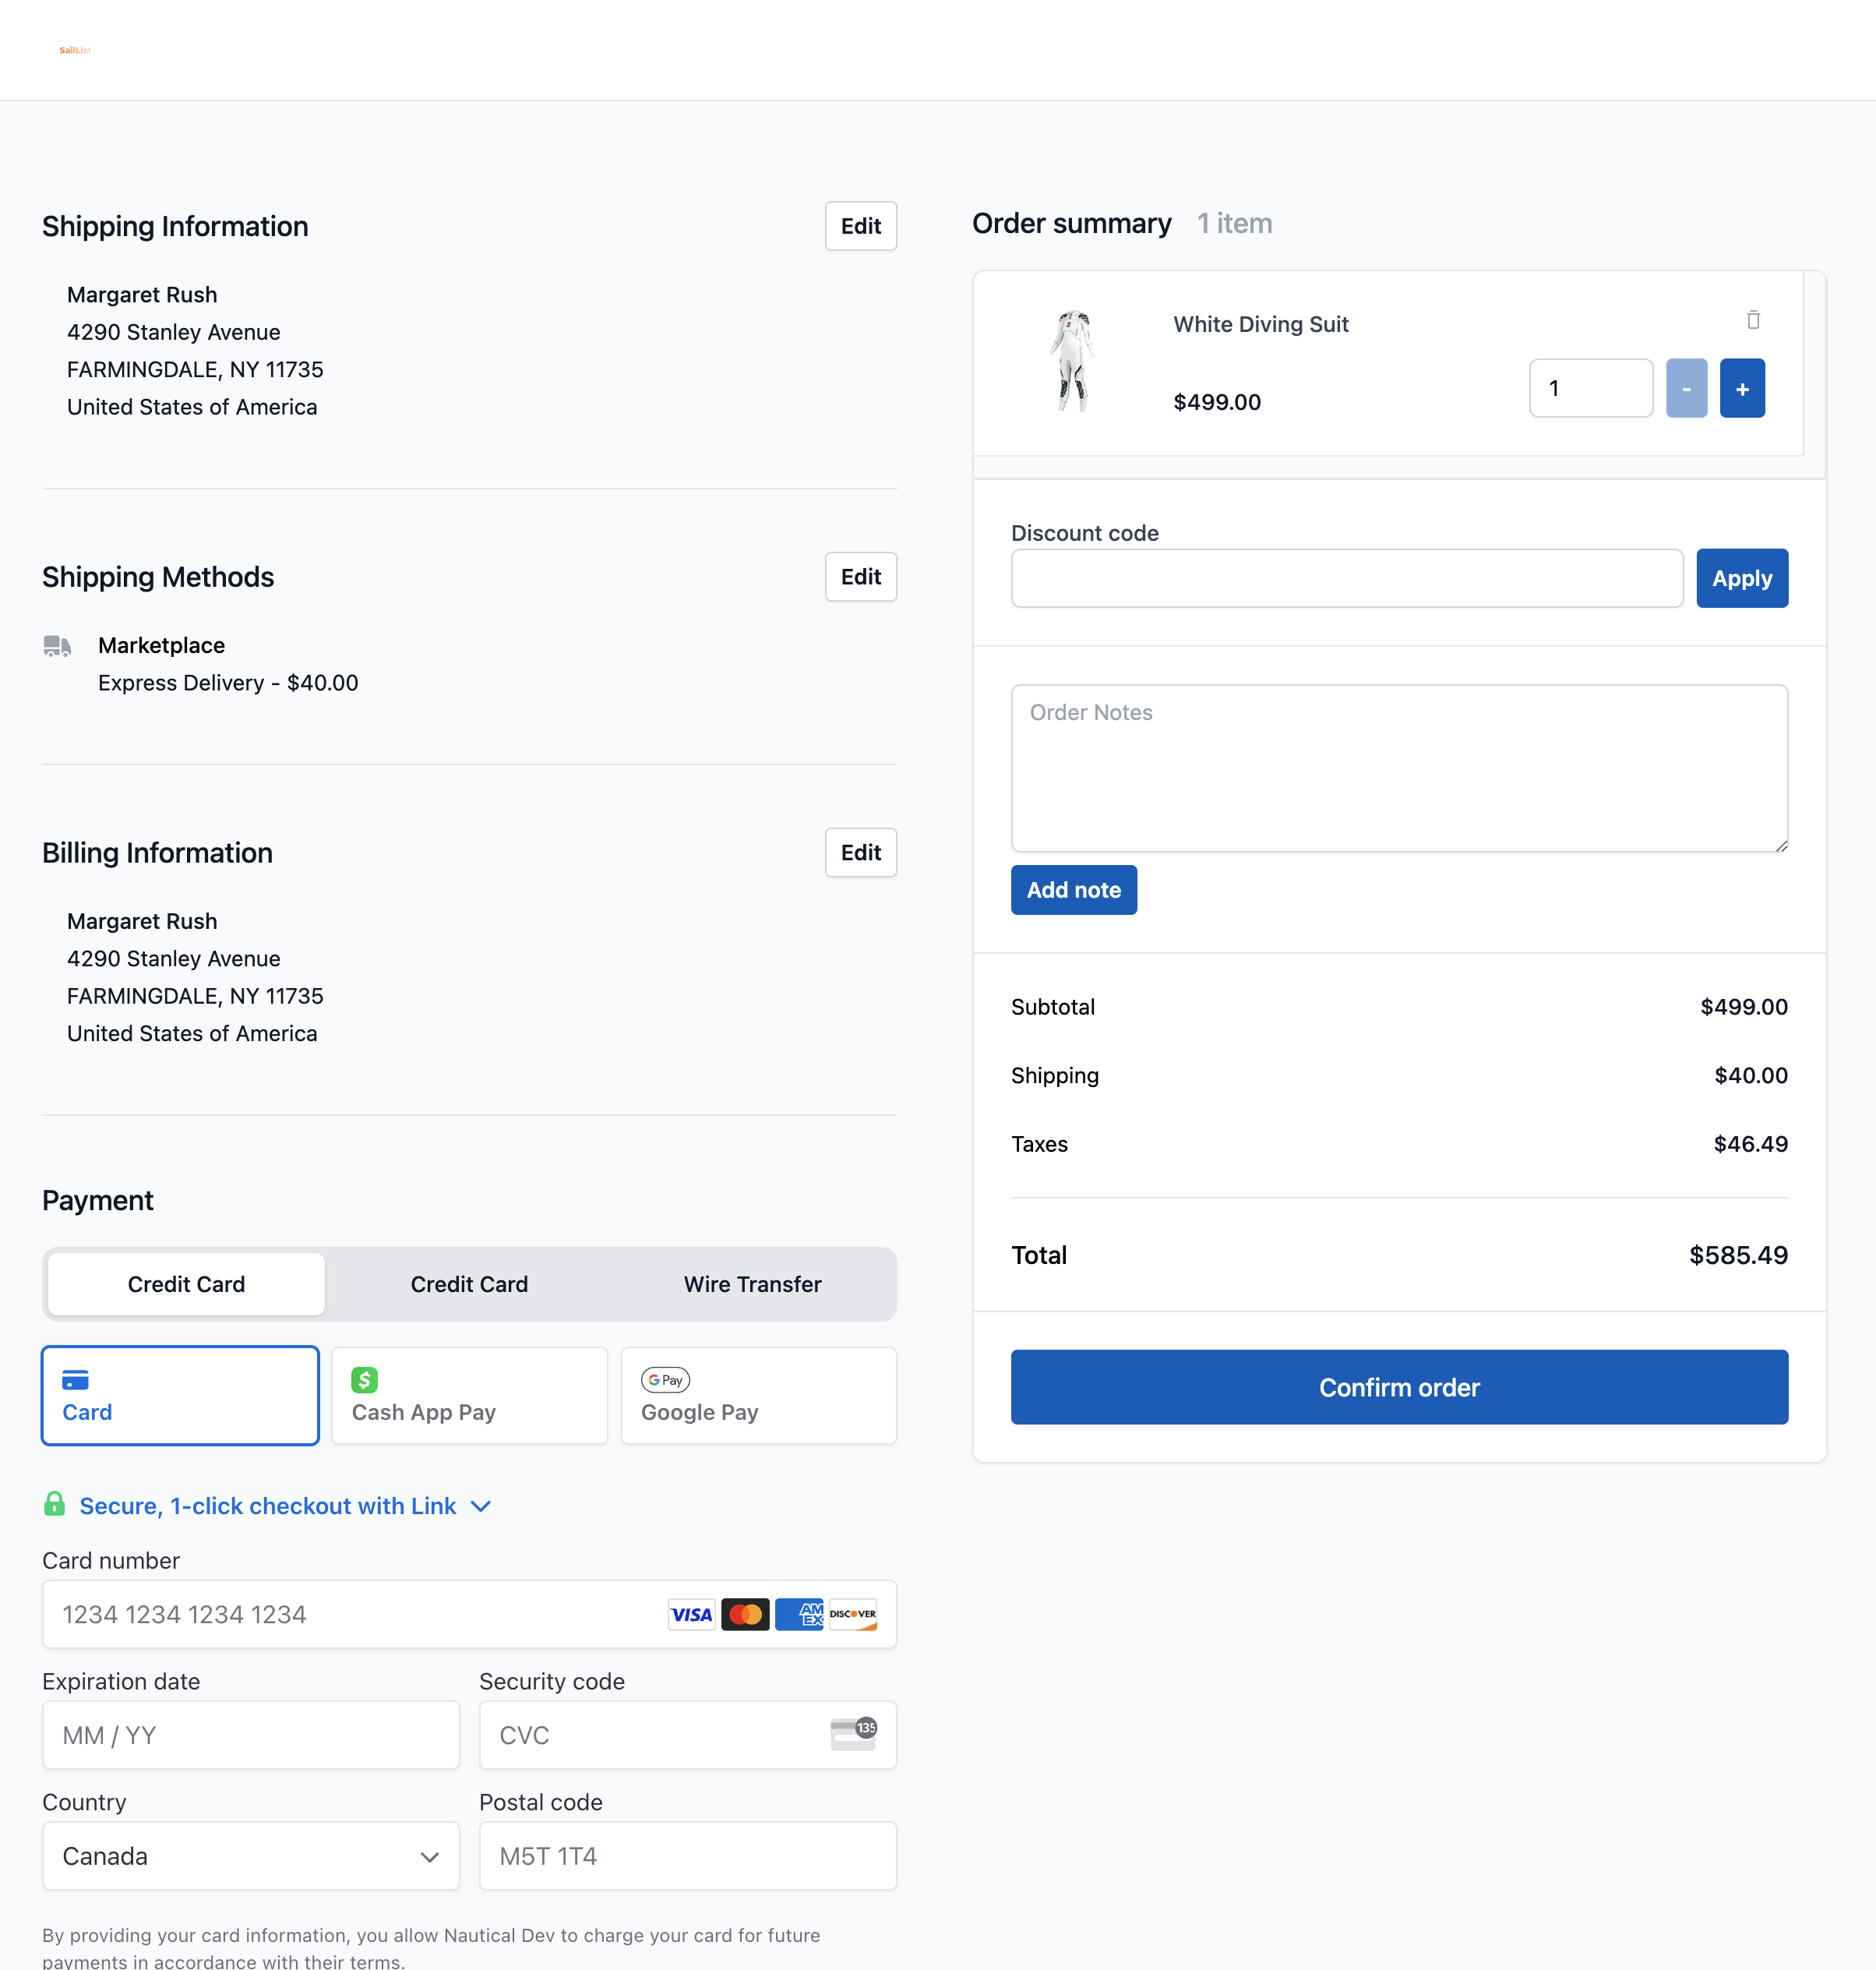
Nautical's hosted checkout offers buyers a streamlined, one-page form to finalize their order. From the checkout page, customers can:
- Choose a shipping method
- Add a payment method
- Apply a discount code
- Add a customer order note
- Enter shipping and billing addresses
You can customize settings for your checkout, including whether customers need to register for an account and the overall theme for your checkout experience.
Nautical checks inventory levels while items are in a customer's cart to ensure there's enough stock to fulfill the order. However, inventory isn't allocated at this stage. If a product becomes unavailable after being added to the cart, Nautical displays an error message and prevents checkout. Once an order is placed, the inventory is allocated.
Require login for checkout
By default, guests are allowed to check out without registering for an account. However, you can require customers to register for an account and log in before placing orders.
You can enable this feature by following these steps:
- On your dashboard, navigate to Settings -> Nautical configuration.
- Activate the Require login for checkout toggle slider.

Require login for price
By default, guests can view the prices of products in your store without signing up for an account. However, you can require customers to register for an account and log in before seeing prices.
You can enable this feature by following these steps:
- On your dashboard, navigate to Settings -> Nautical configuration.
- Activate the Require login for price toggle slider.

Note that the Require login for checkout feature is automatically enabled or disabled when the Require login for price feature is toggled on or off.
Set up payment options
Customers must enter a valid payment method to complete the checkout process. The payment options available at checkout depend on the payment plugins enabled in your marketplace app store.
You can accept one or more of the following payment options:
-
Stripe. When the Stripe app is active, it appears as a Credit Card option at checkout. All payment methods supported by Stripe are available.
-
Braintree. When the Braintree app is active, it presents as a Credit Card option in the checkout.
-
Manual. When the Manual Payments plugin is active, it appears as a Manual Payments option, allowing customers to check out without a credit card.
Adding a payment option
- On your dashboard, navigate to Settings -> Apps.
- From the list of apps present, select one of the payment apps available (Braintree, Stripe, or Manual Payments).
- Configure the plugin's settings and set it to
Active. - Save your settings, the payment option will become available in your checkout.
Customize your checkout theme
Your checkout theme is in sync with your storefront. Thus whenever you update your storefront's colors, logo, or font - these values automatically update in your checkout as well.
Checkout confirmation URL
The confirmation URL is the page where customers are redirected after successfully making a payment for an order at checkout.
Change the confirmation URL
- Go to Storefront -> Checkout settings.
- Set the Confirmation URL field to base URL where customers should be redirected.
- If using the no-code storefront editor, set this URL to
https://{your_site}/thank-you - If developing a custom storefront, set this URL to the base thank-you page. A unique checkout token will be appended after a successful checkout to show order-specific details. For example:
https://{your_site}/thank-you?token=04925353-0def-41bd-b836-da14f71fe67a
- If using the no-code storefront editor, set this URL to
- Select Save.