Adding a custom domain to your storefront
If you have a custom domain you purchased from a domain provider, you can add it to your Nautical storefront without moving the hosting to Nautical. This guide shows you how to add your domain to your Nautical storefront using the following steps:
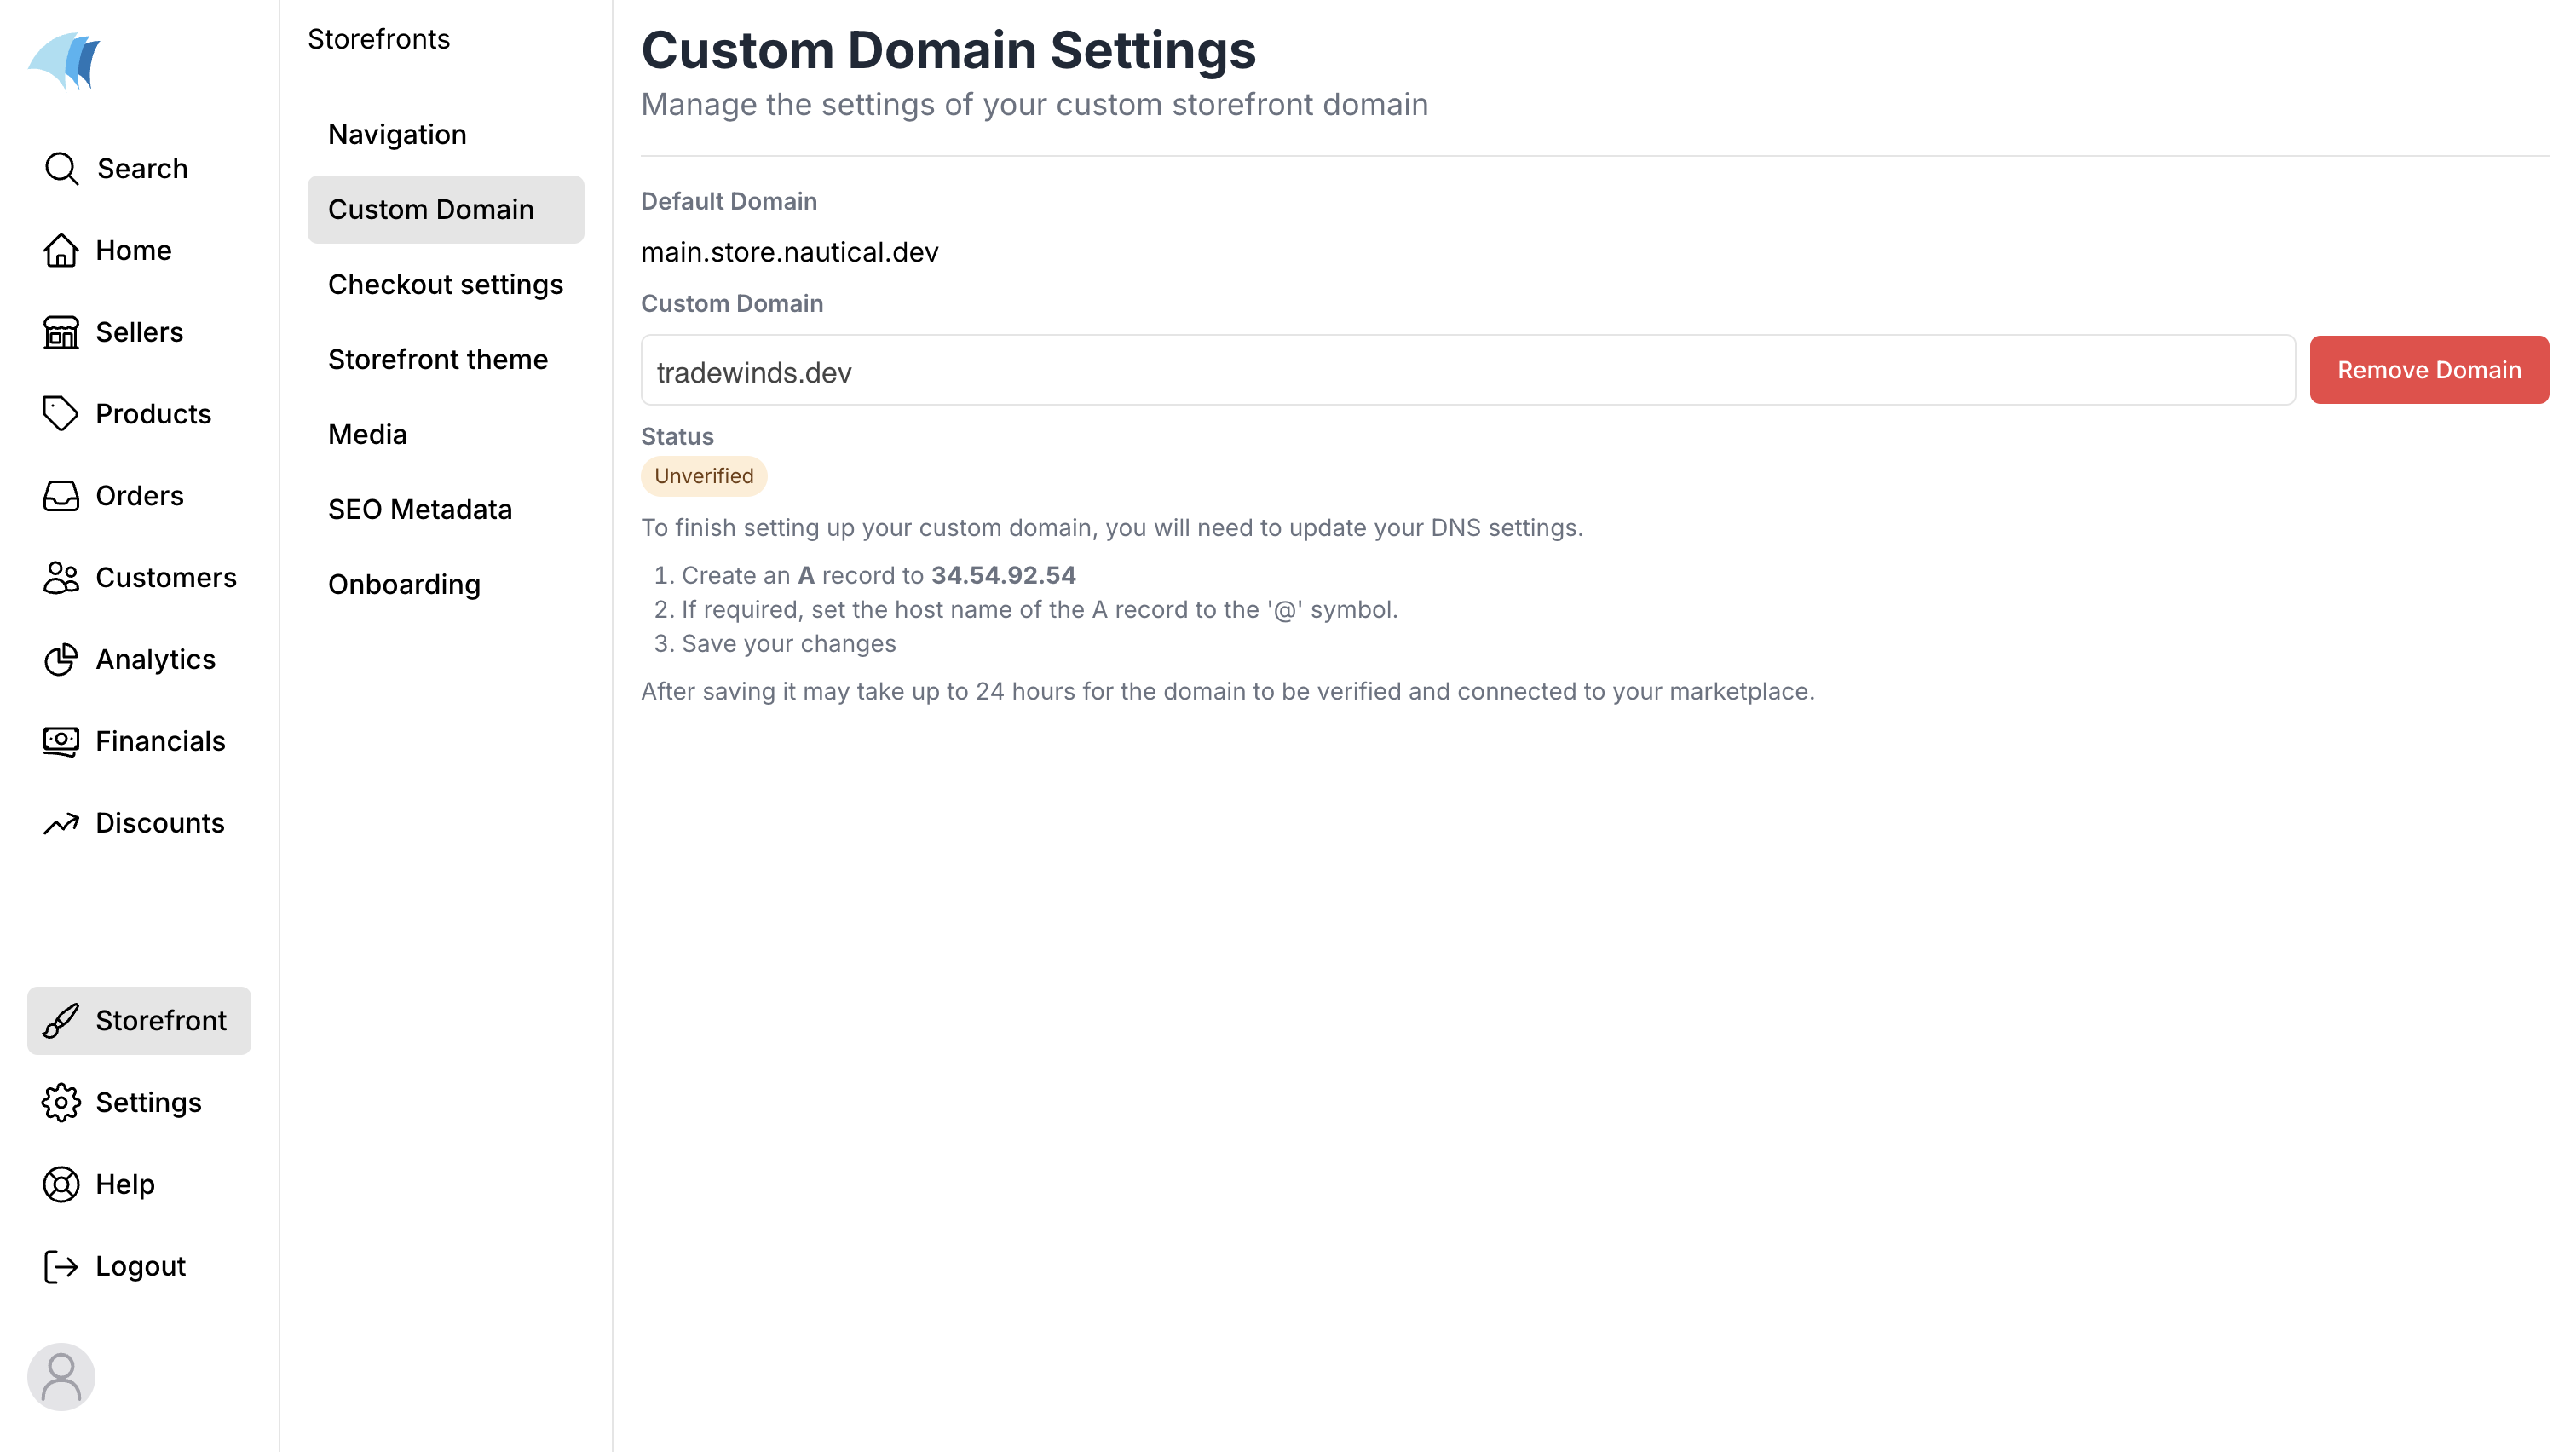
- Navigate to your Nautical dashboard, click on Storefront > Custom Domain.
- Insert your custom domain in the input bar provided. The store in the image below uses a custom domain called tradewinds.dev.

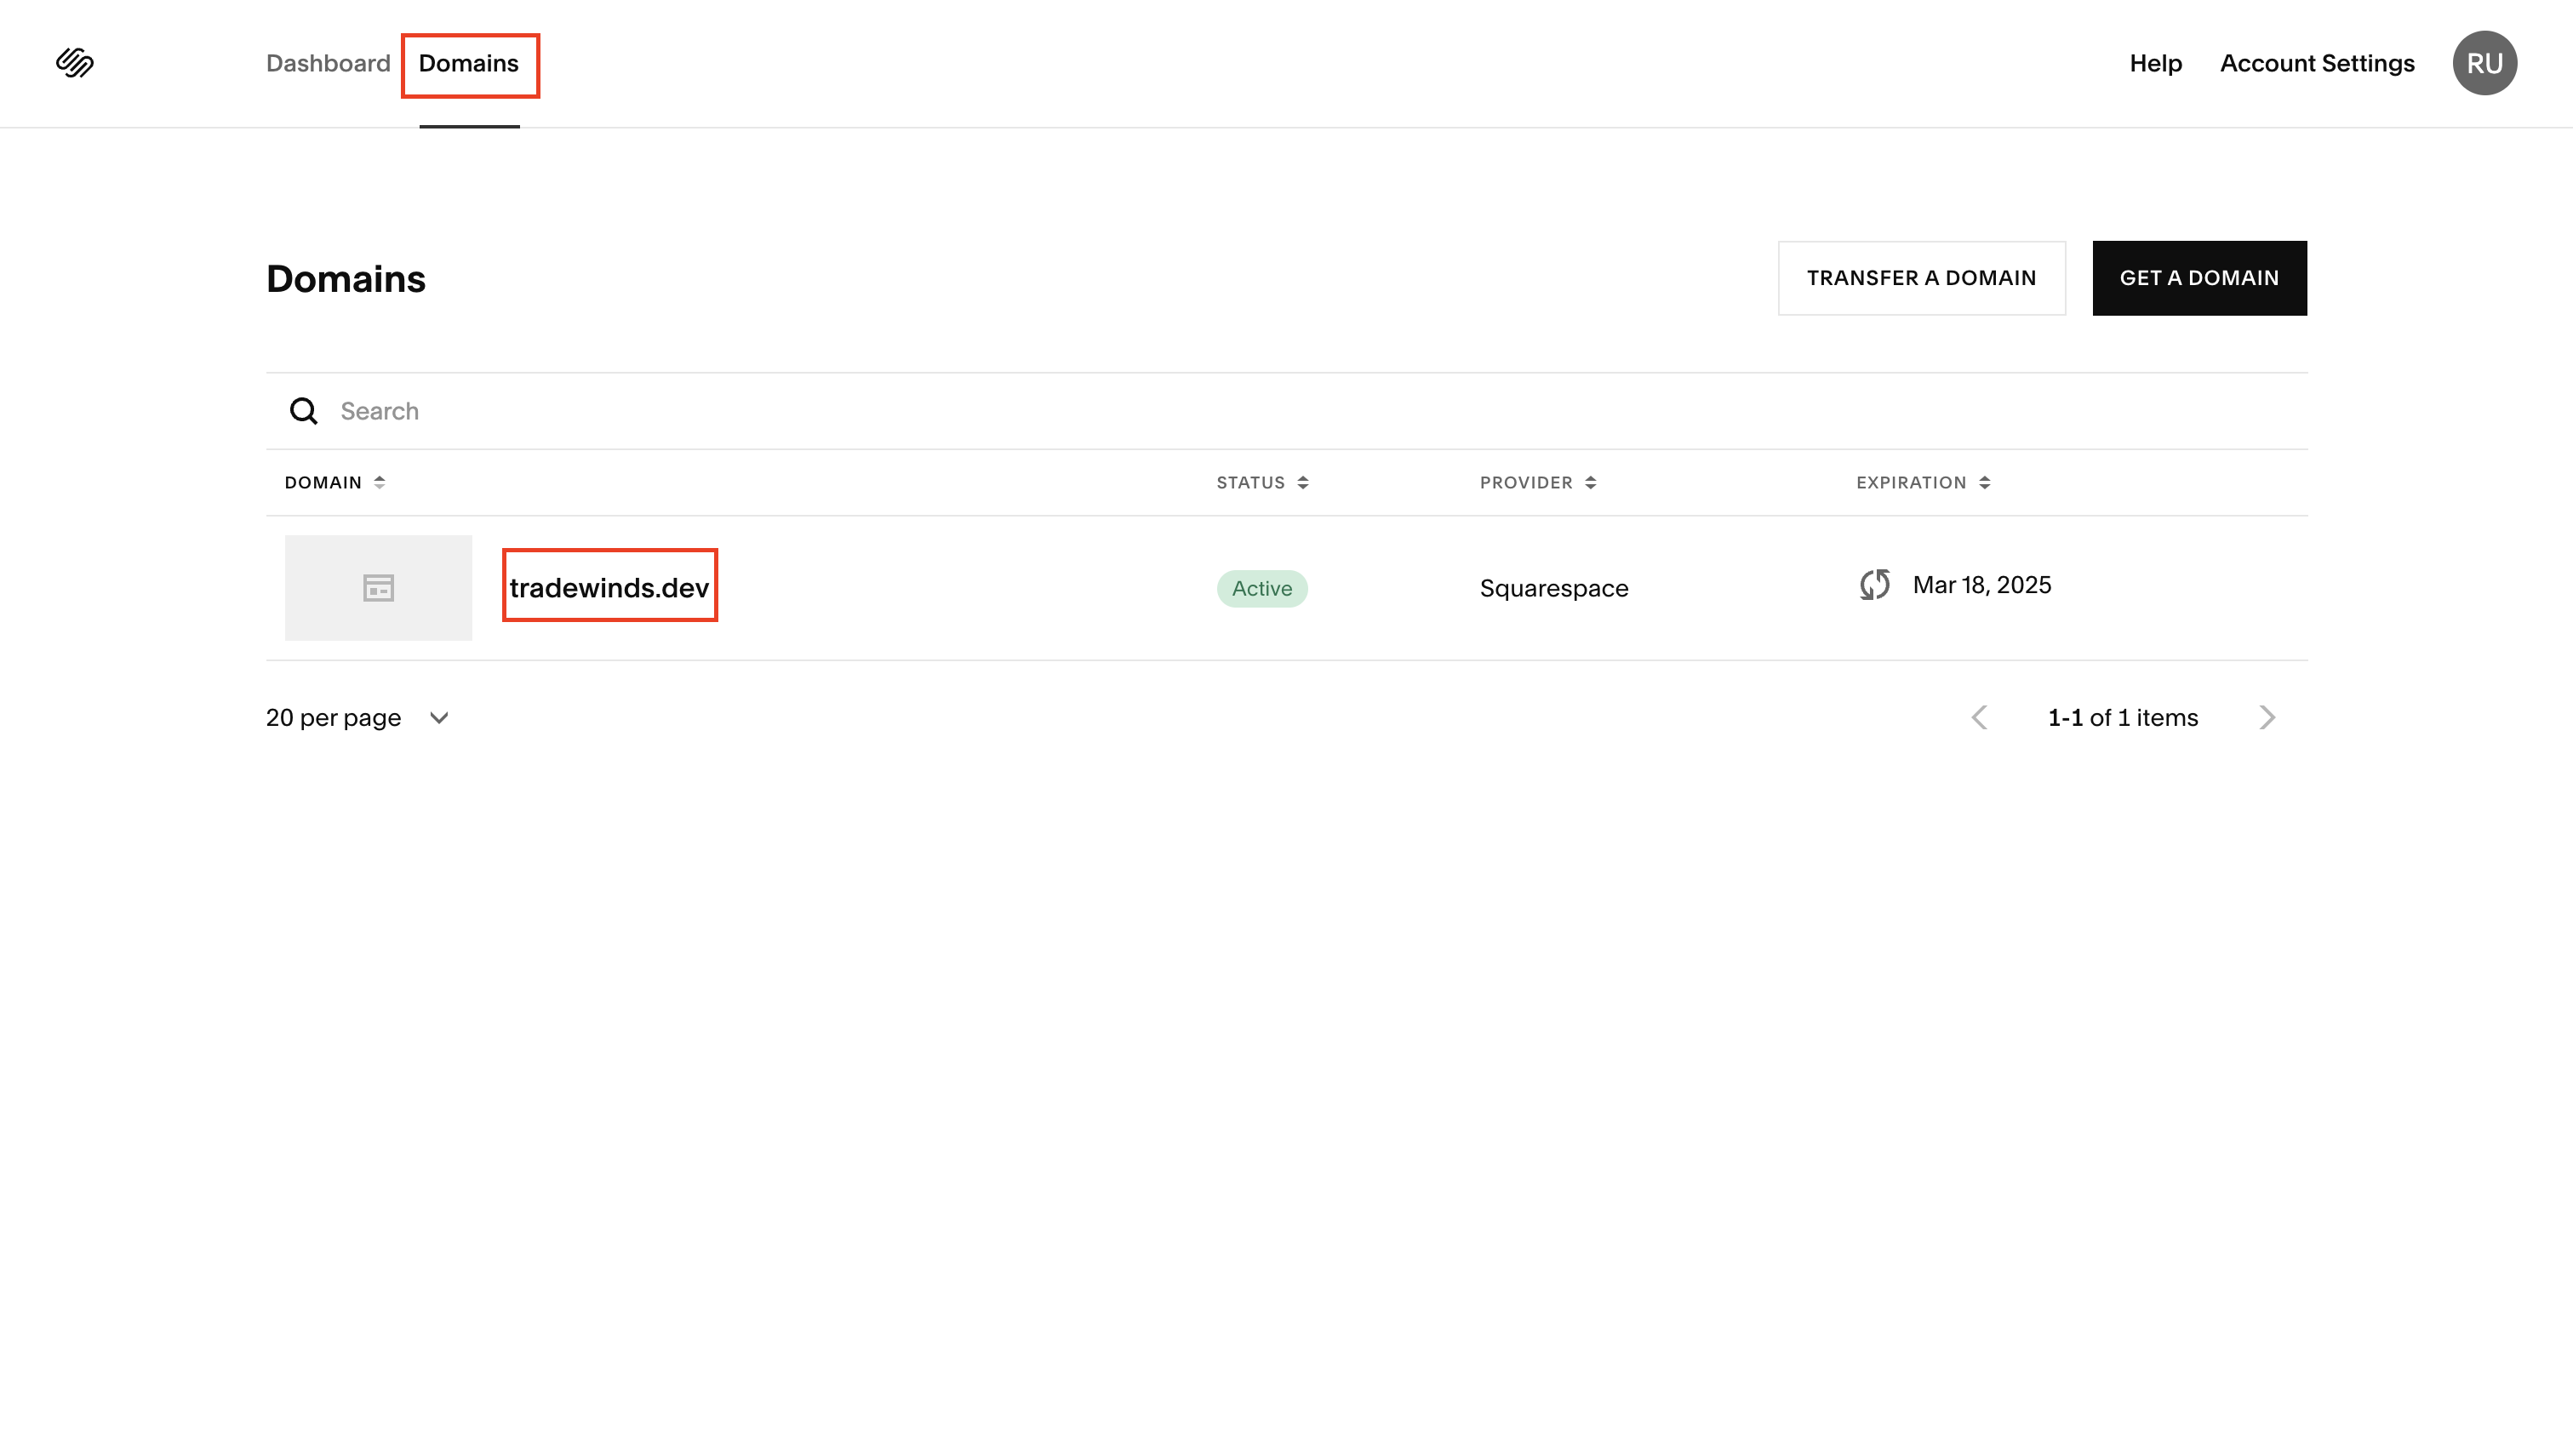
- Log in to your domain provider. The domain provider used in this guide is Squarespace.
- Navigate to the Domains tab and click on the custom domain you set in your Nautical dashboard.

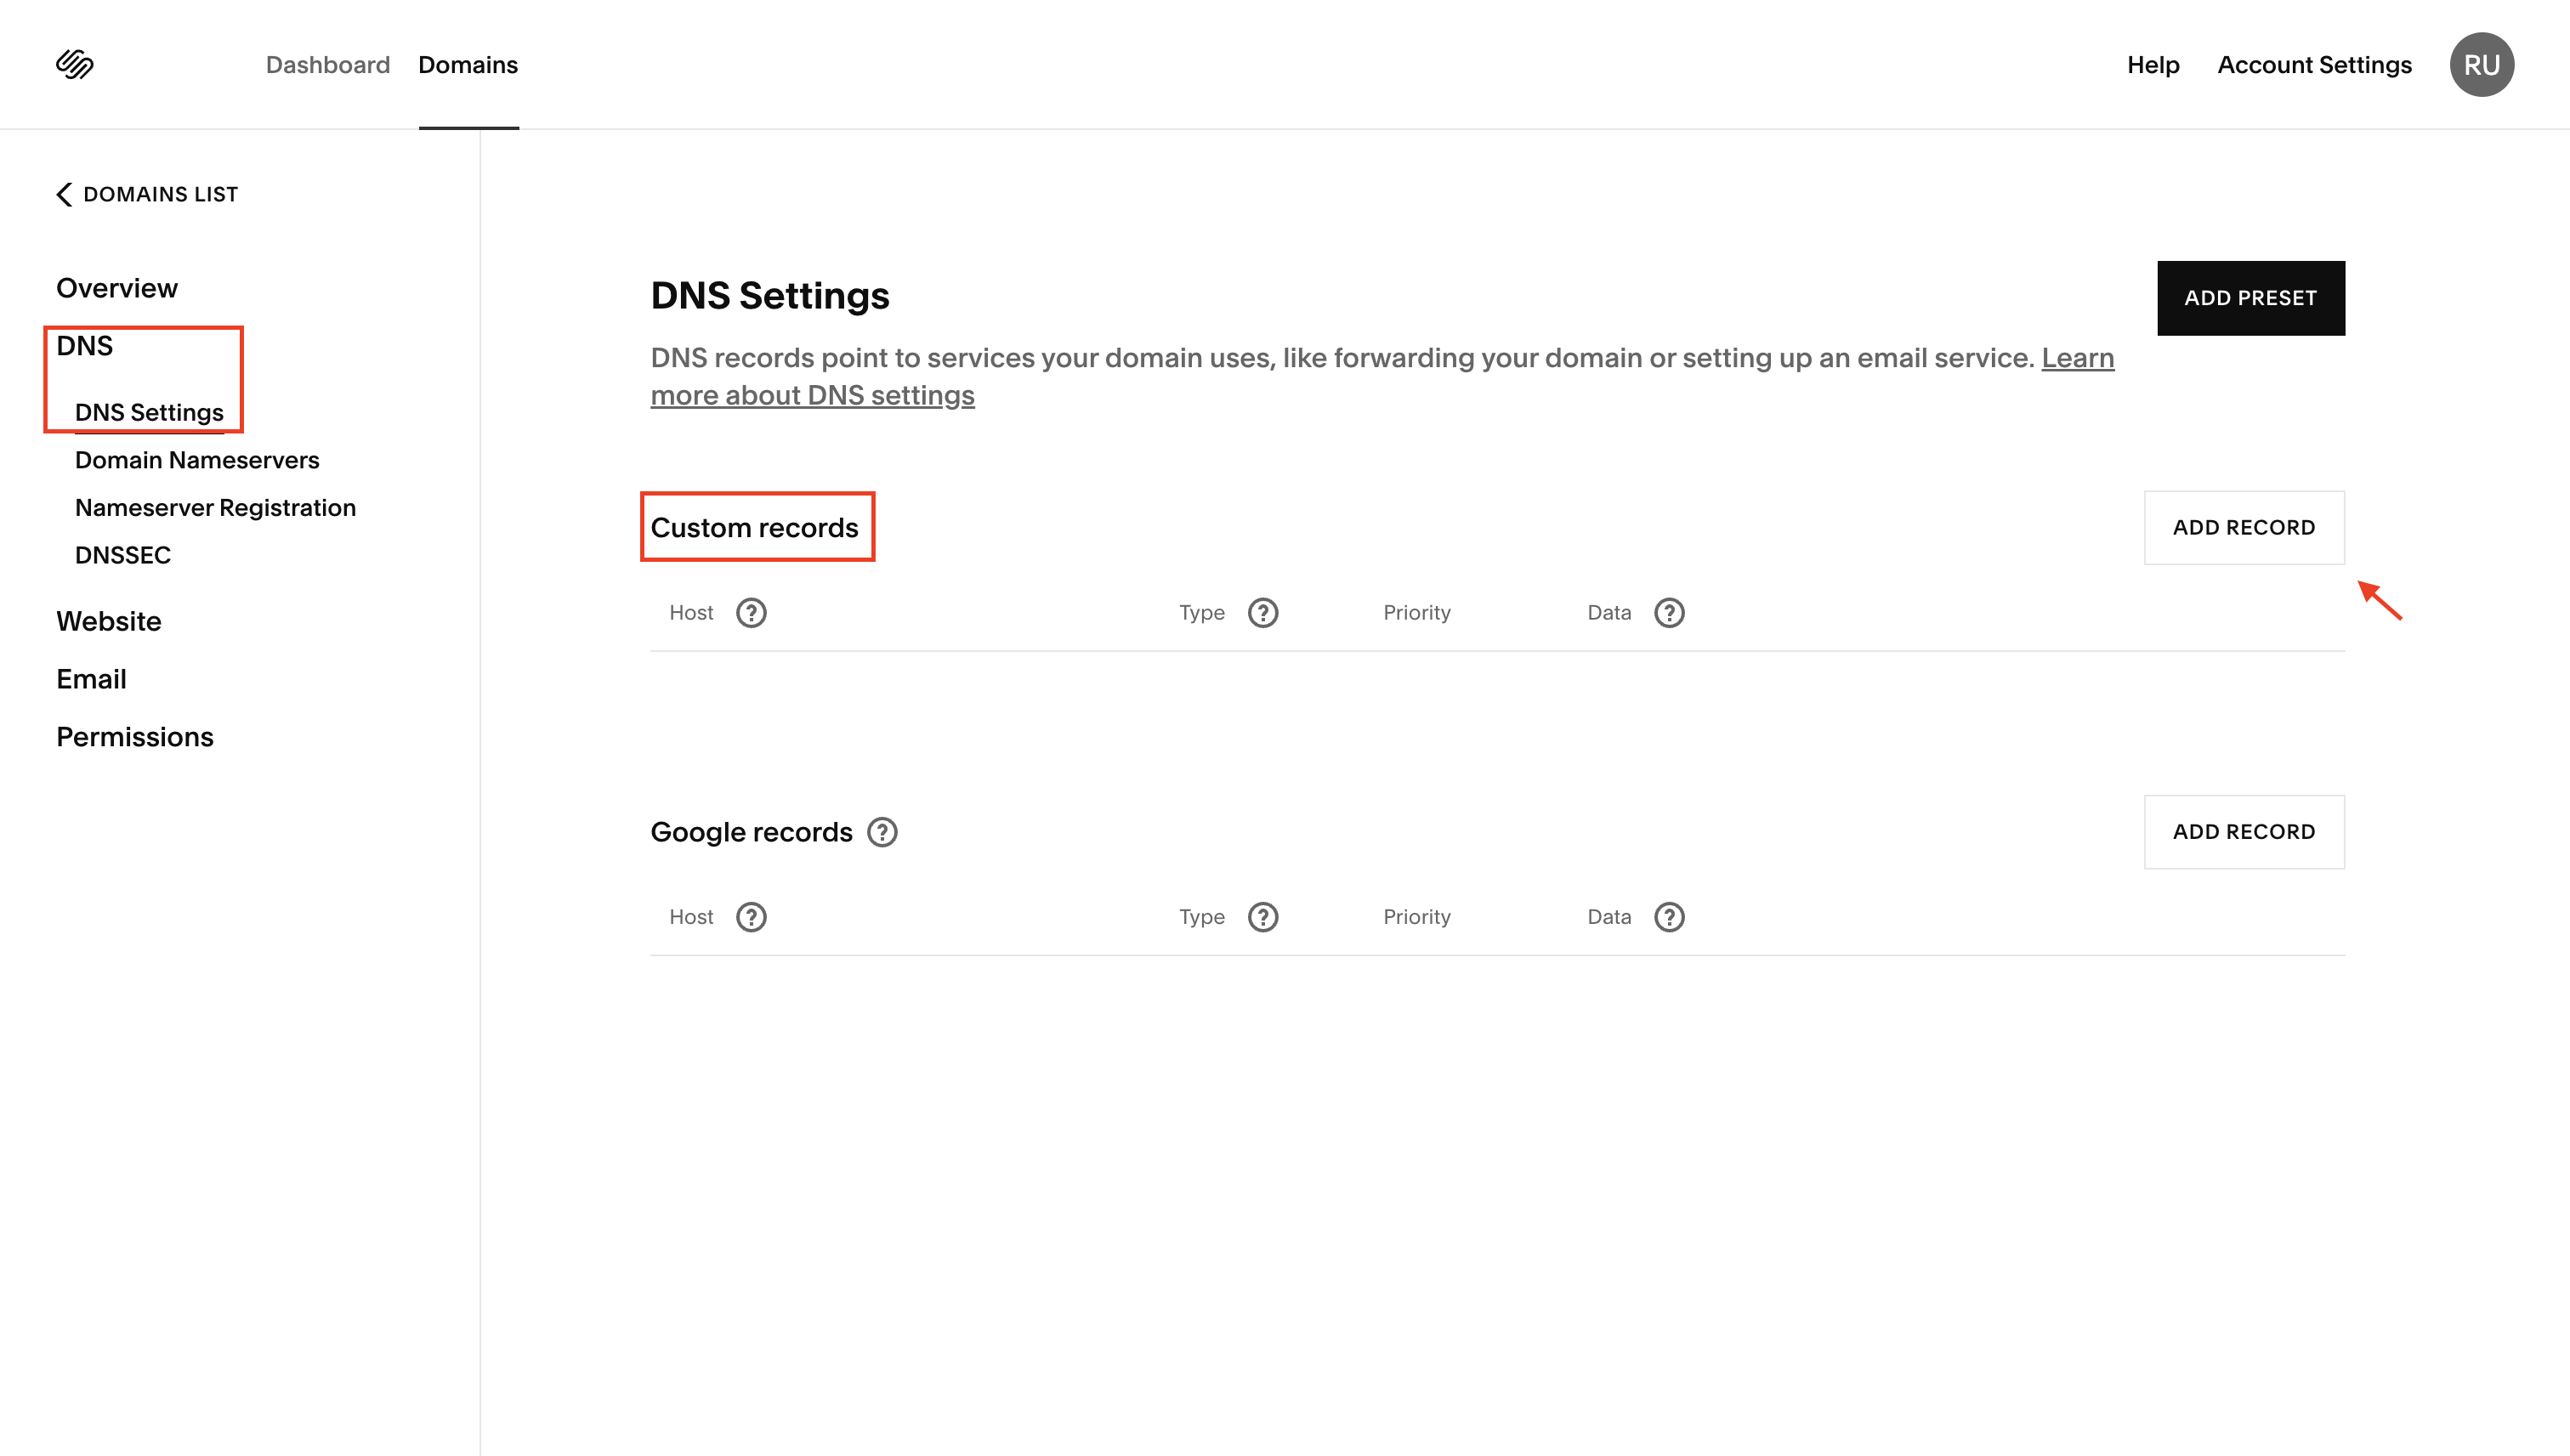
- In the sidebar, click on DNS > DNS Settings. Navigate to the Custom records section and click on the ADD RECORD button to add a new DNS record.

- For the DNS record, use the following:
- HOST: Type in the value @
- Type: Select the A option from the dropdown menu
- IP address: Type in the value 34.54.92.54
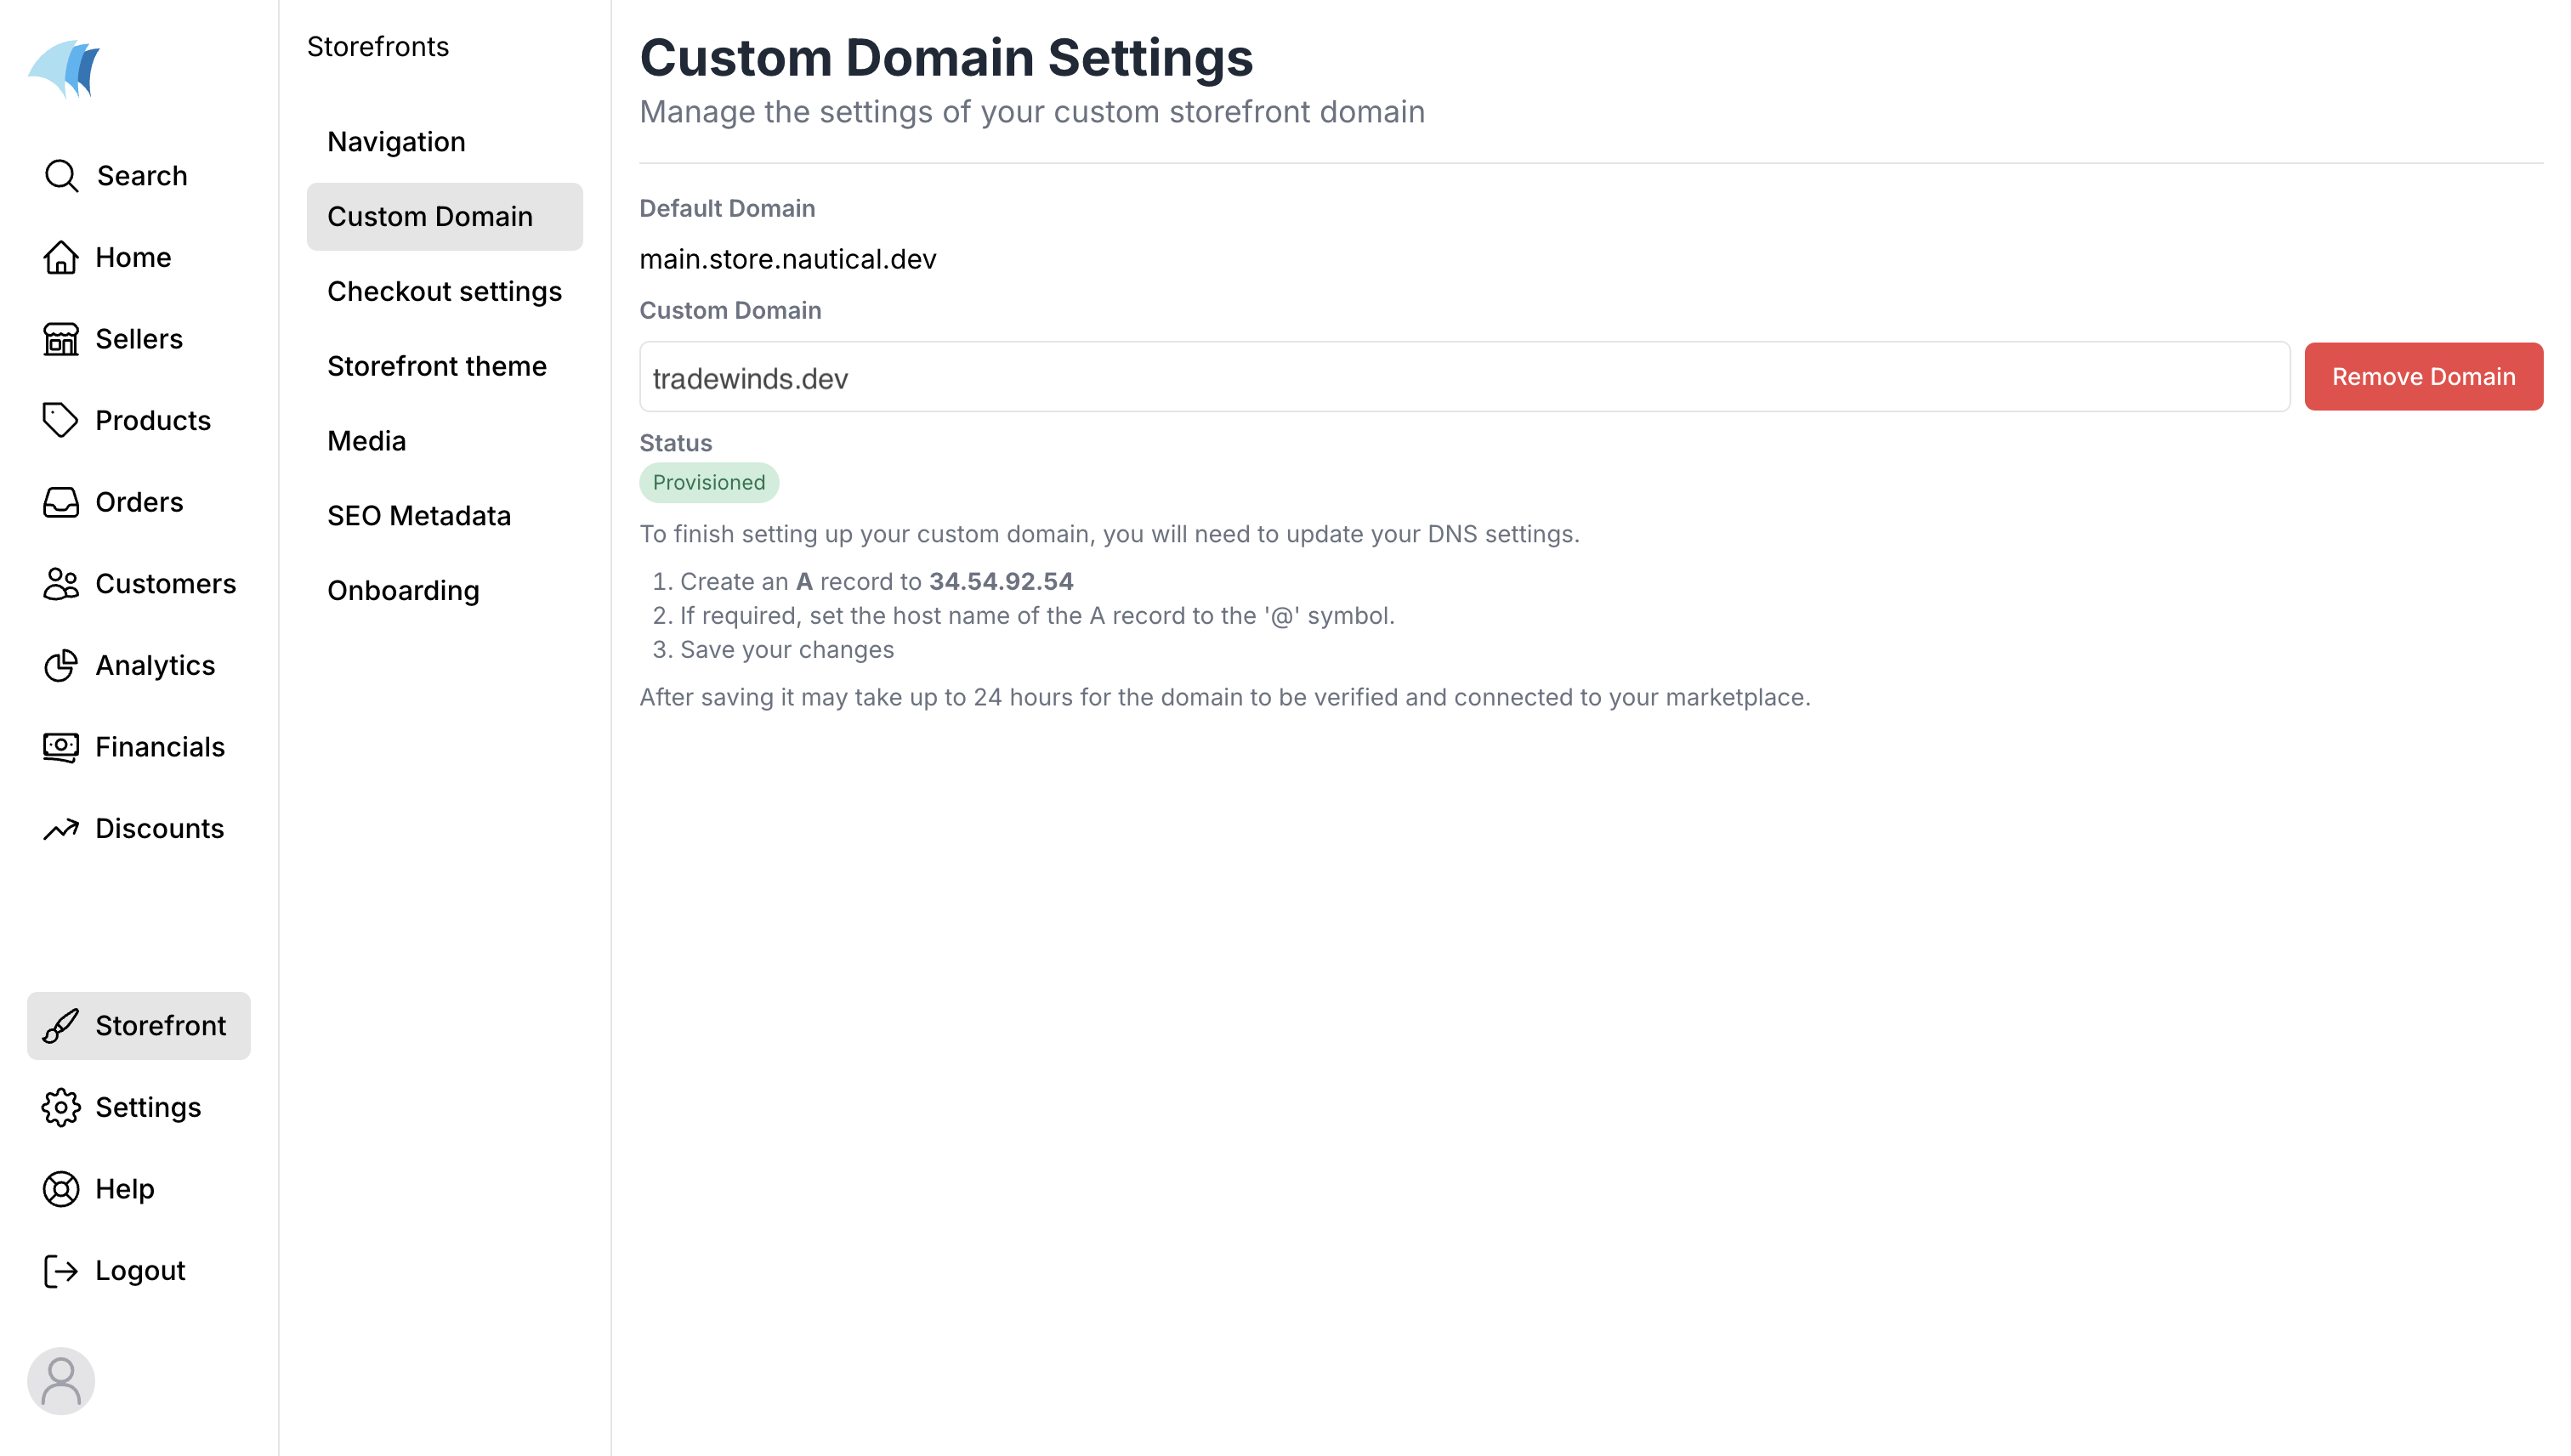
- When you are done, click on the SAVE button to save your changes. After saving, it may take up to 24 hours for the domain to be verified and connected to your marketplace. You should see a status similar to the image below once your domain is verified.
