Connect SendGrid for email processing
SendGrid is not enabled in the marketplace by default. To access this feature, speak to your Nautical representative or reach out via support@nauticalcommerce.com.
If you need to work with email templates in the dashboard, check out Nautical email templates.
From staff account activation emails to order confirmations, emails are essential to your e-commerce operations. Nautical has a native integration with SendGrid as an email processor to handle sending emails based on configurable email templates.
Typically one of the first tasks after kicking off your Nautical implementation is activating SendGrid. This is because you need to be able to receive emails before you can set your password and sign in to the system. This article will walk you through how to sign up for SendGrid and activate the SendGrid integration.
Set up SendGrid account
Before you can activate emails, you must sign up for a SendGrid account. Once you have registered, we recommend you configure your account to have two-factor authentication.
After registration, setting up your SendGrid account involves the following tasks:
Choose your plan
While you can sign up for SendGrid for free, consider which plan you'll need for operating your business.
The Free plan is limited to 300 templates and up to 100 emails per day. We recommend most customers to start with at least the Essentials plan, but this depends on many factors such as your daily order volume.
See SendGrid's Email API pricing plans for more information.
Authenticate sender identity
After registering for SendGrid you must configure the sender identity. The sender represents your "From" name and email address that your buyers, sellers, and staff members will see as the sender of emails from your marketplace.
You'll need to provide both the From name and the From email address for a Nautical representative to activate emails in your environment.
Steps
- Sign in to the SendGrid Dashboard.
- From the left navigation pane, go to Settings -> Sender Authentication.
- Proceed with adding your sender identity and verifying the email address.
To learn more about verifying sender identity, see SendGrid's documentation. - Save the following information to provide to your Nautical Program Manager:
- From name
- From email address
Generate a SendGrid API key
Before you can connect SendGrid to your Nautical platform, you must create a Full Access API key. You'll need to provide both the API Key and the API Key ID for a Nautical representative to activate emails in your environment.
To activate the SendGrid integration, you must create a SendGrid API key with "Full Access" permission scope. This is required to create and activate an email template. Once the activation is successful, the API key will be automatically reconfigured to limit access to only "Mail Send" and "Sender Authentication."
Steps
- Sign in to the SendGrid Dashboard.
- From the left navigation pane, go to Settings -> API Keys.
- On the API Keys page, select Create API Key.
- Enter a name, and ensure to grant Full Access permissions.
- Select Create & View.
- Save the following information to provide to your Nautical Program Manager:
- API Key: Copy the API key presented when you create the API key:
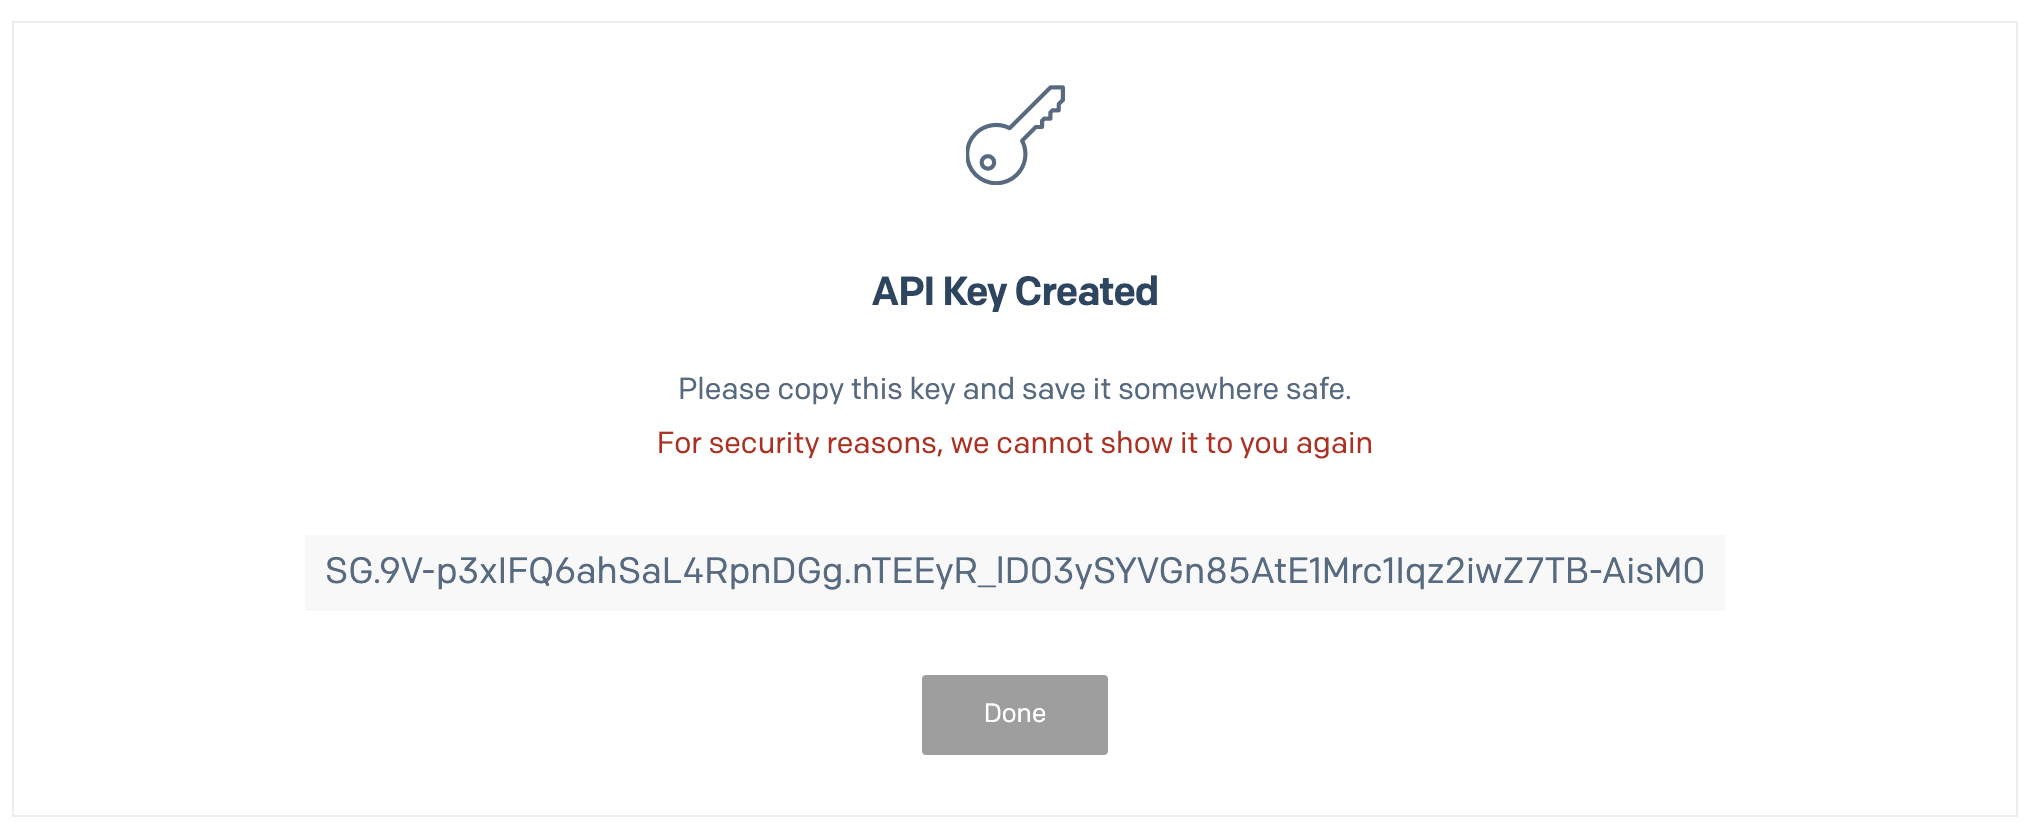
SendGrid API key - API Key ID: Return to the Settings -> API Keys page and copy the API Key ID.
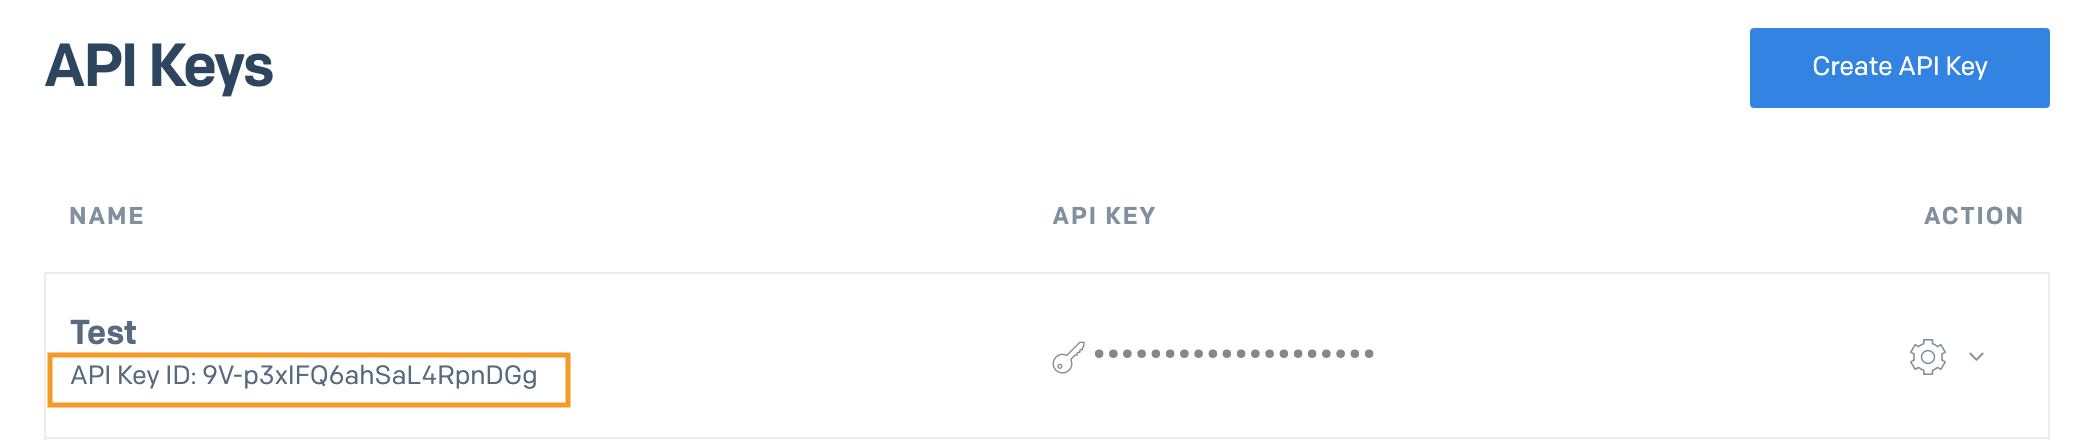
SendGrid API key ID
For more information, see SendGrid's documentation.
Activate SendGrid integration
For new environments, a Nautical team member must activate the SendGrid app integration. Once you've set up your SendGrid account and API keys, work with your Nautical Program Manager to enable SendGrid in your environment. Make sure to have the following information ready:
- Sender name
- Sender email address
- API key ID
- API key
Configure SendGrid app settings
At the start of your Nautical implementation, the Nautical team will activate your SendGrid integration after you provide the required information. If you need to change this configuration, you can follow these instructions.
- From your Nautical dashboard, go to Settings -> Apps -> SendGrid.
- Under Settings, complete the following fields:
- App key ID: Enter the full access API key ID from SendGrid.
- Sender Name: Enter your verified sender from name from SendGrid.
- Sender Email Address: Enter your verified sender from email address from SendGrid.
- Template Suffix: To add a suffix to the template names upon creation in SendGrid, enter the text to append.
noteA suffix can be helpful, for instance, if you have separate staging and production environments and wish to avoid confusion by appending
-stagingto the staging templates. - Under Authorization, select Edit, and then enter the full access API key from SendGrid.
- Select Save.
- Select Activate.
You'll see a success activation message once activation is complete. If you experience an error, see the troubleshooting steps below.
Troubleshooting
If you encounter difficulties while activating SendGrid, refer to the following troubleshooting steps:
- Ensure that the API key you have entered for app activation has the required "Full Access" permission scope.
- Ensure that the "Sender Name" and "Sender Email Address" have been verified within SendGrid and match the sender identity accurately.
- If you deactivate SendGrid, you cannot re-activate it with the same API key. This occurs because during SendGrid activation, the API key permission scopes are reduced, rendering them insufficient for re-activation. In this scenario, you must generate new API keys.
- If you encounter issues while activating SendGrid with an existing account, ensure that you have enough template space available for your current account tier. After activating the SendGrid app in Nautical, more than 30 email templates will be created.
What happens after activation
Once you have successfully activated the SendGrid app in Nautical, the following tasks occur automatically:
- Templates created in SendGrid
- Templates activated in Nautical
- API key permissions downgraded in SendGrid
Templates created in SendGrid
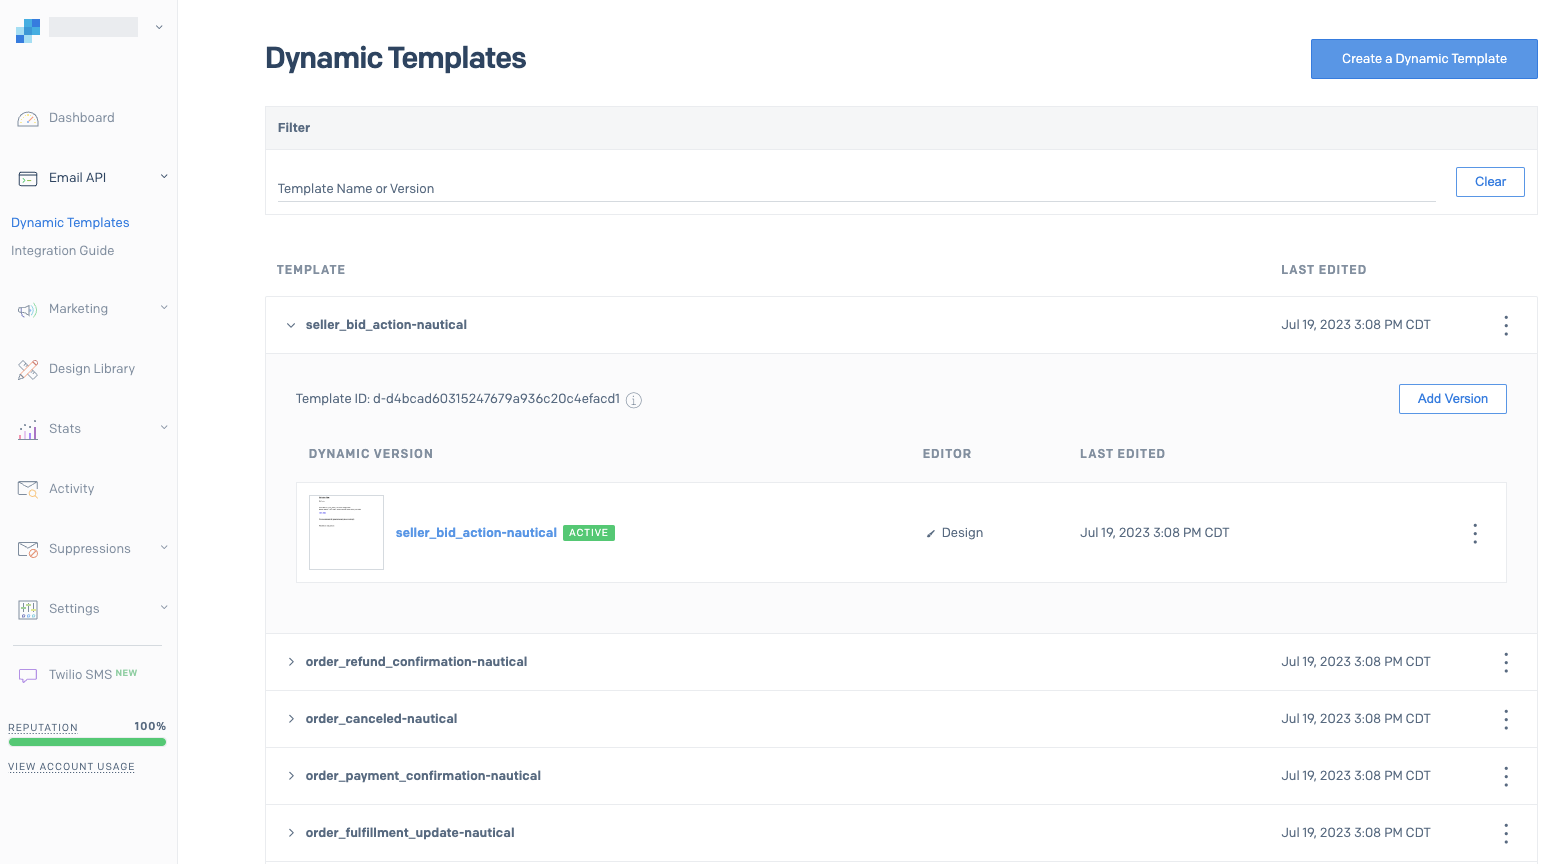
Over 30 dynamic email templates are cloned from Nautical to SendGrid. These email templates form the messages that are sent to your operator staff, sellers, and buyers. You can customize these templates to match your business voice and branding.
In SendGrid, view and edit these templates from Email API -> Dynamic Templates:
Templates activated in Nautical
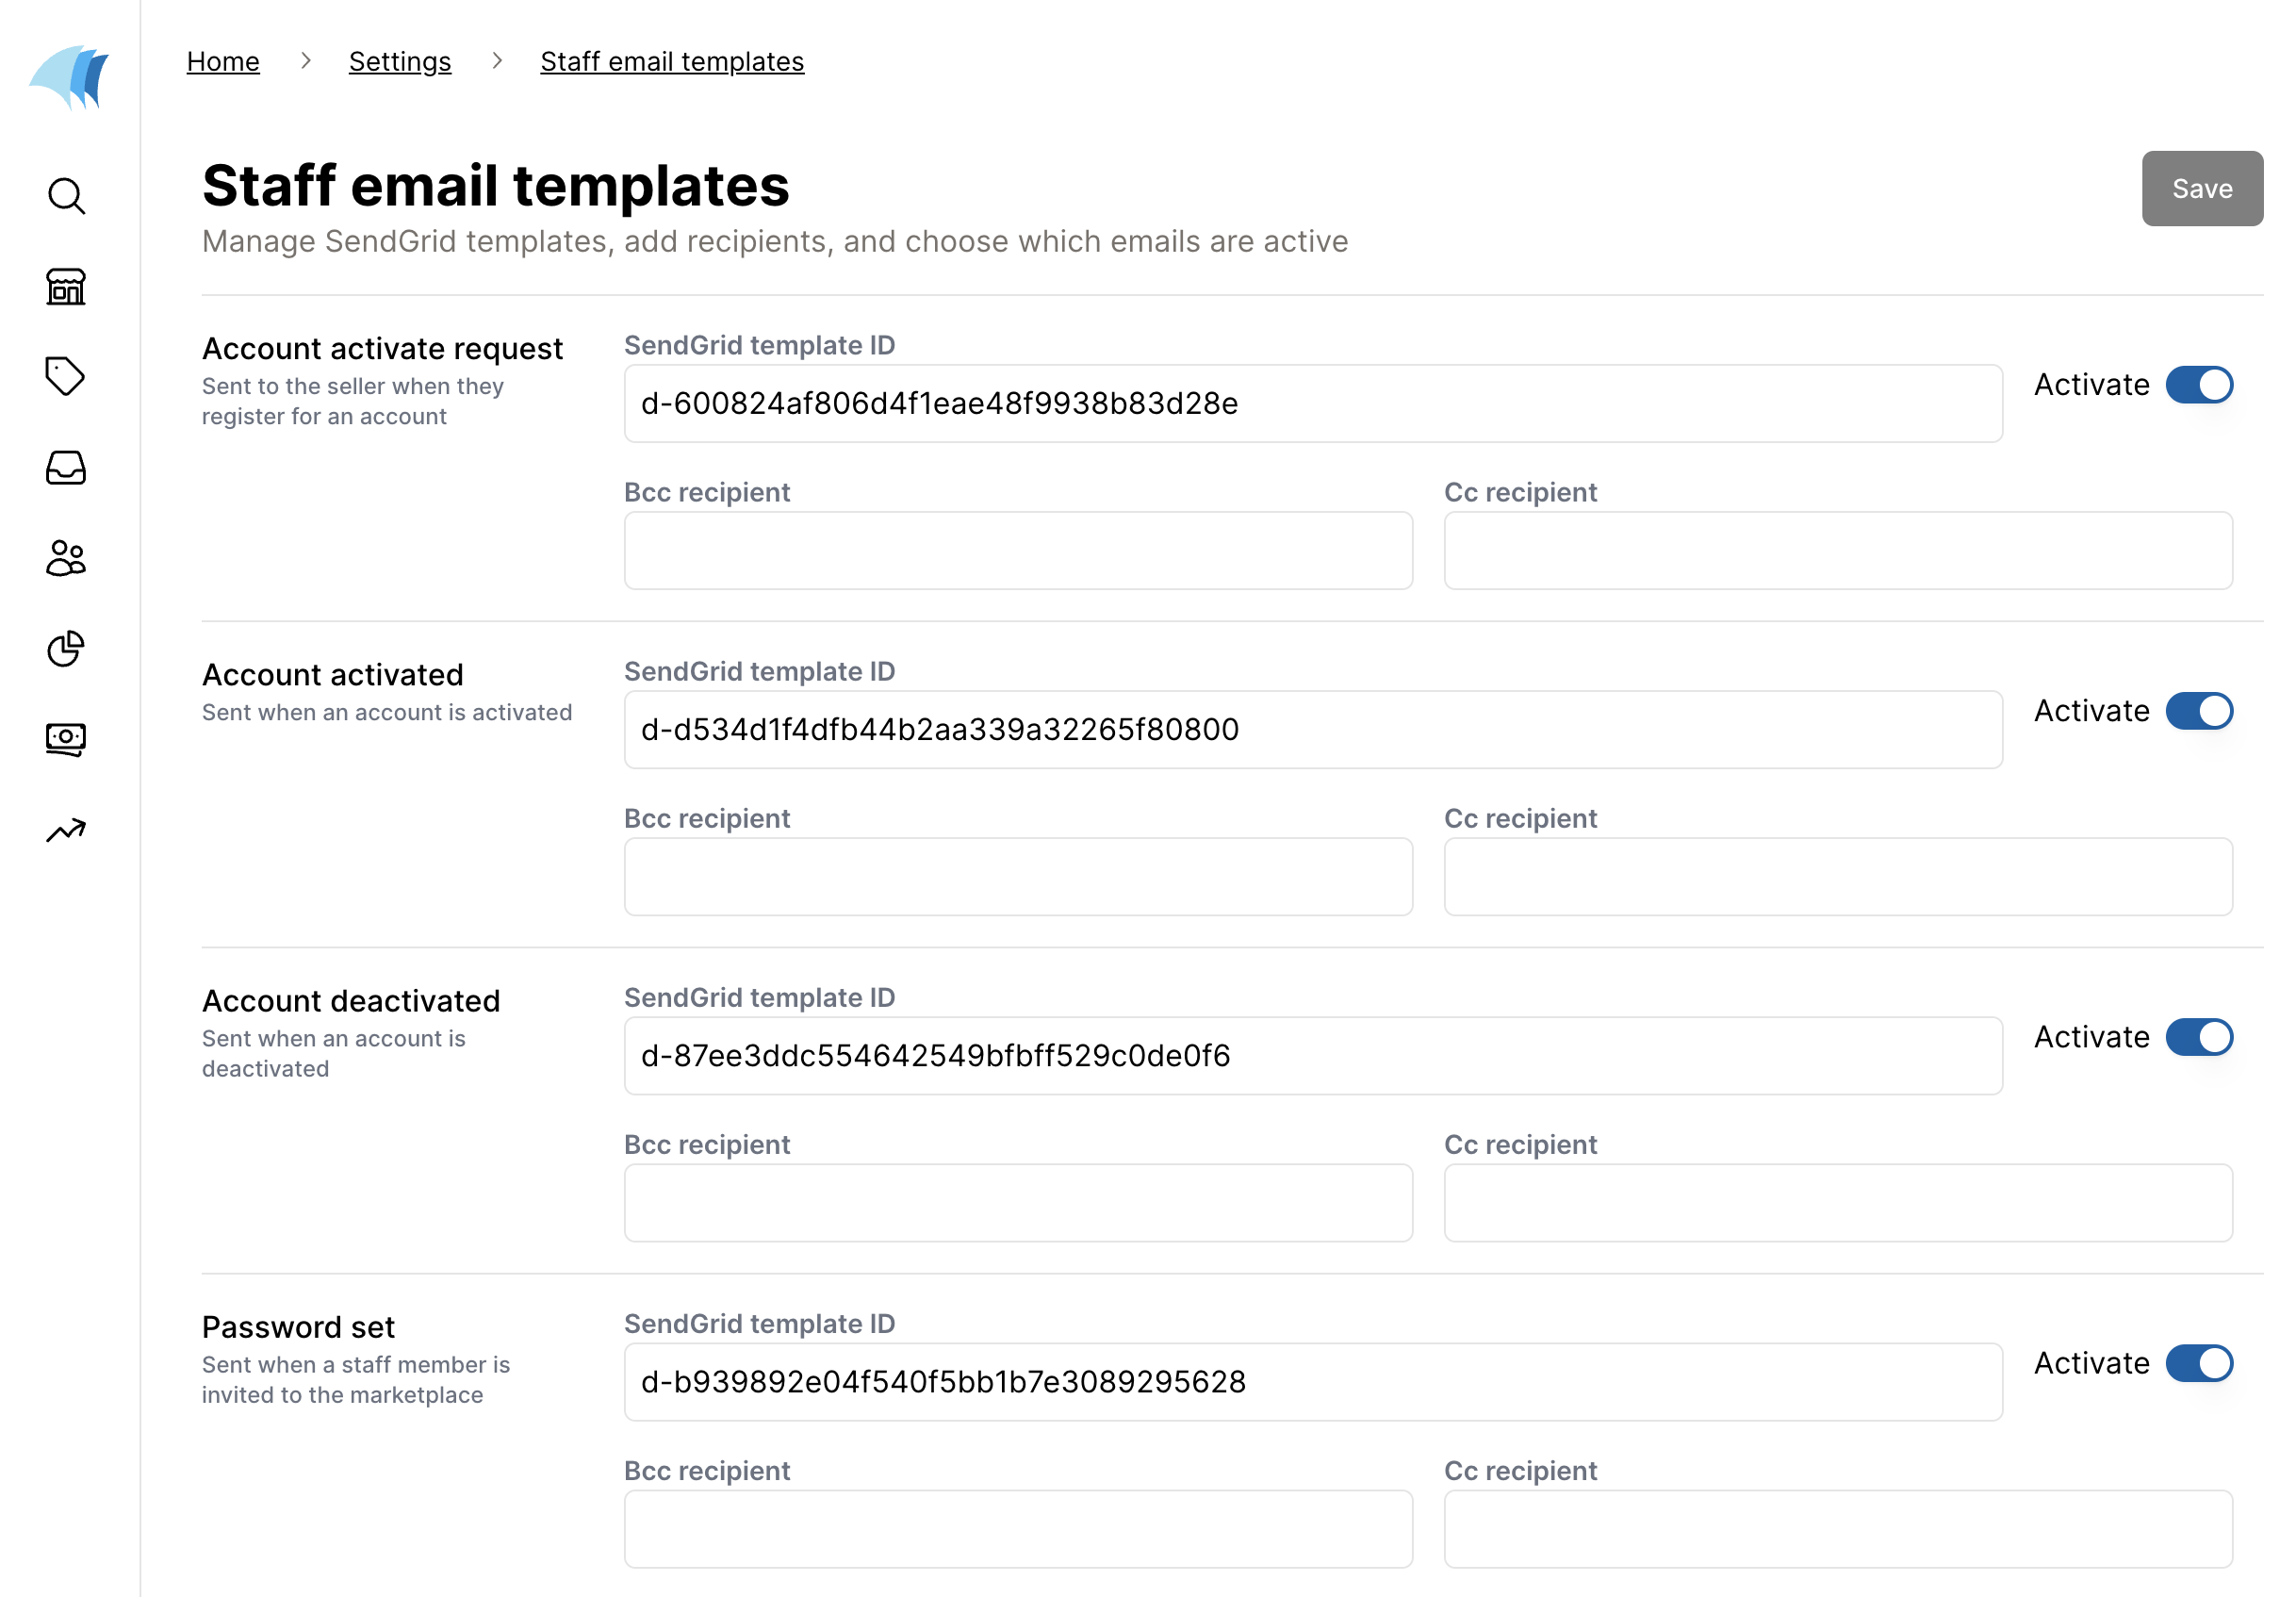
In Nautical, the template IDs created in SendGrid are saved to your email template settings and all of the standard emails are made active.
To view these template settings In the dashboard, navigate to Settings -> Customer email templates or Settings -> Staff email templates:
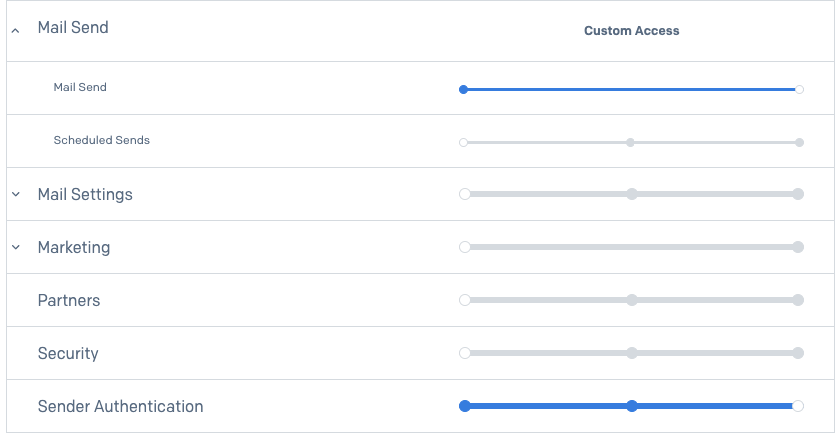
API key permissions downgraded in SendGrid
The API key permissions are downgraded from "Full Access" to "Restricted Access", with only the following permissions:
- Mail Send
- Sender Authentication
Further reading
See the following articles for more information on managing your SendGrid emails: