Connect Zapier for automation
Running a marketplace in its early stages involves giving priority to various aspects such as shipping, inventory tracking, seller management, and payments. As a marketplace founder, working with automation can help ease these processes.
In this guide, you will learn how to integrate your Nautical account with Zapier and automate recurring tasks in your marketplace. Some examples of tasks you can automate include:
- Updating the status of a customer’s order.
- Updating the amount of stock available for a product.
- Creating a customer.
- Deleting a customer.
Requirements
Integrating your marketplace with Zapier needs the following:
- A Nautical Commerce account: Nautical Commerce is a marketplace commerce platform that enables businesses to build and scale online marketplaces.
- A Zapier account. Zapier is a platform that integrates with multiple apps to let you build secure automated systems for business-critical workflows.
- An operational marketplace or store in Nautical Commerce. You can learn how to set this up through the Nautical help guide.
Automating a task
The first step to automating a task is to sign in to your Zapier account and create an automated workflow. An example of a task that can be automated is adding a note to a seller’s disputed order that indicates it’s no longer eligible for a refund after a seven-day review. The following steps show how you can set this up:
-
In the Zapier dashboard, select Create.
-
Select Zaps (Automated workflows).
-
Select Trigger to configure the time interval your automated workflow should follow.
- Look up and select Schedule by Zapier.
- Select how often you would want this workflow to run. For the purpose of this guide, we’ll select Every Week.
- Select what time of the day the workflow should run and if it should trigger on weekends.
- Select Test trigger. This tests your configuration and creates an initial record which subsequent triggers will follow.
- Select Continue with selected record.
-
Select Action to configure the event you want your automated workflow to run by.
-
Look up and select Nautical.
-
Select the event you want to automate. In the Action event dropdown, select Add Note to Marketplace Order.
-
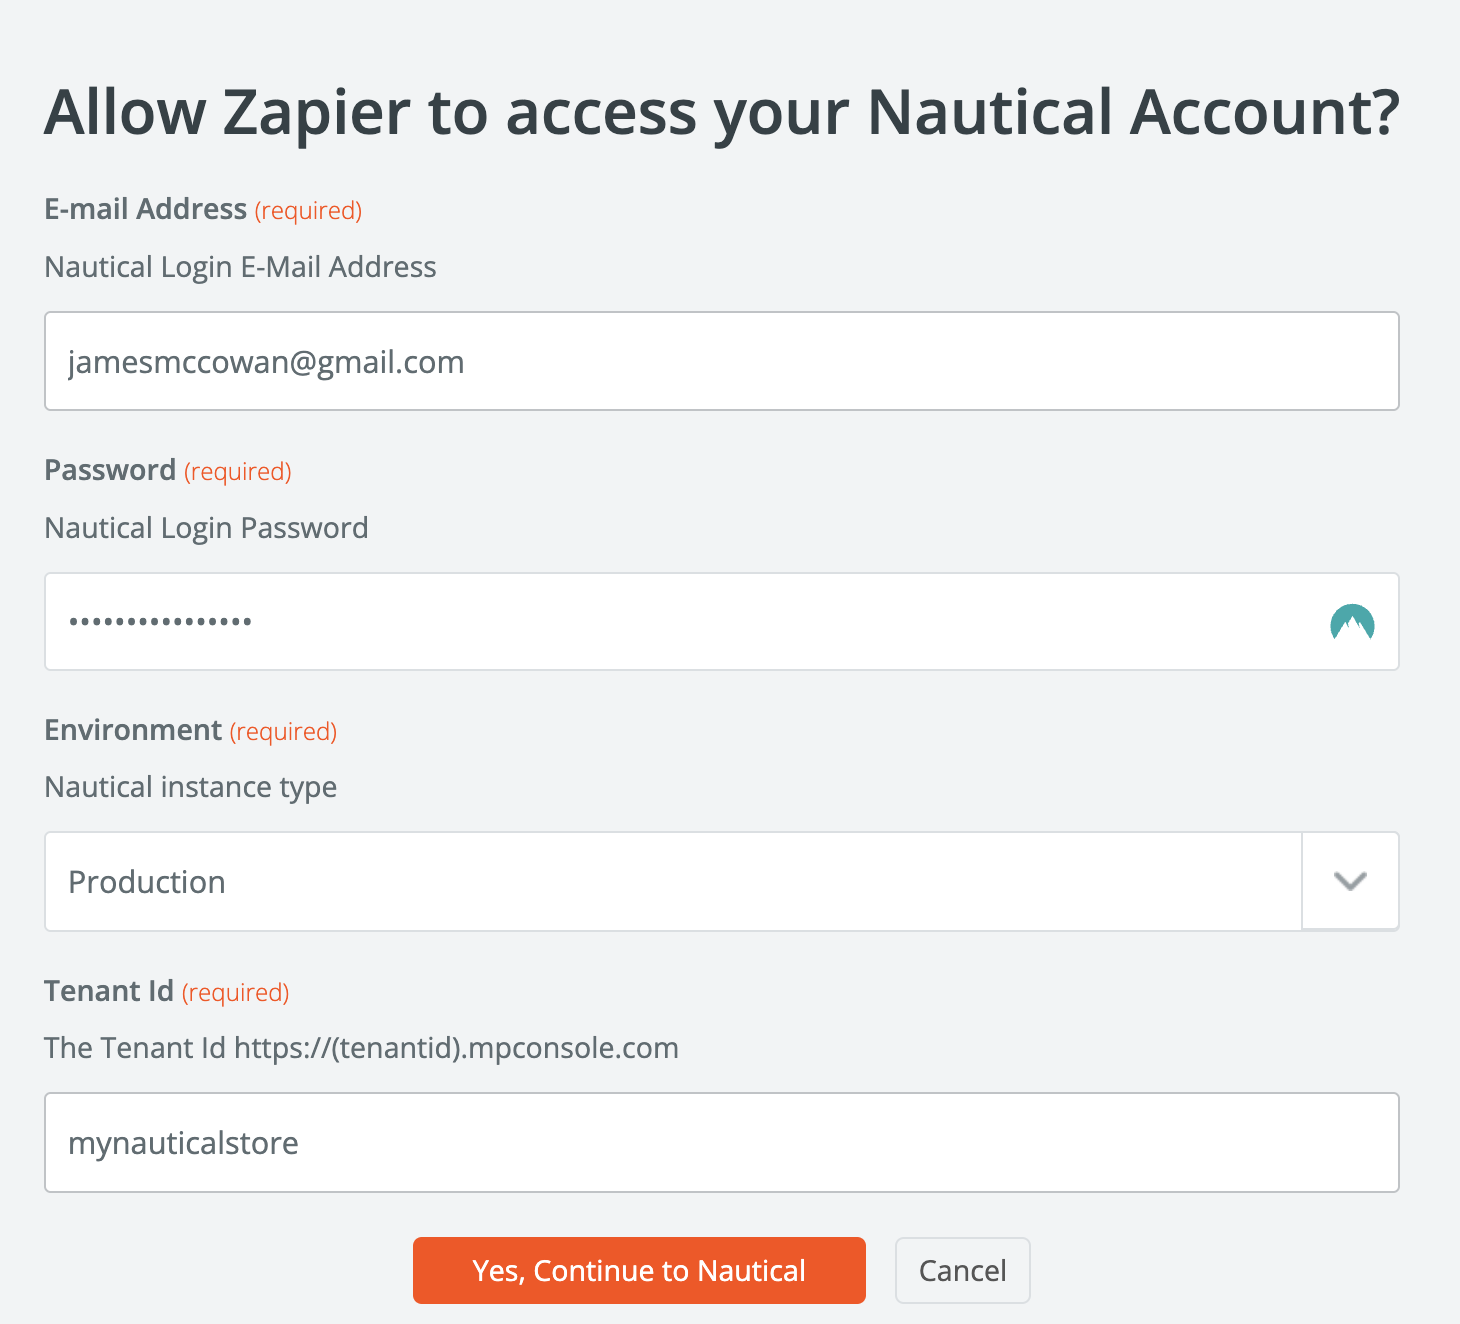
In the Account section, connect your Nautical Commerce account. The following image shows the details to use when connecting your account with Zapier.

-
-
Input the following information about the order you’re adding a note to:
- Order Id: This is the URL ID of the order (the ID after
orders/). - Message: This is the internal note you’re adding to the order. In this case, we’ll use This order is not eligible for a refund.
- Order Id: This is the URL ID of the order (the ID after
-
Select Test step. You should see a message that indicates your note has been added to the order.
-
Navigate to the order in your Nautical dashboard. You should see a note similar to the following image:

-
Head back to your Zapier dashboard and select Publish. When prompted for a version, add a version name then select Publish.
Automation cases are useful for certain scenarios. For example, you can redirect all disputed seller orders to Zapier to be resolved within a week or be ineligible for a refund - this depends on your marketplace policy.
Conclusion
Deciding on when you need automation for your marketplace activities can be uncertain. Nautical’s integration with Zapier helps you cover certain use cases that may not need extra hands but do require keeping an eye on. Should you have any questions, reach out via support@nauticalcommerce.com.