Add a Seller
View and manage sellers from the Sellers page. You can either create a seller manually or through a sign-up form. By default, all new sellers are created in the Pending state until you approve them.
You must have the "Manage marketplace" permission to create, approve, and manage sellers, and the Manage staff permission to add seller staff members.
How to add sellers to your marketplace
- Add sellers through a sign-up form
- Add sellers manually
You can integrate a sign-up form to automate the process of creating seller accounts. This can be accomplished through a basic HTML form that triggers calls to our API to create sellers, or through an integrated 3rd-party app like Typeform.
You can also invite sellers to your marketplace. This process involves editing a form on your dashboard and sharing the form's link with a seller. When the form is completed and submitted, you can review and approve their application. The following steps describe how to invite a seller to your marketplace.
Step 1
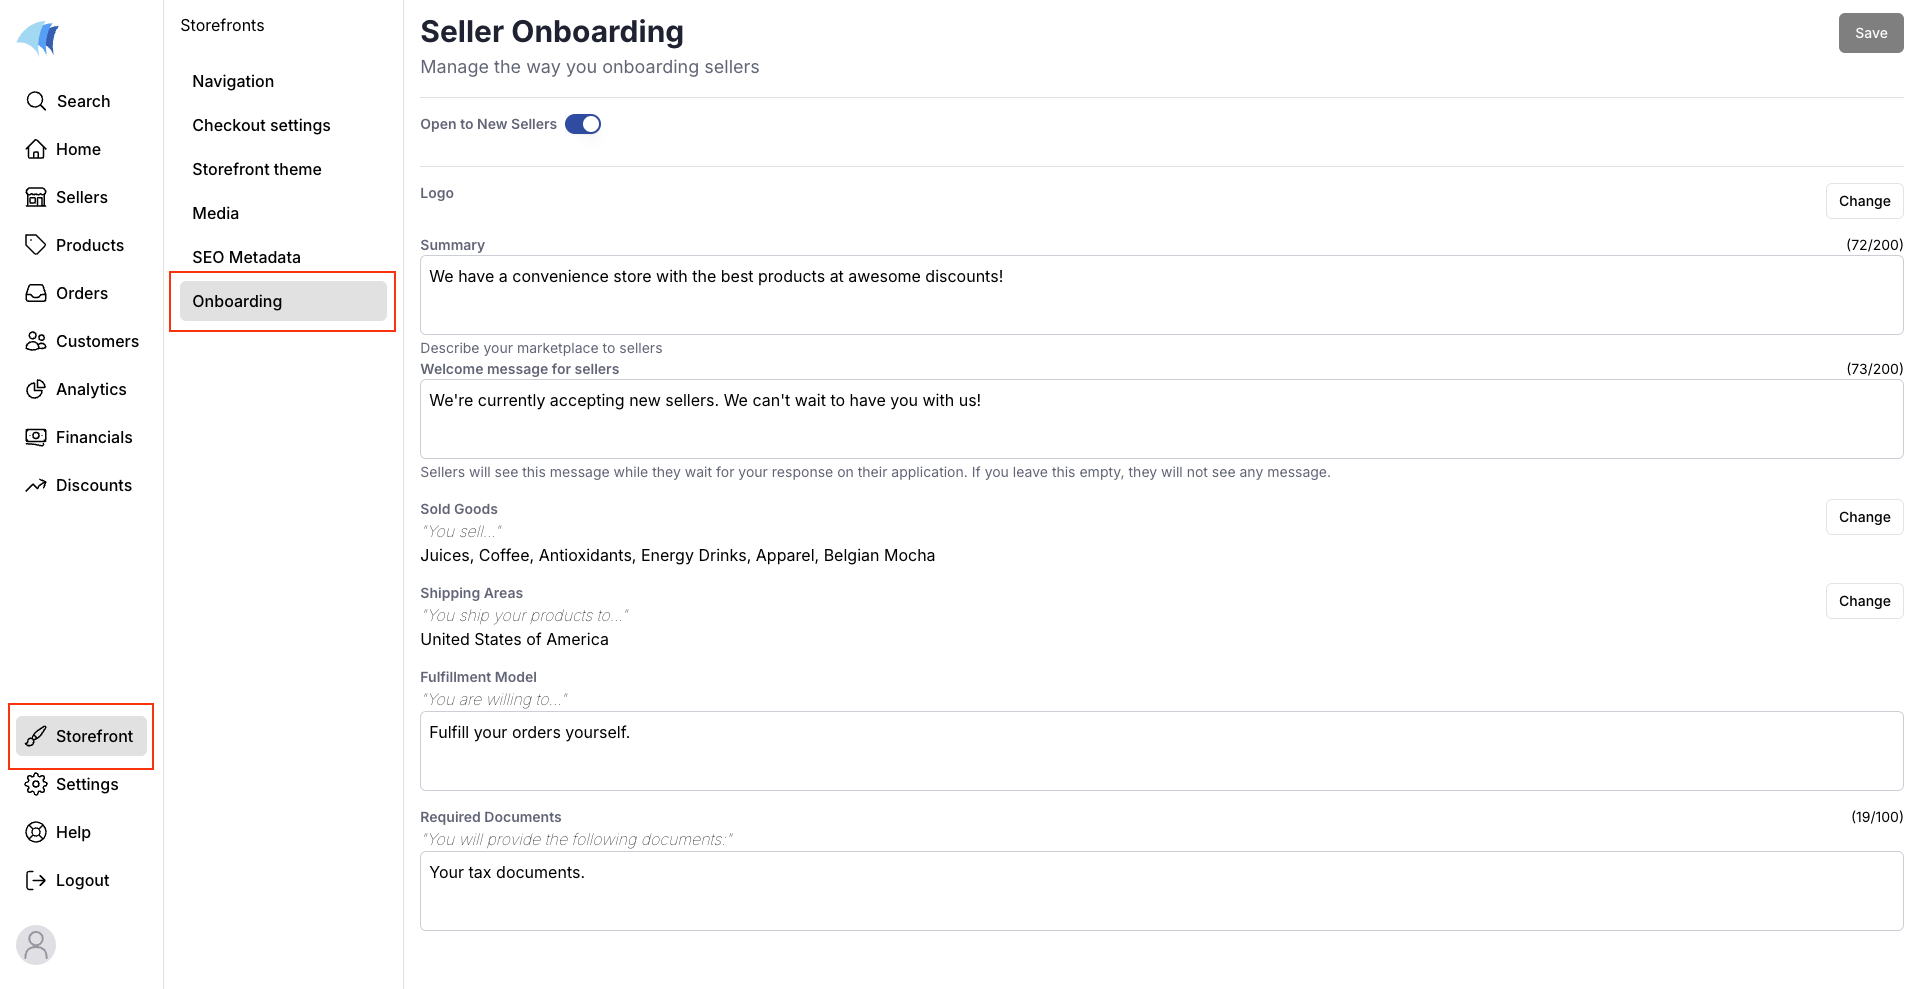
From your dashboard, navigate to Storefront > Onboarding. This page lets you configure your seller application form. When you are done, click the Save button. You should see a layout similar to the image below:
Step 2
Navigate to Sellers > Sellers and click the Invite Seller button. A pop up with a link will appear on your screen. Copy this link and share it with your seller.

Step 3
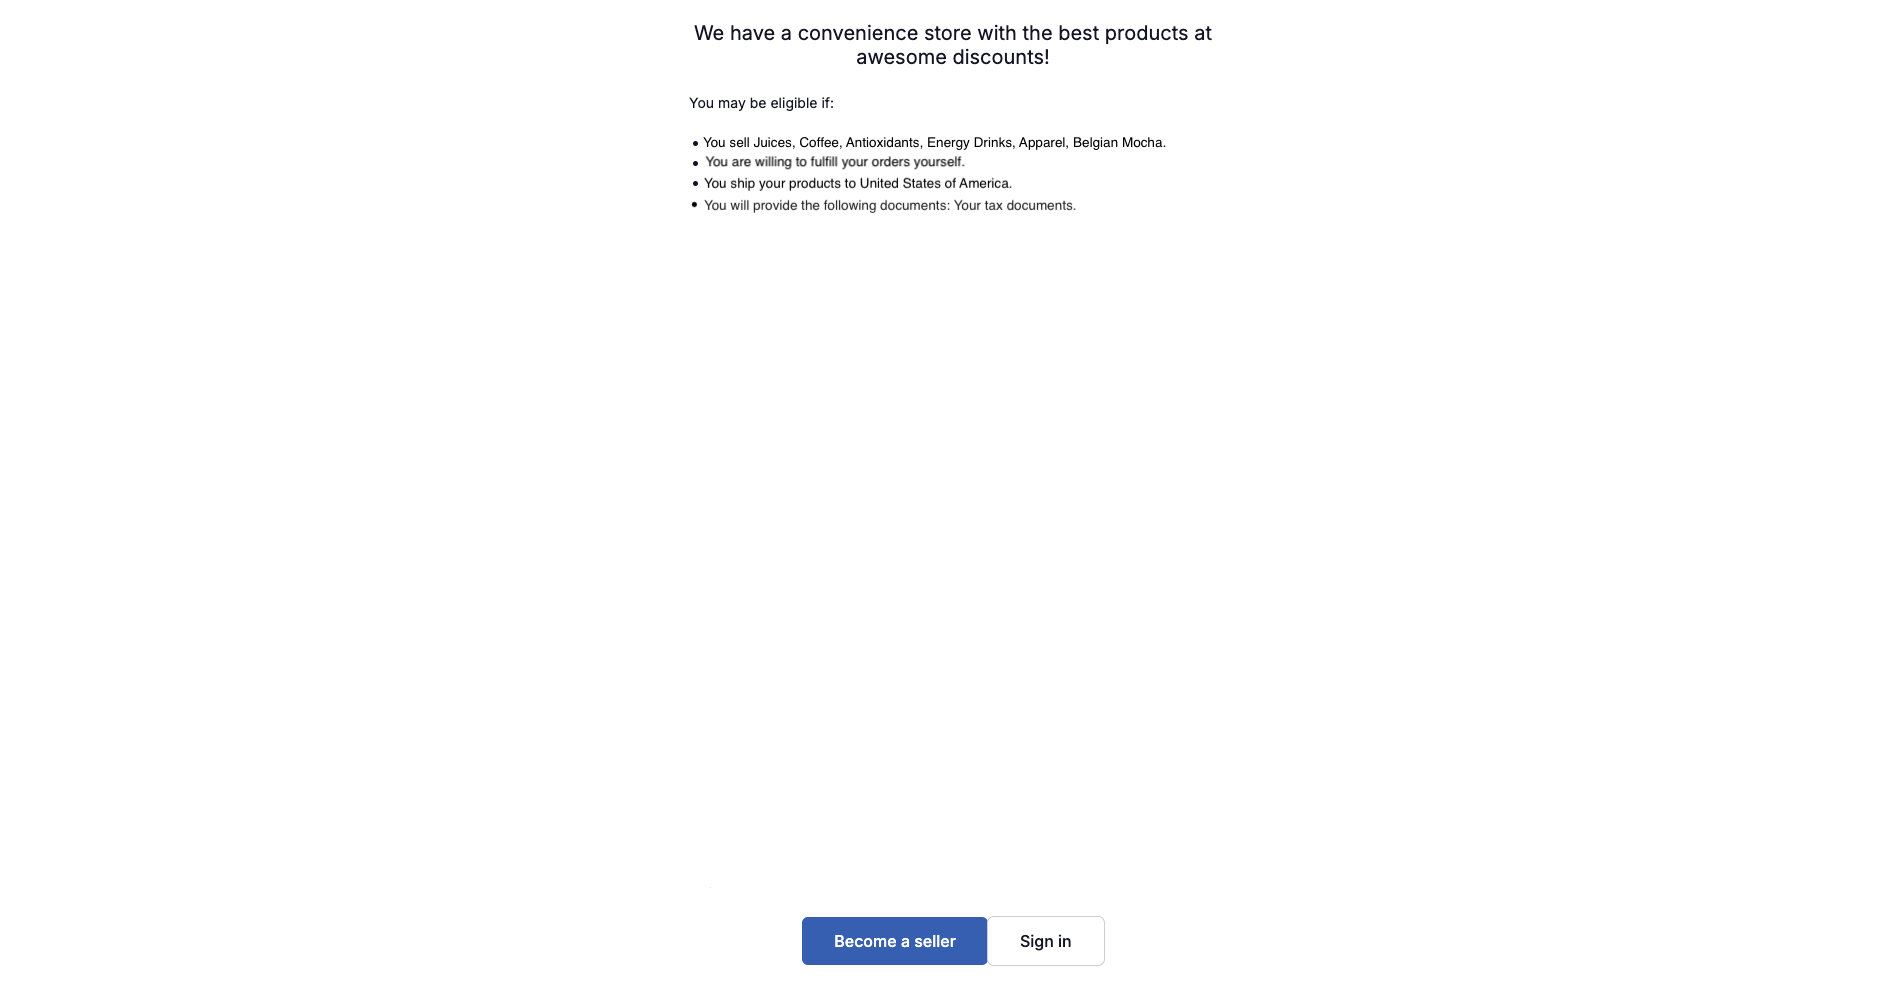
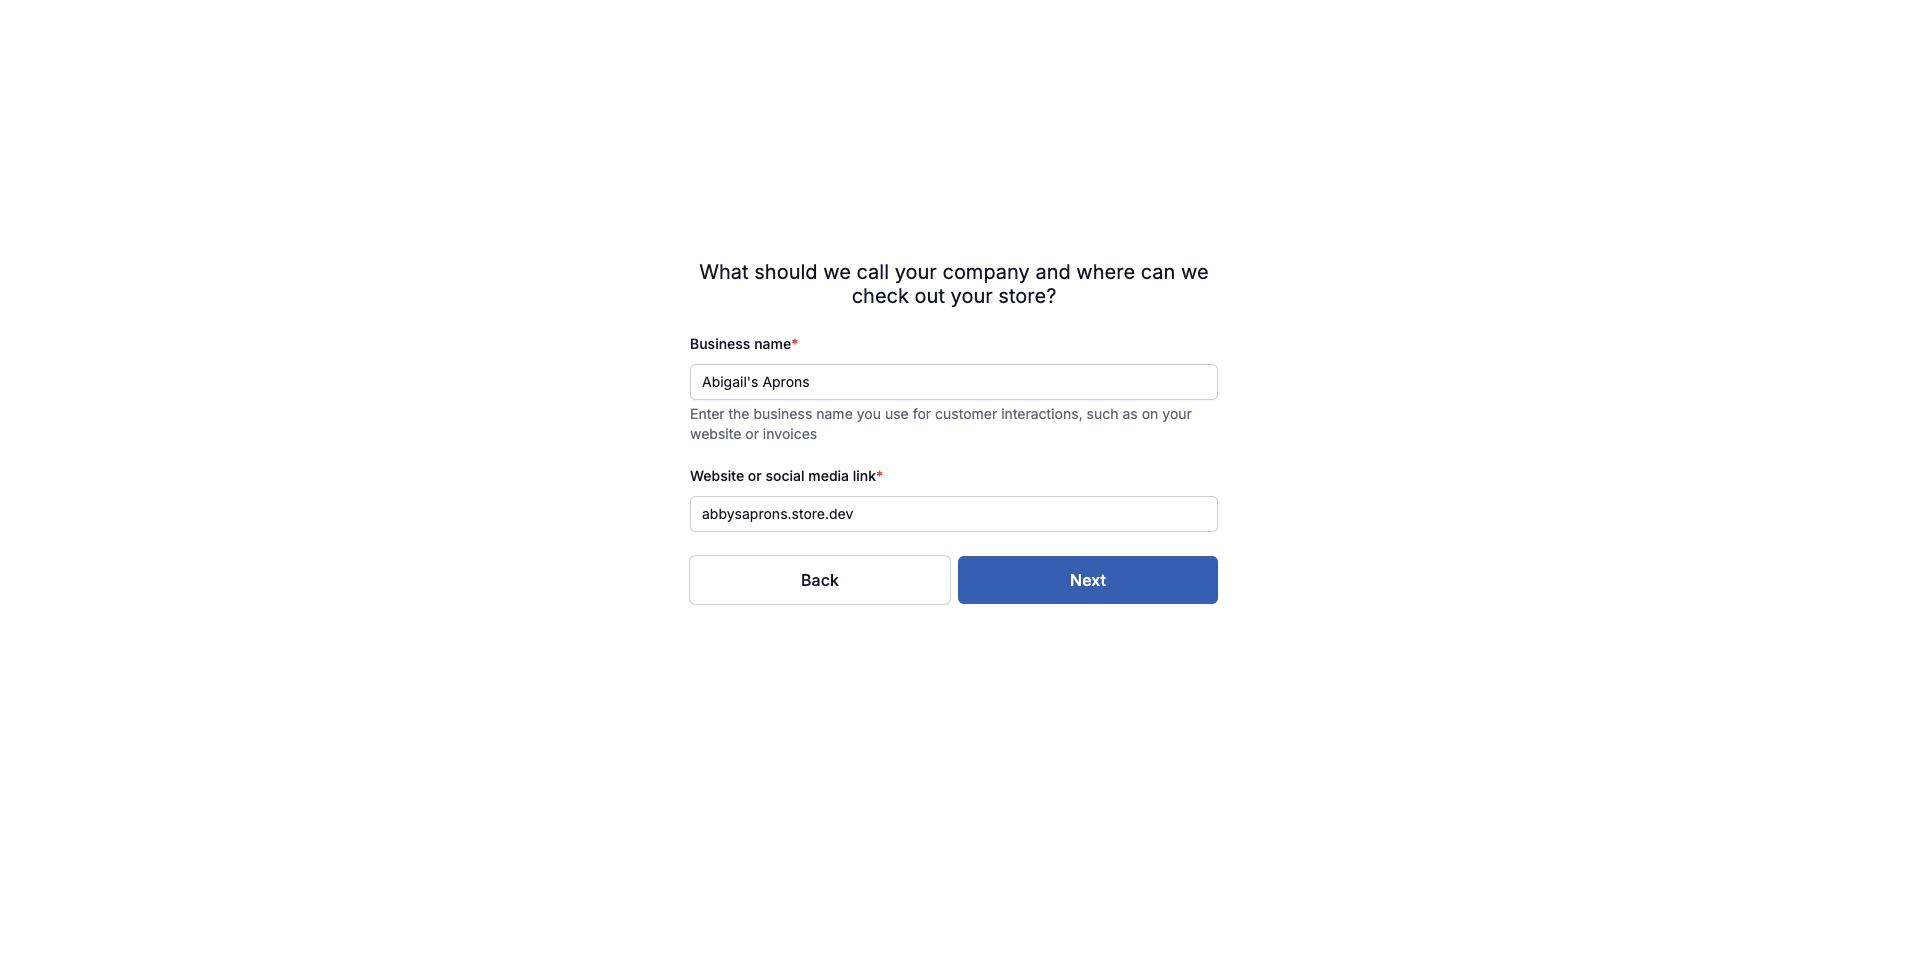
Your seller should see a series of forms where they will create a seller account and answer a few questions about themselves and their business. The first form will be similar to the image below:
Step 4
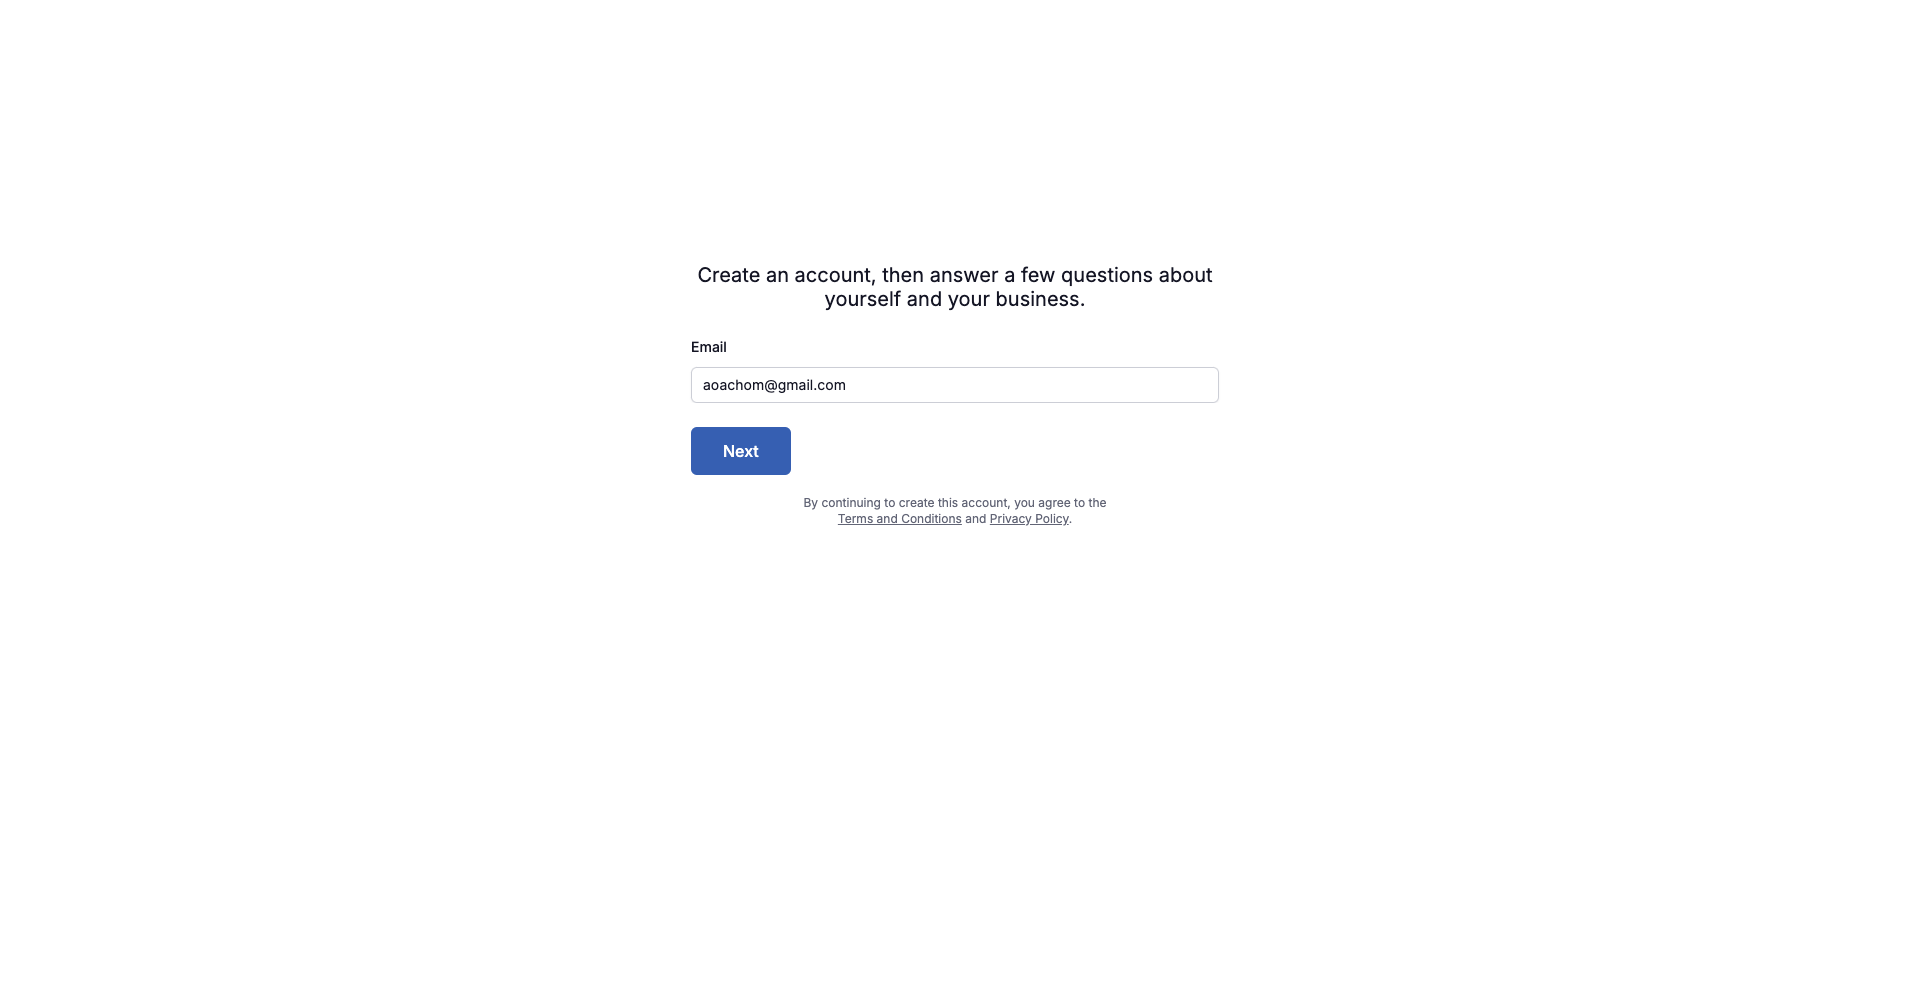
When your seller clicks the Become a seller button, they are redirected to where they input their email, similar to the image below:
Step 5
Your seller is then sent a password confirmation email. Here they have to continue the sign up process similar to the image below:
Step 6
When your seller is done with the sign up process, they are redirected to a sign into their store:
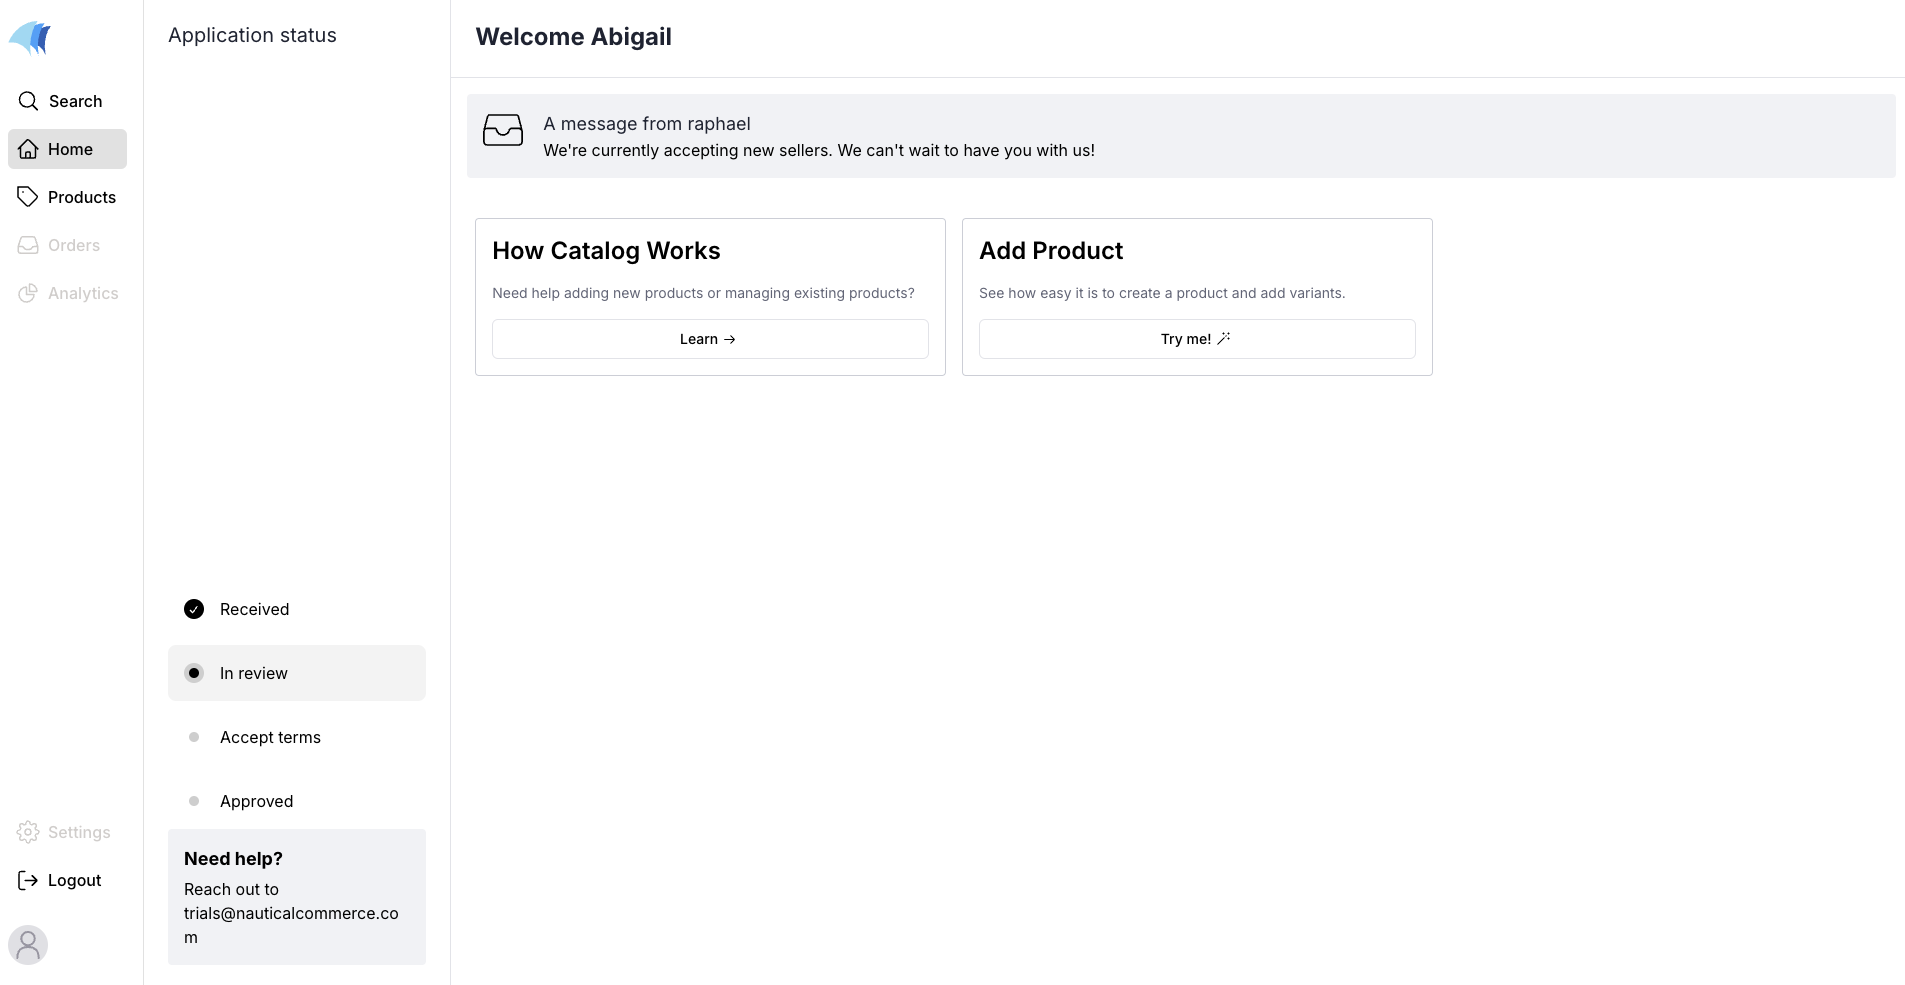
Step 7
At this stage, your seller’s store is still in review. You can view and accept their application through your email.
Step 8
Clicking the link in the email opens up the seller’s store. When you are satisfied with their listed items, navigate to your marketplace dashboard. In the Sellers section, you should see their details.

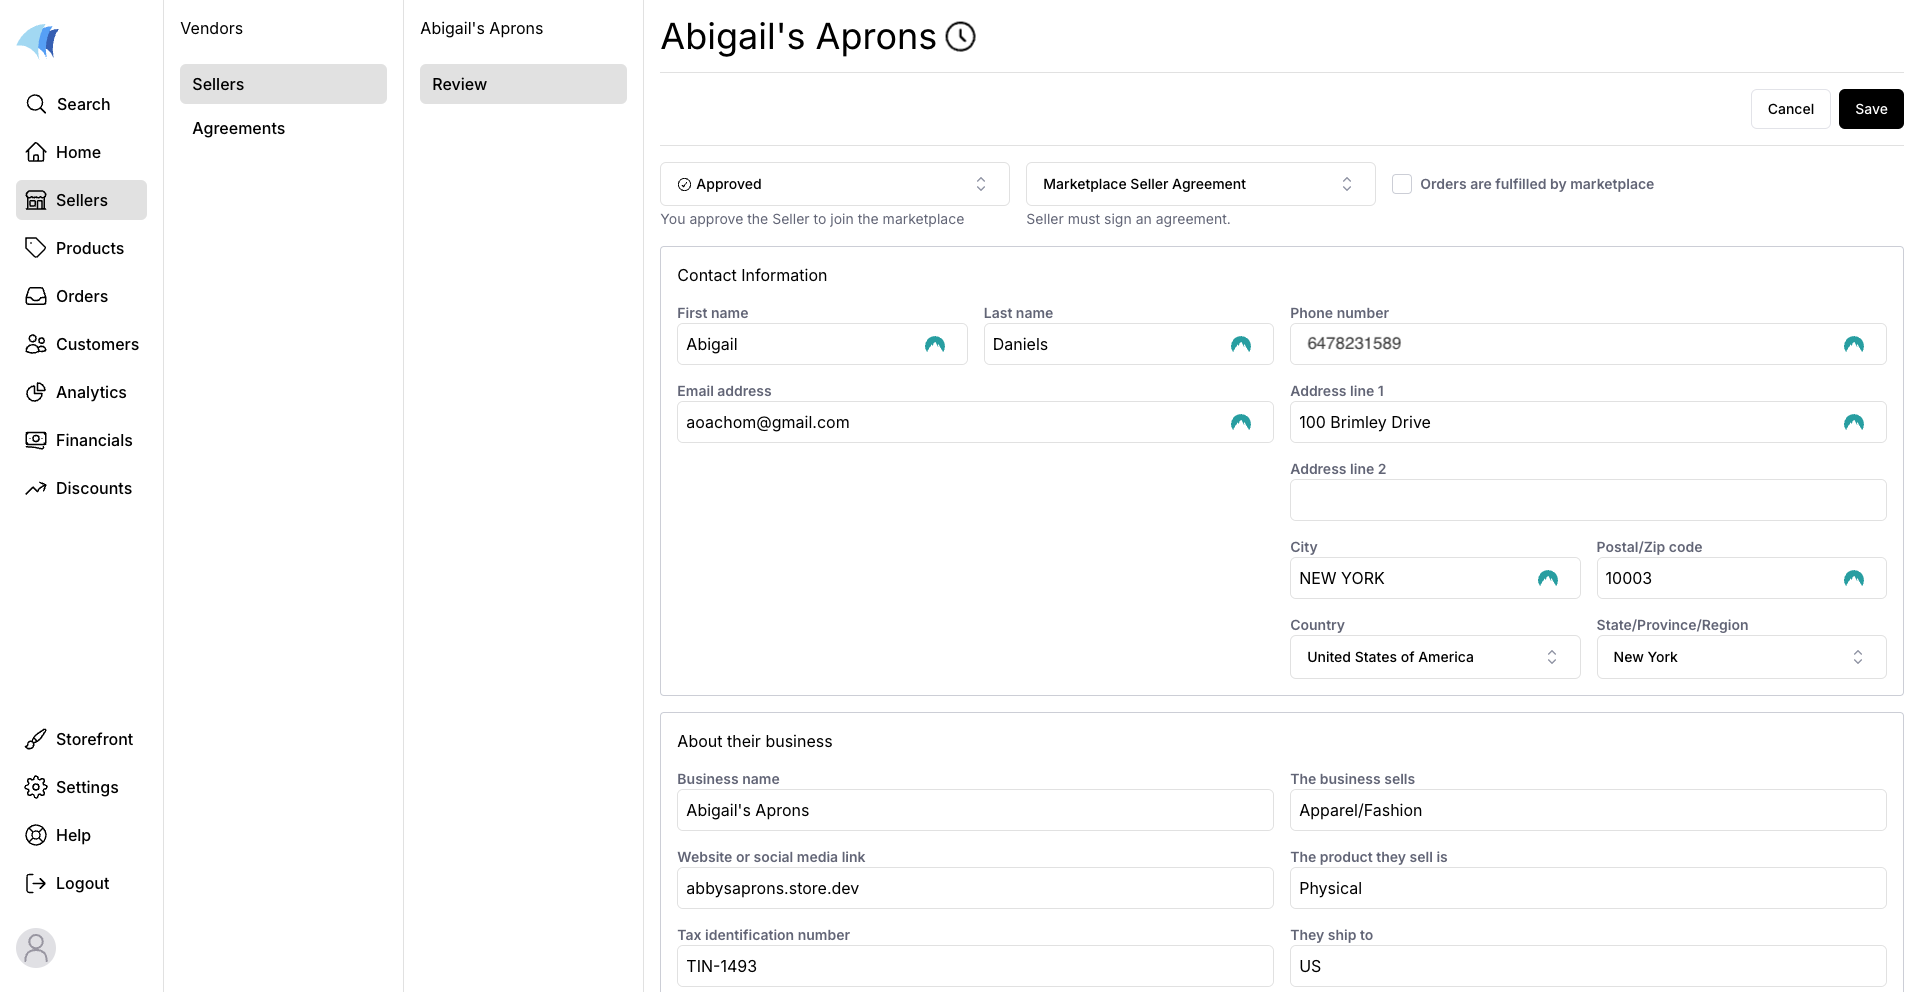
Step 9
Click the seller's name and approve them. Also select the agreement you want to apply on your marketplace so they can view your terms and accept them. When you are done, click the Save button.
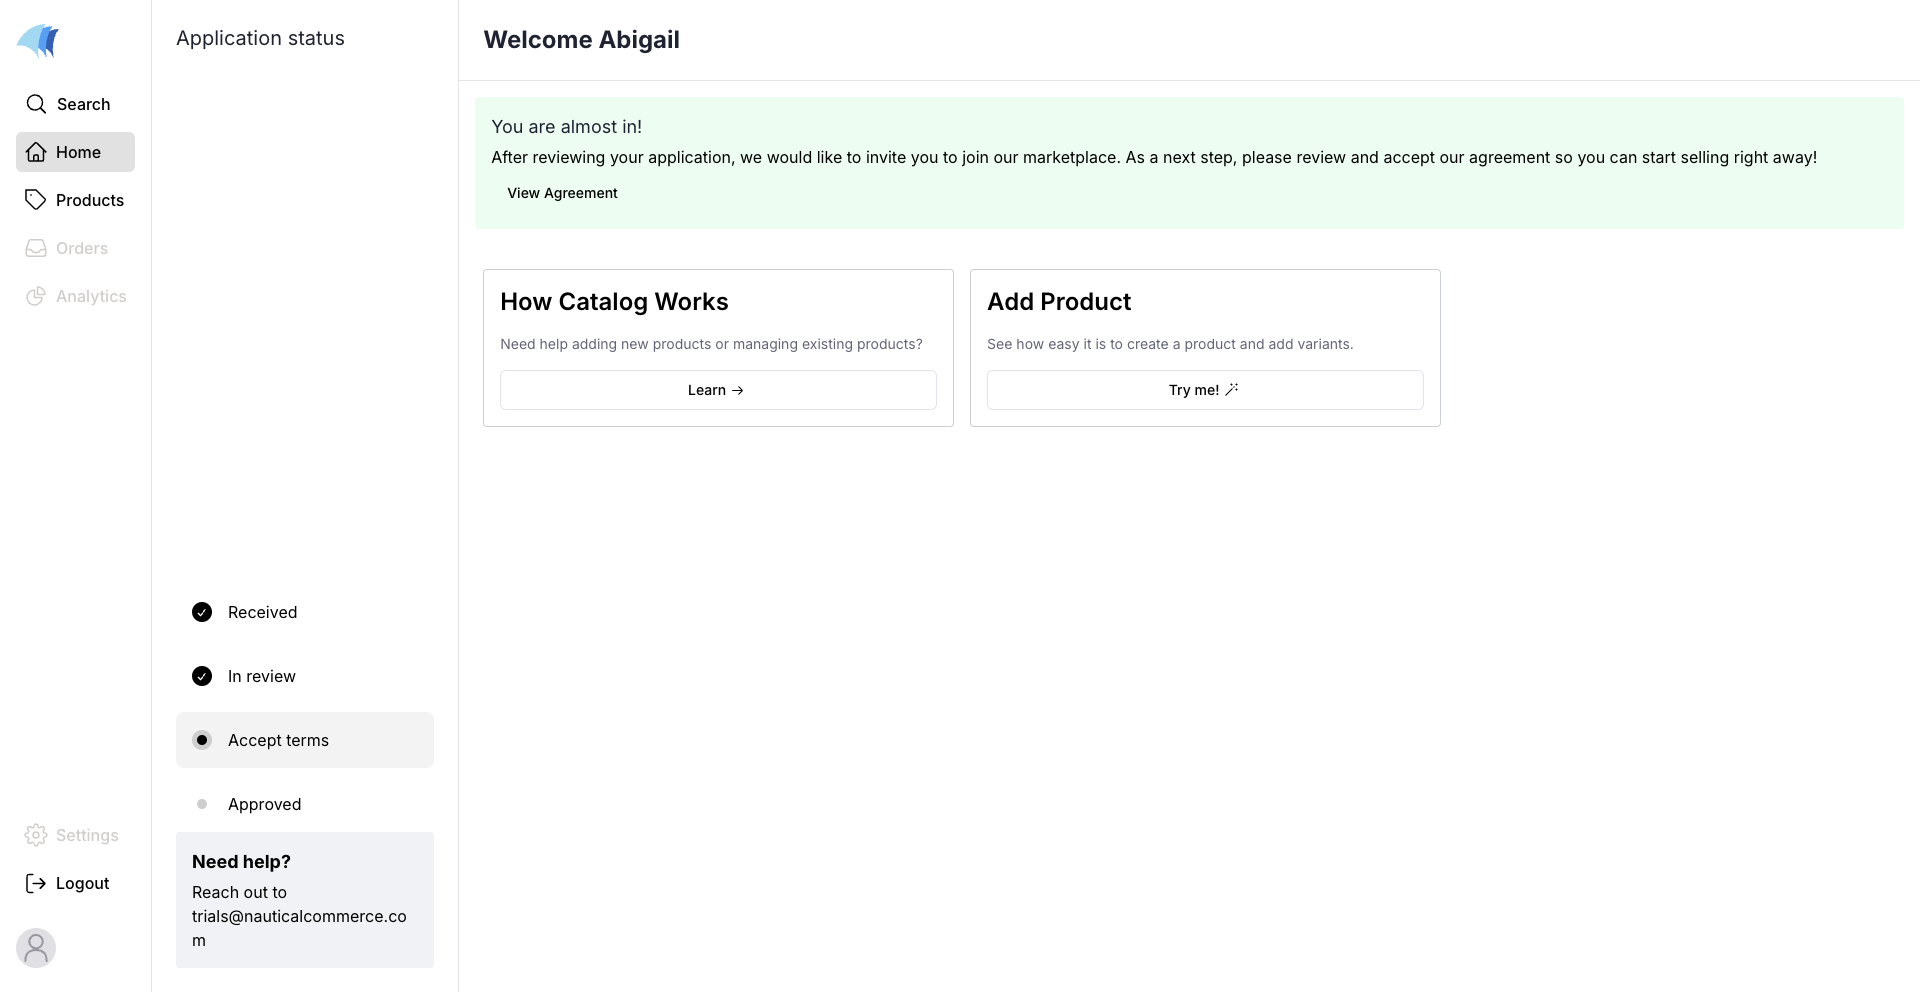
Step 10
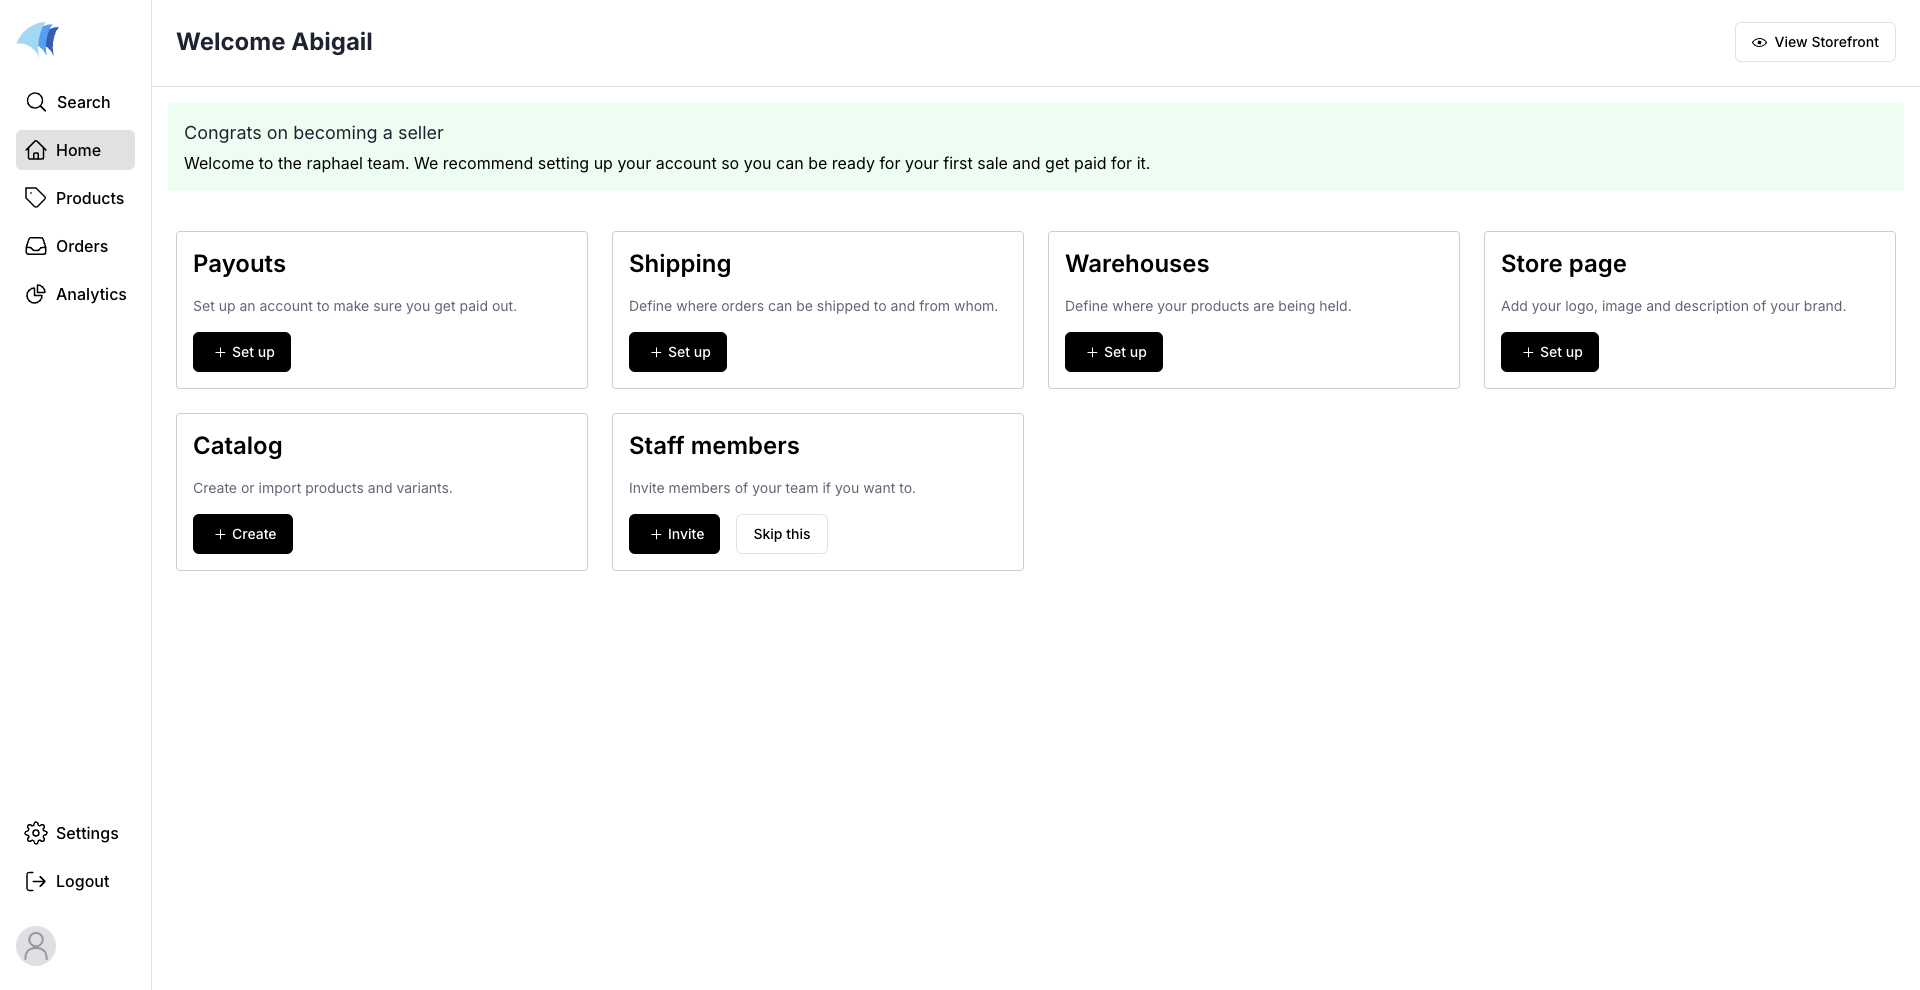
On the seller’s end, they will get a notification asking them to review the agreement you shared. When they view the agreement and accept your terms, they can start adding products and taking orders.
You can also manually add sellers to your marketplace. The entire process is done on the dashboard and requires less input from your sellers. The following steps describe how to manually add a seller to your marketplace.
Step 1: Create the seller
- From your dashboard, navigate to the Sellers section.
- On the Sellers list page, click the Create Seller button.
- In the Create Seller window, enter the Legal Name of the seller, and then select Create.
When you select Create, the seller is added in the Pending state and the window closes.
The only information for the seller at the time of creation is the Legal Name. As a next step before activating the seller, add more information including their Primary contact and Plan.
Step 2: Assign a marketplace agreement
The marketplace agreement is required, assigned through the Plan field. When the seller is first created, the Plan field will be empty.
Make sure the agreement you want to assign this vendor exists with the appropriate commission rate you want to collect from transactions.
- From your dashboard, navigate to the Sellers section.
- Open the recently created seller.
- Under the Account segment, select Edit.
- In the Plan dropdown field, select the agreement you want to assign to this seller.
- Click the Confirm button.
- When you are done, click the Save button.
A seller's staff members cannot access the dashboard until the seller account has a marketplace agreement and is approved. Even then, only the primary contact can access the dashboard until that agreement is acknowledged.
Step 3: Assign a primary contact
A staff member can only be a primary contact for one seller account. A seller's primary contact is significant for the following reasons:
- The primary contact must acknowledge the marketplace agreement before getting access to your platform.
- Typically, the primary contact will be responsible for adding the other staff members for that seller.
- The default phone number and email address on the primary contact's staff member account will be used as the seller's contact information.
If the staff member doesn't yet exist, create the staff member, and then return to this task.
- From your dashboard, navigate to the Sellers section.
- Open the recently created seller.
- Under Details segment, select the Edit button.
- In the Primary Contact field, select the staff member to assign as the primary contact. Note that the list of available staff members is filtered to those not already assigned as a primary contact on another seller.
- Click the Confirm button.
- When you are done, click the Save button.
When you save the seller, the Phone number and Email address are populated using the default address on the primary contact's account.
Step 4: Approve the seller
New sellers enter the Pending state by default, marked by the Pending badge in the dashboard. Staff members linked with a pending seller account cannot log in.
When you've reviewed the seller and conducted any applicable know-your-vendor (KYV) checks, set the seller status to Approved to grant them access to log in.
After approving, you can pause a seller account any time.
- From your dashboard, navigate to the Sellers section.
- Open the recently created seller.
- Under Account segment, select the Edit button.
- In the Status field, select Approved.
- Click the Confirm button.
- In the footer action bar, select Save, and then Confirm in the dialog box that appears.
The seller's status badge is updated to Approved and the Activity log on the seller logs a record of the status change.
Result
When the seller is approved, the primary contact on the seller account receives an email notification that their account status was updated and the seller will be able to log in.
Acknowledging the seller agreement
On the primary contact's first login, or anytime the marketplace agreement changes, they will be prompted to acknowledge the terms of selling on the platform.
When they select Accept, their seller account agreement acknowledgement status is updated to Signed.
When the primary contact acknowledges the agreement, they will have access to the dashboard. The features and capabilities they can access will depend on their permission group.
View seller details
To view a seller, go to the Sellers page and select the seller name to open it. A seller is divided into the following tabs:
| Tab | Description |
|---|---|
| Overview | View and edit basic seller identity and contact information, activity log, and high-level summaries of sales, orders, and commissions from the current month. |
| Financials | View payout history, seller payout statements, and high-level summaries of sales, earnings, and commissions for all time. |
| Catalog | View the seller's product catalog. |
| Orders | View the seller's orders. |
| Quotes | View the seller's quote orders. |
| Users | View the staff members under the seller account. |
| Settings | Access to shipping accrual configuration, Stripe payout onboarding link, and currency configuration. |