Using the Storefront Editor
The storefront editor lets you build and customize your website with an intuitive user interface. You can use the no-code editor to customize these parts of your storefront:
- Edit the home page.
- Edit the footer.
- Add new static pages.
Launch the storefront editor
- Go to your storefront. You can do this via your Dashboard by selecting Storefront from the sidebar and clicking Preview.
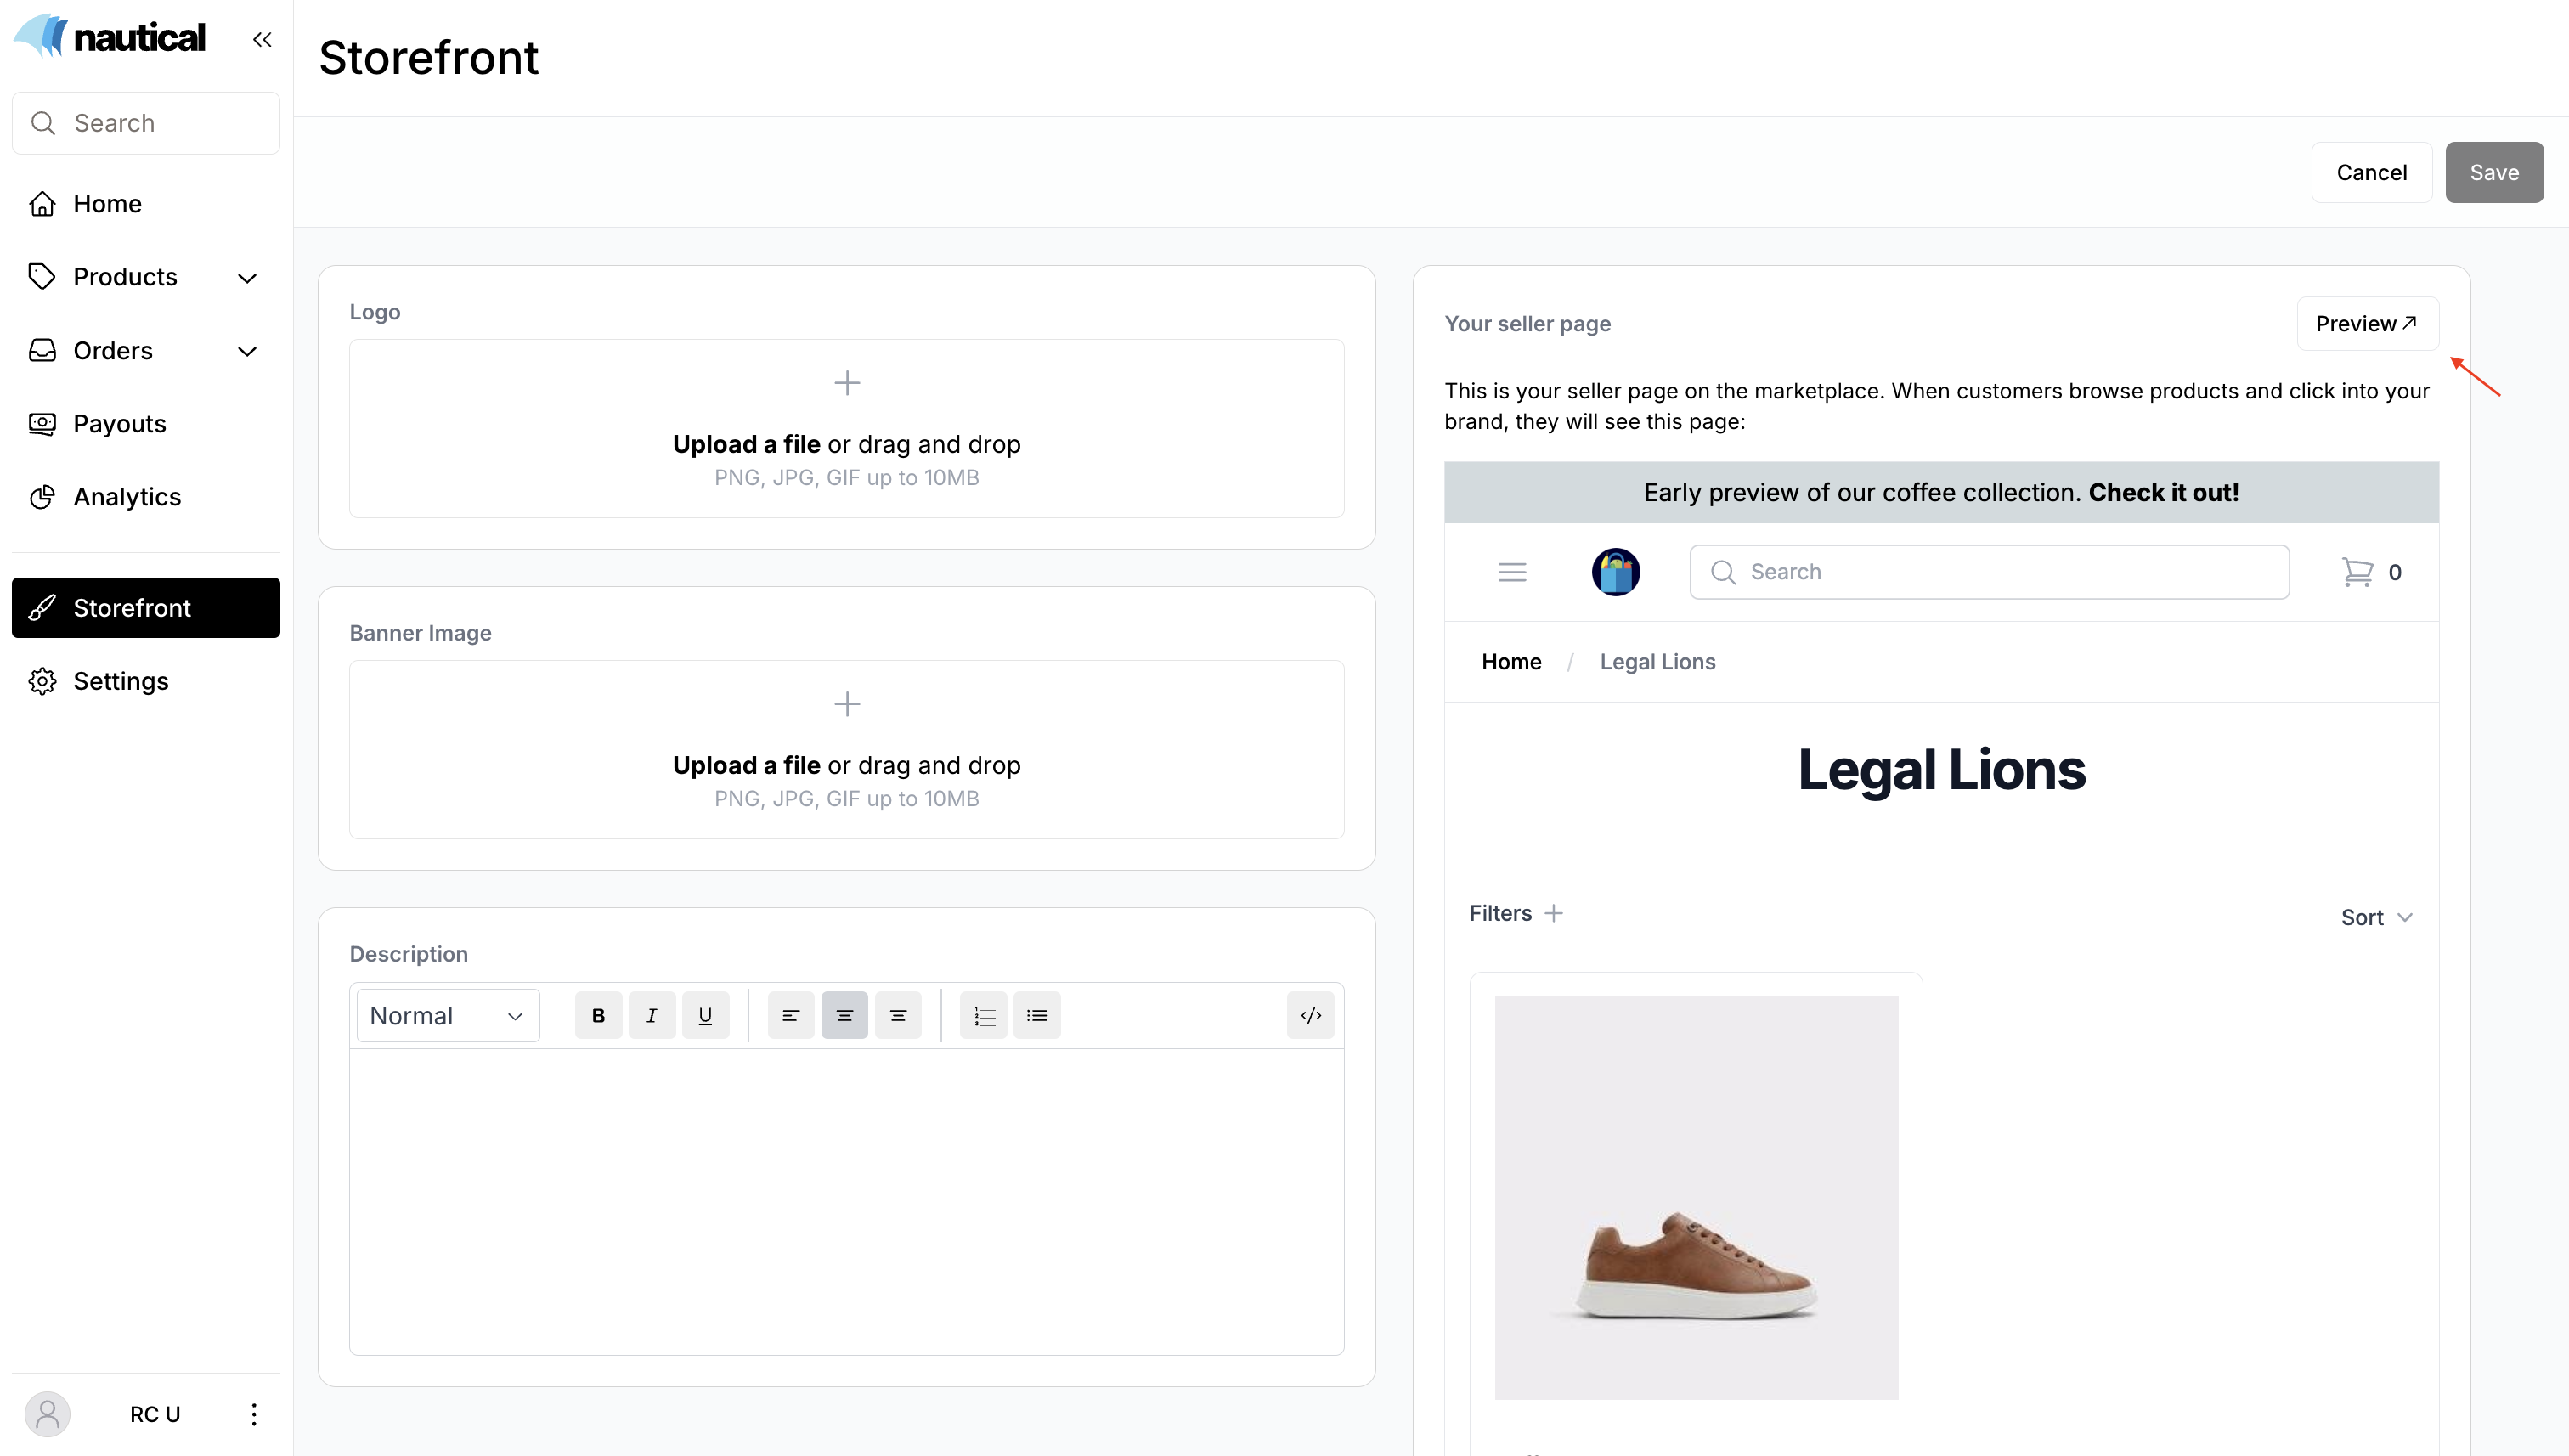
- Sign in with your staff member credentials.
- Click the User Profile dropdown and select Editor.
- To start editing a page, select the edit icon beside the section you want to customize.
Editor tour
With the storefront editor’s tools, you can easily make and publish changes directly on your site. Here’s a quick tour of the editor:

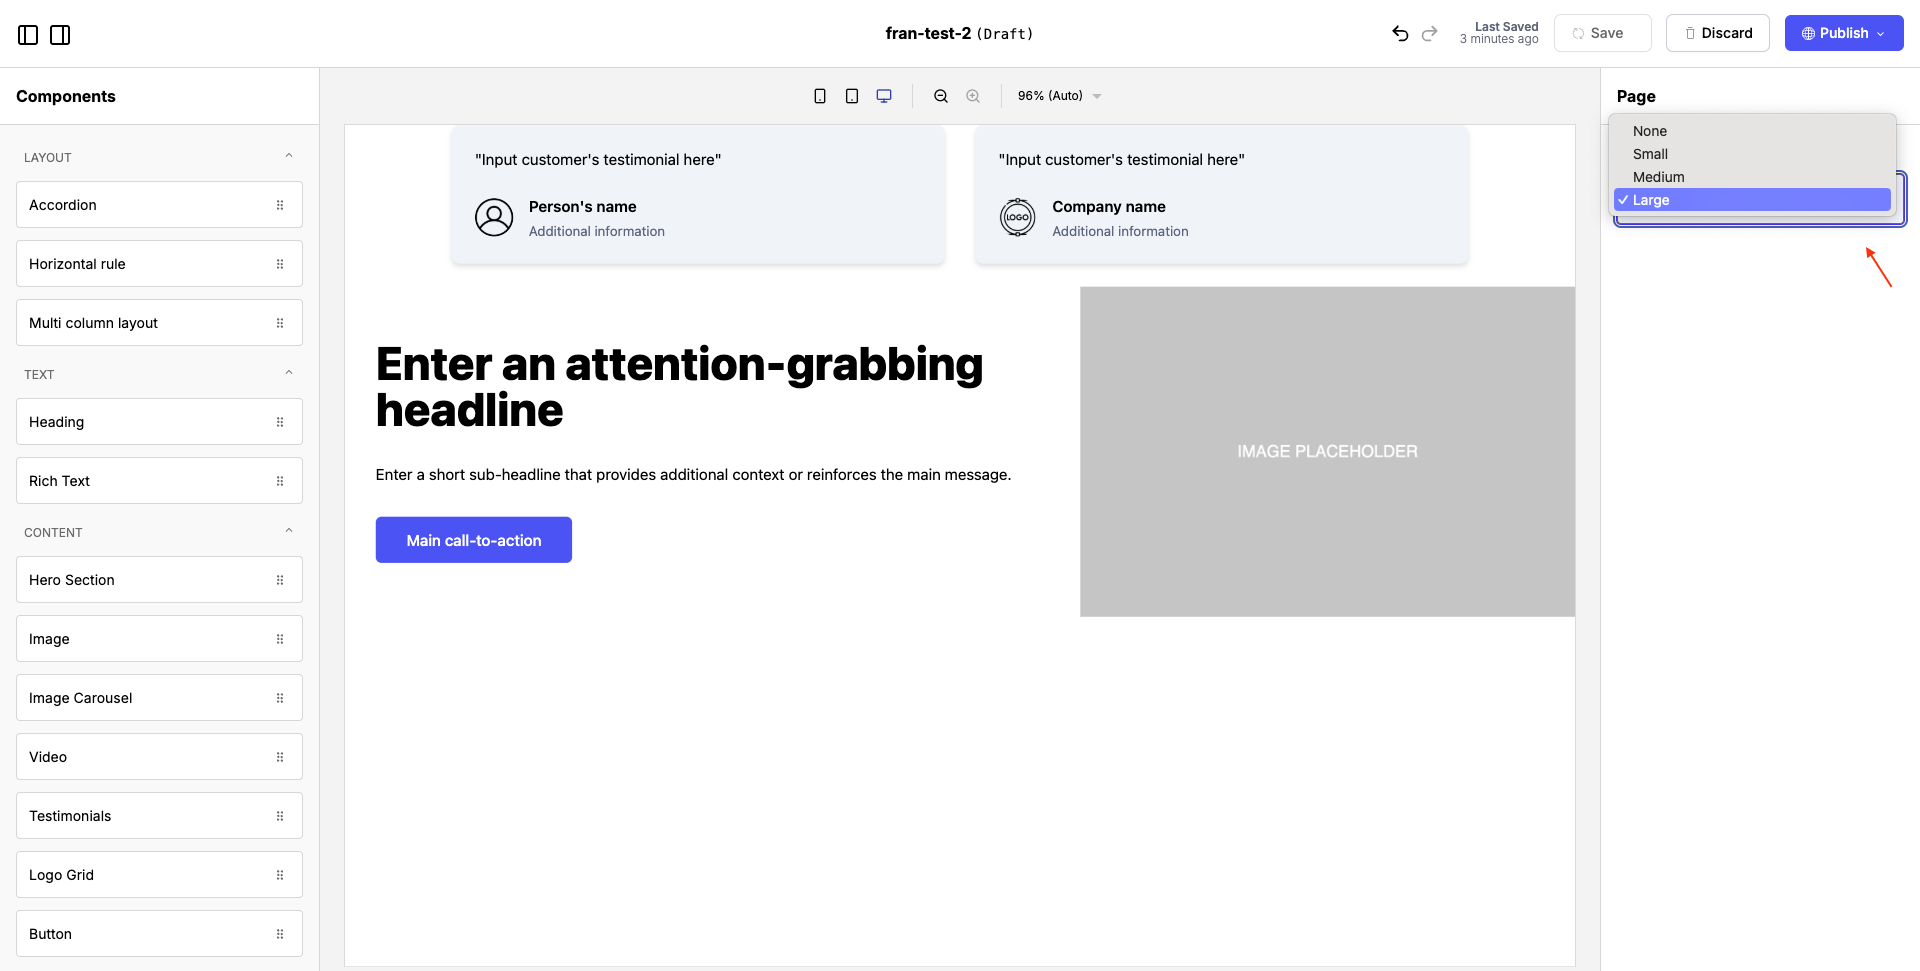
The editor includes the following sections:

Components: The components panel contains all the components you can drag and drop into your page. It’s organized into categories like Layout, Text, Content, Product Catalog, Navigation Bar, Footer, Embed, and Other. Select and drag a component onto the canvas to start customizing it.

Outline: The outline panel provides an outline view of your page, showing the hierarchy of all components added to the canvas. Use this to quickly navigate between sections or components on your page.

Canvas: The central workspace where you build your page. You can see a live preview of your design as you add and customize components. Drag components directly onto the canvas to add them to a page. Select any component in the canvas to customize it.

Preview tools: The preview tools above the main canvas allow you to zoom in and out and preview your page in different screen sizes. Toggle between different device icons to see how your page looks on mobile, tablet, or desktop.

Page: When you select a component on the canvas, this panel displays its customization options to modify properties like color, text, and images.

Page actions: The actions toolbar contains actions for managing your page, such as publishing, saving drafts, and undoing or redoing changes:
- Undo or redo recent actions if you make a mistake.
- Select Publish to make your changes live.
- Select Discard to revert to the last published version.
- Select Save to save your work's progress.
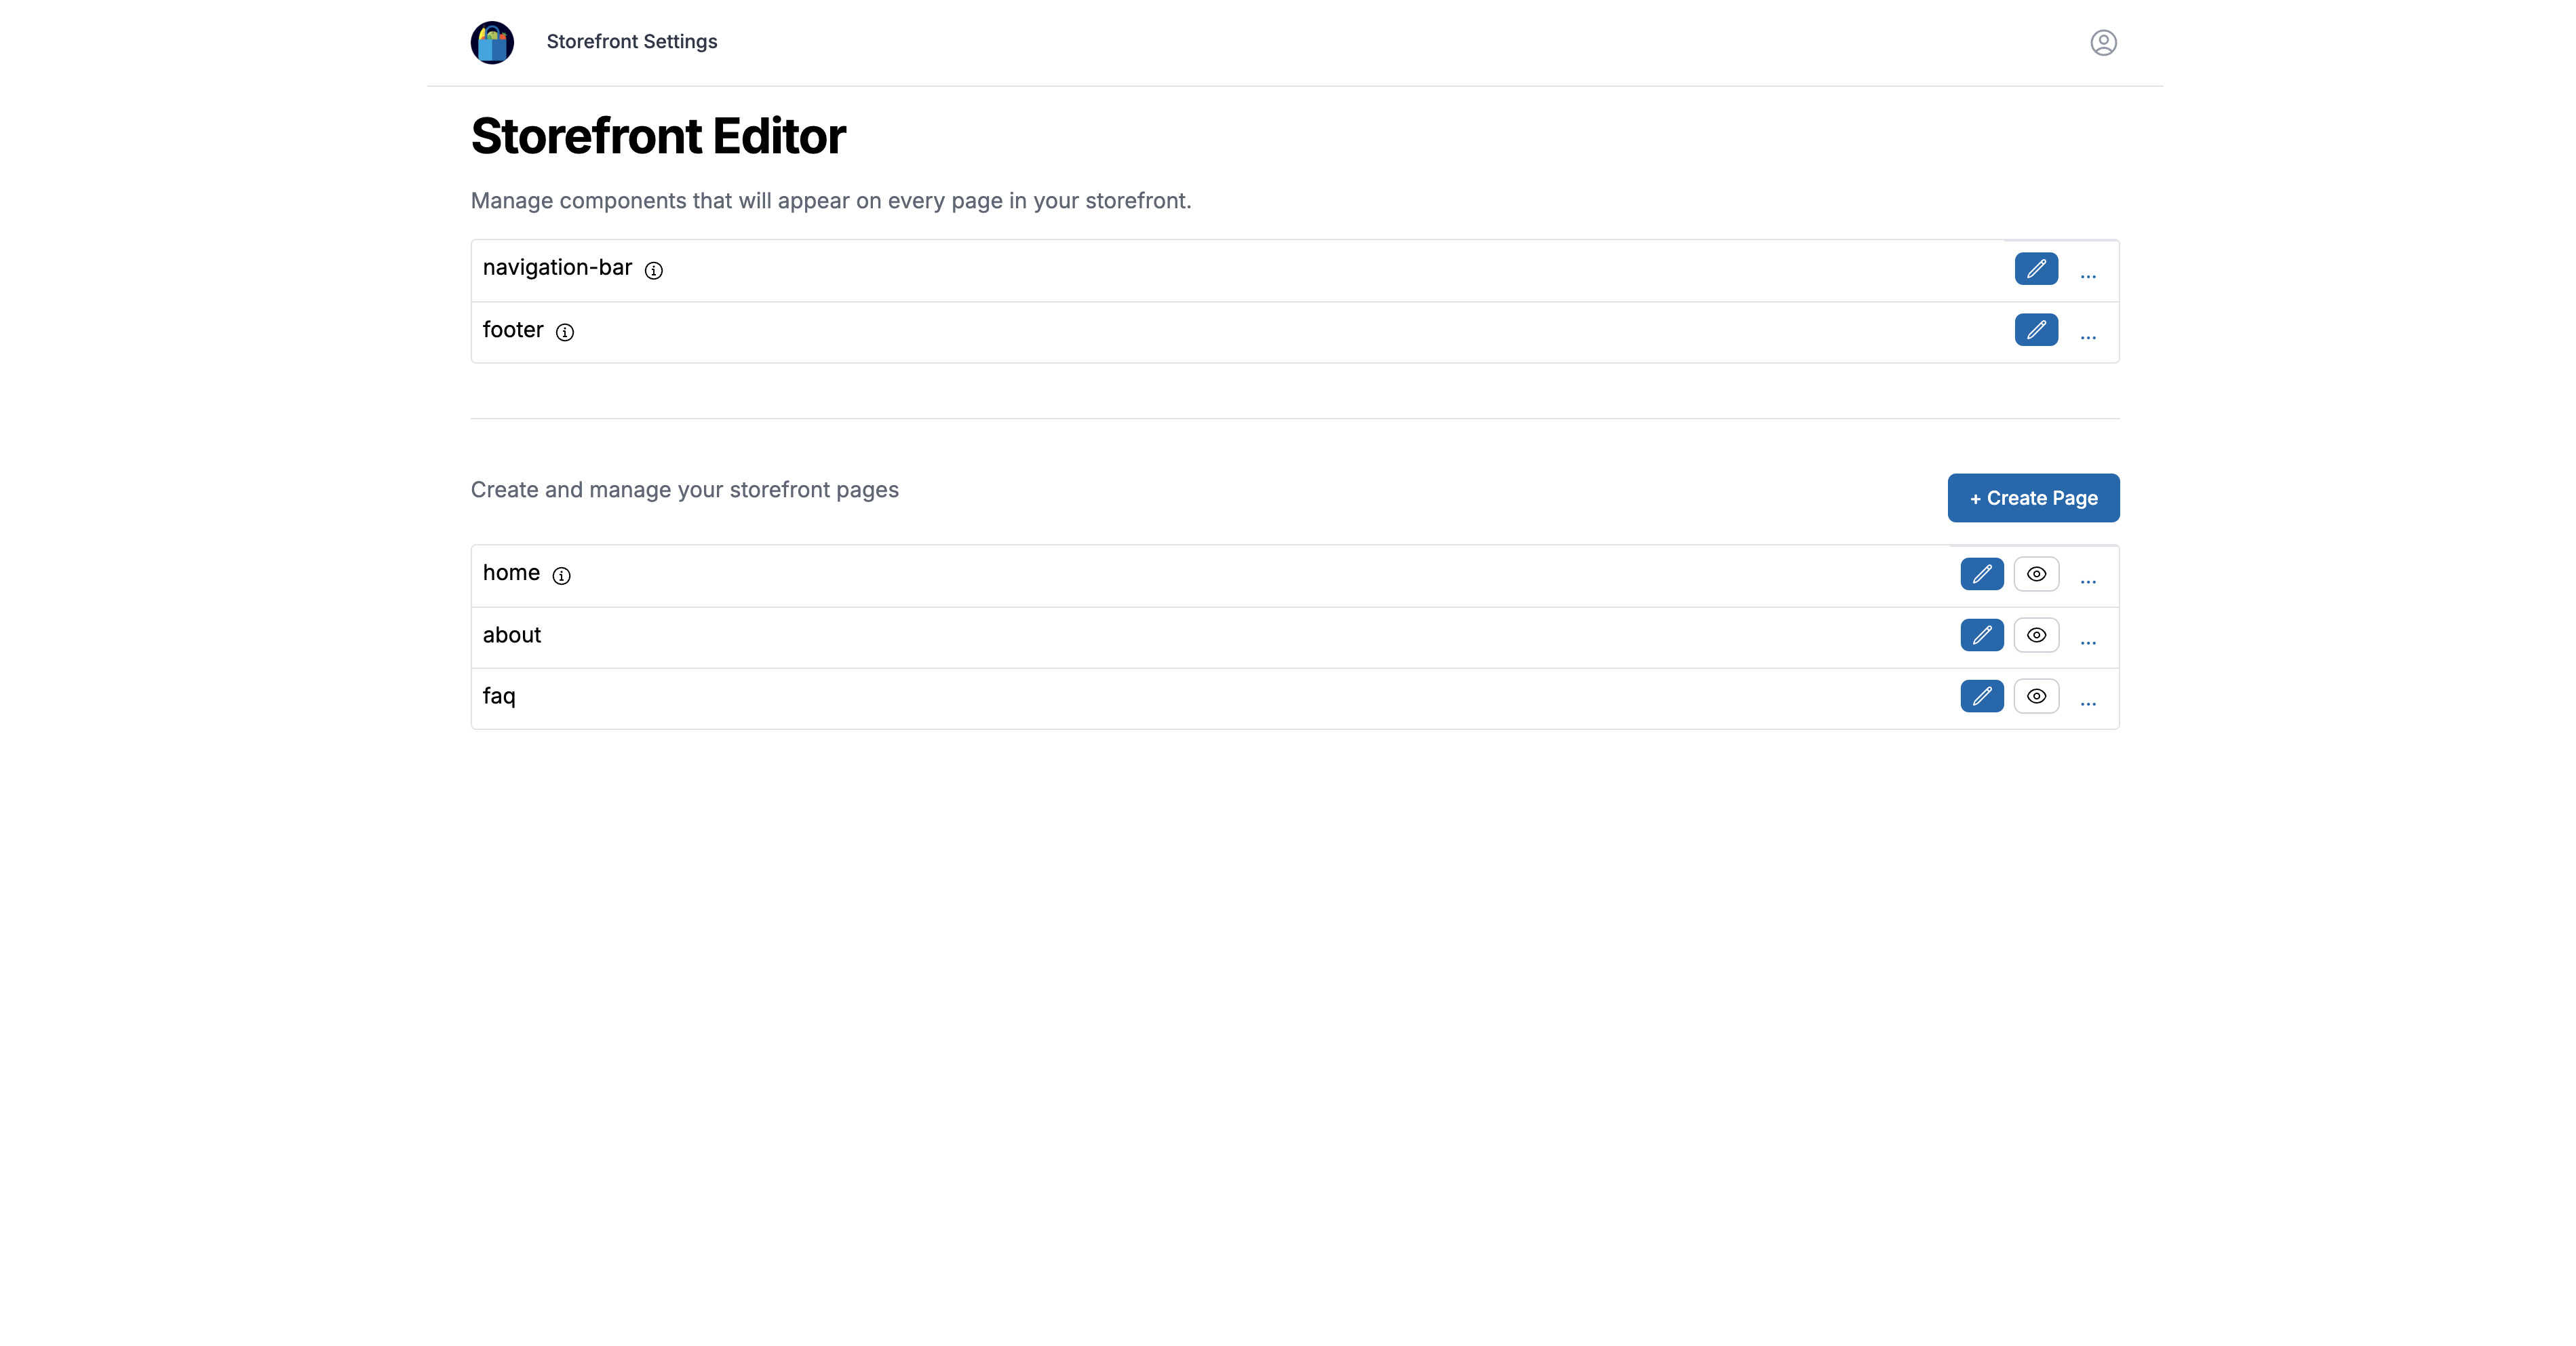
Add a component
- Go to the list of pages in the storefront editor.
- Select the edit icon beside the page you want to edit.
- From the Component pane, drag and drop components onto the canvas.
- Use the Page pane to customize the component. Be sure to save your work as you make progress by clicking on the Save button.
- Publish your changes when you're ready.
Edit the space between elements
The gap setting determines the amount of space between elements on the page.
-
Go to the list of pages in the storefront editor.
-
Select the edit icon beside the page you want to adjust.
-
In the right settings panel, under Page, edit the gap setting to adjust the amount of space between elements:
- Large: 32px gap
- Medium: 16px gap
- Small: 8px gap
- None: 0px gap
-
Publish your changes when you're ready.
Rearrange components
To rearrange components, select a component from the canvas and drag it to a new location.
Duplicate a component
To duplicate a component, select the component from the canvas, and then select the copy button.
Delete a component
To delete a component, select the component from the canvas, and then select the delete button.